A Bathroom Renovation Tiling Case Study Done Right
A premium bathroom can be compromised long before the first tile is fixed. A floor that falls the wrong way, an uneven wall, an incomplete waterproofing detail or a hurried silicone joint can undermine even the most exquisite tile selection. This bathroom renovation tiling case study follows the disciplined approach required to turn a design-led brief into a bathroom that feels refined, drains correctly and performs for years ahead.
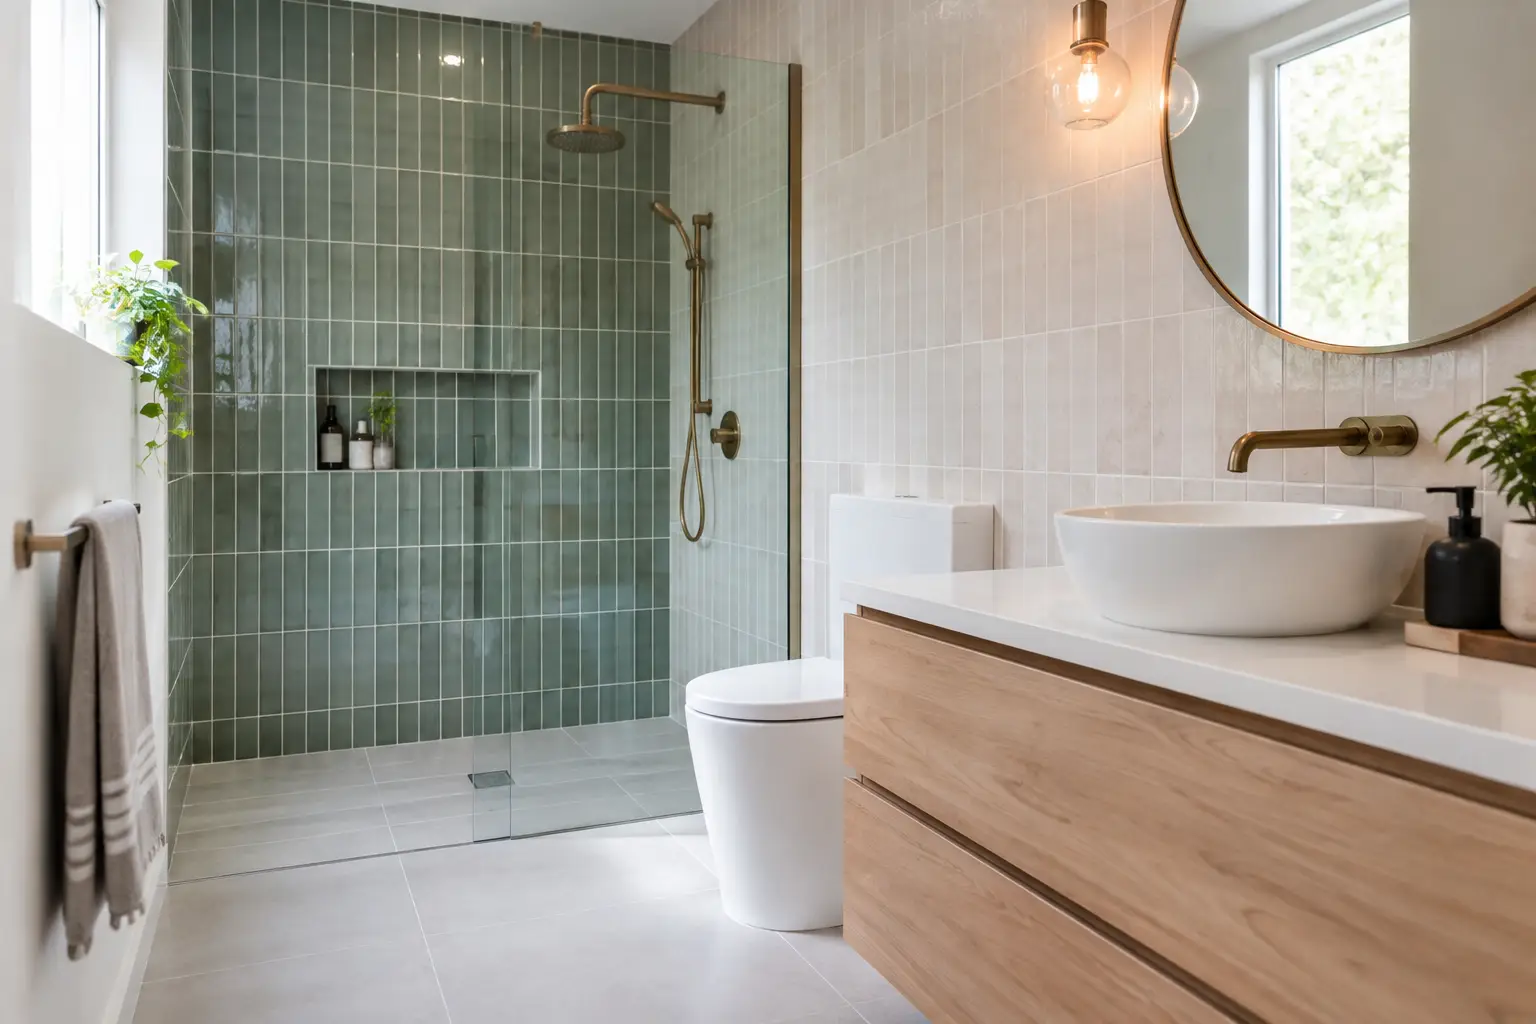
The project is a representative renovation scenario: a tired existing bathroom was being reworked into a calm, contemporary ensuite with large-format porcelain on the floor, vertically stacked wall tiles, a frameless shower screen and a recessed niche. The homeowner’s priorities were clear – minimal grout lines, crisp junctions and a finish that looked considered from every angle. Achieving that look depended less on laying tiles quickly and more on controlling every layer beneath them.
The brief: a quiet, high-end finish
The new bathroom design relied on restraint. Large, pale porcelain tiles were specified for the floor to make the room feel more generous, while a complementary wall tile provided subtle texture without overwhelming the space. A linear shower zone, wall-hung vanity and concealed cistern meant there were few visual interruptions.
That simplicity raised the standard of workmanship. Large-format tiles reveal wall variation more readily than smaller formats. Vertical tile lines must remain true around openings, niches and fittings. And where the bathroom palette is deliberately quiet, uneven cuts, inconsistent grout joints or untidy caulking become immediately visible.
The client also wanted the shower area to sit comfortably within an open, contemporary layout. This called for a floor fall that directed water efficiently to the waste without creating awkward lipping between tiles or making the room feel uneven underfoot. It is a technical requirement, but one that directly shapes the daily experience of the room.
Bathroom renovation tiling case study: what sat beneath the tiles
The visible finish began with removal. Existing tiles, adhesive residue and redundant fixtures were stripped back so the underlying condition of the room could be assessed properly. Renovations rarely offer the clean, predictable substrate of a new build. Once finishes come off, installers can find low spots in the slab, out-of-plumb walls, old patch repairs or penetrations that need careful treatment.
In this case, the substrate required correction before any waterproofing or tiling could begin. The floor was checked for level and fall, and walls were assessed for straightness using long straightedges rather than relying on what looked acceptable at a glance. Small inaccuracies at this stage can become expensive visual problems once large tiles are installed.
Re-levelling for accurate set-out
The team re-levelled and prepared the surfaces to create a stable, predictable base. In the shower zone, the screed was formed with the required fall towards the drainage point. Outside that area, floor levels were controlled so the finished threshold and transitions worked cleanly with the adjoining space.
This is where a design decision meets practical reality. A very large floor tile may suit the visual concept, but it is not always the most forgiving choice around a shower fall. Depending on the drain position, tile size and desired gradient, a smaller matching tile or a carefully planned cut pattern may deliver a better drainage outcome. Good tiling advice is not about forcing a preferred format into every room. It is about preserving the design intent while respecting how water behaves.
Set-out was then planned before adhesive was mixed. Centre lines, key sightlines and tile dimensions were considered alongside the vanity, niche, waste, shower screen and doorway. The aim was to avoid narrow perimeter cuts where possible and ensure the most visible lines looked balanced. A tile layout should feel inevitable once finished, even though that result is usually the product of detailed measurement and adjustment.
Waterproofing as a performance layer
Waterproofing was treated as a core construction stage, not a hidden afterthought. The prepared floor and wall junctions, shower area, penetrations and niche were detailed as part of a complete waterproofing system. Particular care was taken at internal corners and around plumbing points, where movement and moisture exposure make shortcuts especially risky.
A beautifully tiled bathroom is only as dependable as the system behind it. Tile and grout are not a substitute for proper waterproofing. The membrane must be applied to sound, prepared surfaces and allowed to cure in line with the product requirements before tiling begins. Rushing this sequence to gain a day on programme can create far greater costs later.
For homeowners, this stage is rarely the most exciting to watch. Yet it is one of the clearest signs that a tiling contractor is protecting the investment, rather than simply working towards a photographic finish.
Installation: precision without forcing the material
Once the room was prepared and waterproofed, the tile installation could begin. The floor tiles were laid with close attention to coverage, alignment and the intended drainage path. Adhesive was selected and applied to suit the tile type and substrate, with techniques used to support the large-format porcelain correctly and minimise the risk of voids beneath the surface.
Wall tiling followed the established set-out, starting from controlled reference points rather than allowing the first available corner to dictate the entire room. Tile spacers and levelling systems helped maintain consistent joints and reduce lippage across the tile faces. These tools support quality, but they do not replace judgement. The installer still needs to read the walls, check lines continuously and make fine adjustments as the work progresses.
The niche demanded its own level of care. It had to align with the surrounding tile grid, hold the correct falls so water would not sit on the base, and present clean returns at each edge. A niche is a small feature, but it is often at eye level and used every day. It deserves the same discipline as the larger tiled surfaces.
Cuts around mixers, outlets and the wall-hung vanity were measured precisely. Where possible, these penetrations were positioned to feel intentional within the tile layout rather than appearing as an afterthought. The same attention was given to the edges meeting the shower screen and joinery, where a few millimetres can affect whether the finish feels crisp or compromised.
The finishing details that change the result
Grouting and caulking completed the visual composition of the room. Grout colour was selected to complement the porcelain rather than compete with it, allowing the tile format to read clearly without turning every joint into a feature. Consistency mattered as much as colour: joints were cleaned, filled and finished carefully to retain an even appearance across walls and floors.
Flexible sealant was used at changes of plane and junctions where movement can occur, including wall-to-floor connections and interfaces with fixtures. This is often casually described as a final touch, but it is a functional finishing detail. Neat, correctly applied caulking protects vulnerable junctions while giving the room its finished, tailored appearance.
Before handover, the bathroom was inspected as a complete space. Lines were checked from the doorway and vanity area, falls were reviewed in the shower, and surfaces were cleaned so the client could see the quality of the finish without construction dust masking the detail. Any premium renovation benefits from this final pause. It is the point at which workmanship is judged not as separate tasks, but as one resolved outcome.
What this project demonstrates for renovators
The most valuable lesson from this project is that premium tiling is a sequence, not a surface. The final tile choice may establish the bathroom’s character, but surface preparation determines flatness, waterproofing protects the structure, set-out creates visual order and finishing details preserve the sense of quality.
It also shows why scope clarity matters. A tiling quote should account for demolition where required, substrate repairs, screeding, waterproofing, installation and finishing. When these stages are treated as separate surprises rather than a coordinated scope, programmes become harder to manage and quality can suffer at the handover stage.
At Perfectly Laid, this end-to-end mindset is central to the work. Each stage is approached with the same care because the standard of the bathroom is decided by the details clients may never see as much as the ones they admire every morning.
When planning your own bathroom, choose tiles you genuinely love, but ask just as many questions about preparation, falls, waterproofing and set-out. The right craft partner will see beyond the tile face and protect the finished room from the ground up.