How to Install Uncoupling Membrane Correctly
A beautiful tiled floor can still fail if the surface beneath it moves, flexes or carries moisture into the installation. Knowing how to install uncoupling membrane correctly is therefore less about rolling out a sheet and more about controlling every layer below the tile. Done with care, it helps protect a refined finish from cracked grout, loose tiles and the costly disruption of remedial work.
Uncoupling membrane sits between the substrate and the tiled finish. Its geometry allows minor differential movement between those layers, reducing the stress transferred into rigid tile and grout. It is particularly valuable over timber subfloors, new concrete, screeds with residual movement and large-format porcelain installations, where precision in preparation and adhesive coverage matters just as much as the tile itself.
Start with the right purpose and system
An uncoupling membrane is not a cure for a weak, wet or badly cracked floor. It cannot correct structural movement, replace a movement-joint strategy, or make an uneven substrate suitable for tiling. If a timber floor deflects excessively, it needs strengthening first. If concrete is contaminated, dusty or unsound, it must be mechanically prepared or repaired before any membrane is introduced.
It also pays to distinguish uncoupling from waterproofing. Some proprietary systems can form part of a waterproofed assembly when their seams, penetrations and perimeter details are treated with the matching components. Others are designed only for uncoupling. In bathrooms, laundries and other wet areas, follow the specified waterproofing design and local requirements rather than assuming the membrane alone provides protection.
Choose a membrane approved for the substrate, tile format and intended loading. A domestic bathroom floor, a busy retail entrance and a high-rise corridor may all require different preparation, adhesive selection and movement-joint detailing. The product manufacturer’s installation instructions remain the controlling document.
Assess and prepare the substrate
Premium tilework begins well before the first bag of adhesive is mixed. Check the substrate for flatness with a straightedge, identify hollow or drummy areas, and locate cracks, control joints, services and changes in plane. The floor must be clean, dry enough for the selected system, stable and free from bond-breaking residues such as paint, curing compounds, wax, dust or oil.
Concrete and screed commonly need grinding, shot blasting or other mechanical preparation to expose a sound, absorbent surface. Any local repairs should be fully cured and compatible with the adhesive system. Hairline cracks may be manageable within the membrane system, but active, widening or structural cracks call for further investigation before tiling proceeds.
Timber substrates need particular discipline. Sheets should be securely fixed, joints supported as required, and the floor checked for bounce. Replace damaged boards and address moisture issues underneath the floor. A membrane can manage small in-plane movement; it cannot compensate for a floor that is flexing under foot traffic.
Flatness is equally important. Large-format tiles do not forgive humps and hollows, even where an uncoupling membrane is present. Use an appropriate levelling compound or screed to create a surface that supports the chosen tile size and pattern. Allow it to cure as specified. Rushing this stage is one of the most common ways a polished tile design becomes a compromised installation.
How to install uncoupling membrane with precision
Before mixing adhesive, dry-lay the membrane sheets across the room. Plan the direction of the rolls, minimise awkward narrow strips, and ensure the fleece-backed side is placed against the adhesive where applicable. Keep the layout practical around doorways, floor wastes, columns and fixtures. Cut sections cleanly with a sharp knife and check they sit flat without curling.
Use the adhesive and notch trowel specified for the membrane system and substrate. In many installations, this will be a suitable cement-based thin-bed adhesive, but the correct choice depends on the product, background and environmental conditions. Do not substitute materials simply because they are already on site.
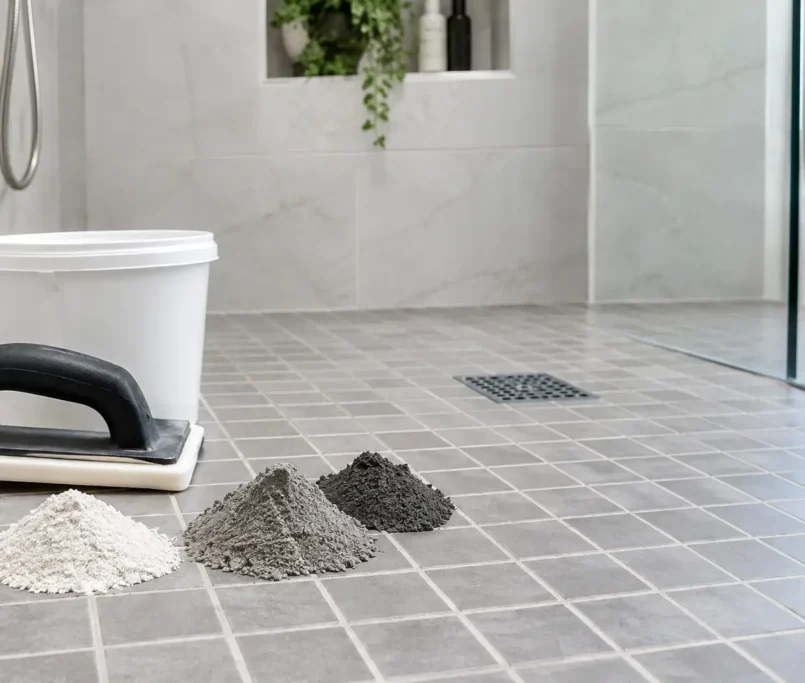
Mix the adhesive to a smooth, workable consistency, observing the stated water ratio and slake time. Spread only as much as can be covered within the adhesive’s open time. Comb it evenly with the recommended trowel, holding the trowel at a consistent angle so the ridges are full and uniform. Avoid leaving bare patches, excessive build-up or skins of adhesive that have begun to dry.
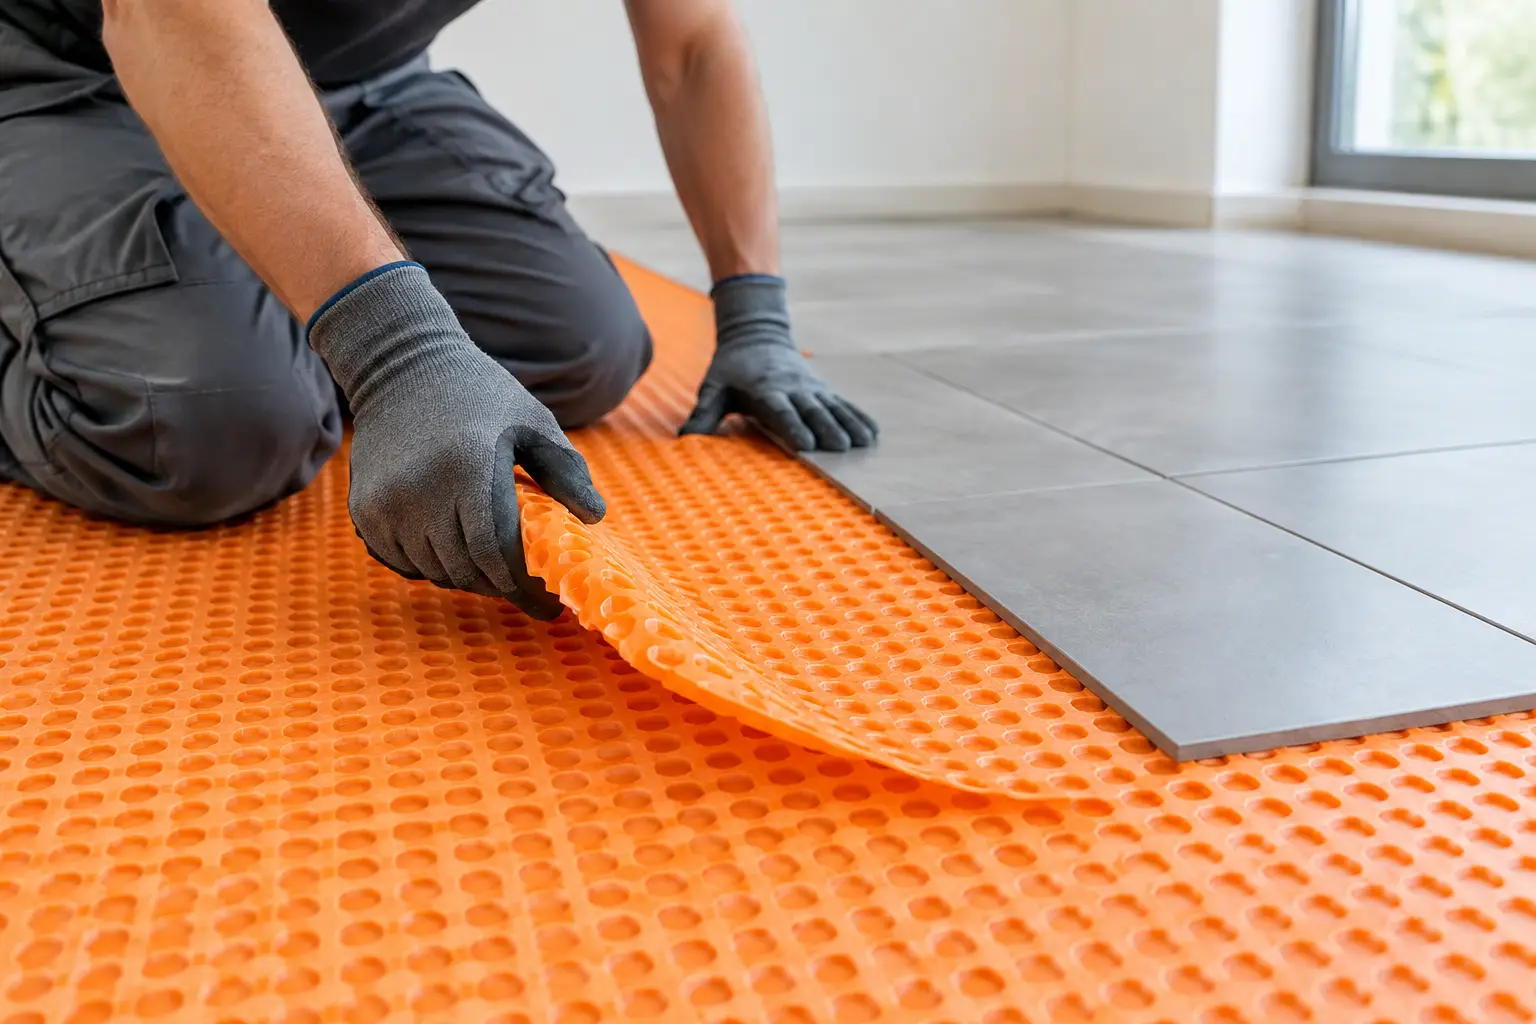
Place the membrane into the fresh adhesive, then press it firmly into place using a float, roller or suitable trowel. Work from the centre outwards to remove trapped air and achieve complete fleece contact. Lift a corner of the first sheet while the adhesive is fresh to verify transfer. This simple check reveals whether the trowel size, adhesive consistency and bedding technique are delivering a reliable bond.
Butt sheets together unless the system specifically requires an overlap. Do not leave gaps that could telegraph through the floor, and do not allow the membrane to bridge unsupported voids. At walls, columns and fixed joinery, maintain the required perimeter movement allowance. That small detail is essential: a tile floor needs space to expand and contract without pressing against a rigid boundary.
Where a waterproofed assembly is required, seal sheet joints, wall-to-floor transitions and penetrations with the compatible tape, collar or liquid detailing prescribed by the system. Press these components into fresh adhesive or membrane sealant as directed, paying close attention to floor wastes and pipe penetrations. These are the areas where a visually flawless bathroom can still fail behind the finished surface.
Tile only when the membrane is ready
Some uncoupling systems permit tiling immediately, while others require adhesive to cure first. Confirm the sequence before starting. Once ready, set out the tile grid carefully. Establish straight control lines, balance cuts at opposing walls where possible, and account for movement joints in the tile finish.
Use an adhesive suitable for both the membrane and the tile. For porcelain or large-format tiles, directional trowelling and back-buttering are often necessary to achieve the required coverage. Comb adhesive in straight, parallel ridges and bed the tile perpendicular to those ridges, moving it across them slightly as it is pressed down. This collapses the ridges and limits voids beneath the tile.
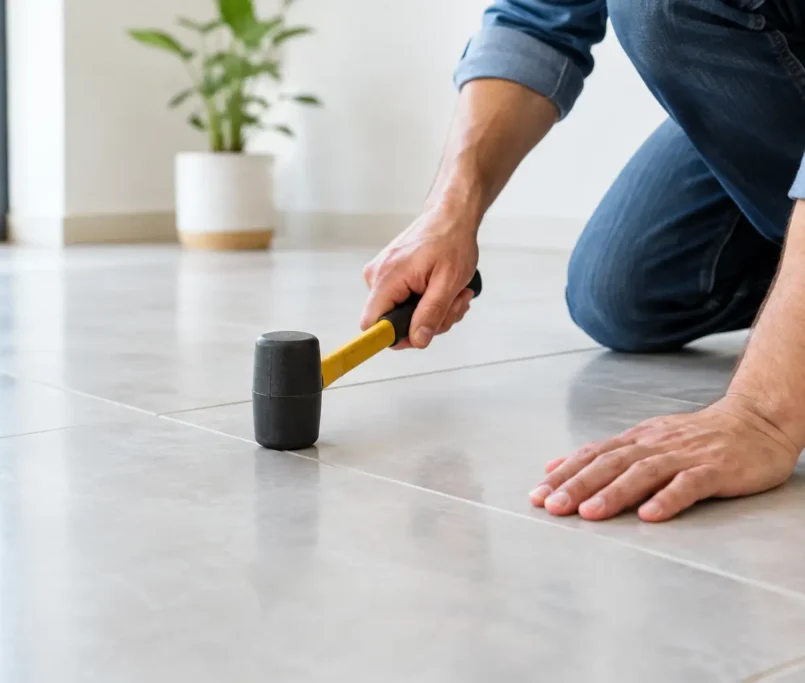
Lift occasional tiles during installation to inspect coverage, especially at edges, corners and areas subject to higher loading. Voids are not merely cosmetic concerns. They can create weak points that lead to cracked tile, debonding or damage from concentrated loads. Maintain consistent joint widths, use levelling systems only as an aid rather than a substitute for substrate flatness, and remove excess adhesive before it hardens in the joints.
Respect movement joints and finishing details
Movement joints are a designed feature, not an interruption to be tiled over. Honour existing structural and control joints through the tile assembly where required. Provide perimeter joints around walls and fixed elements, plus intermediate movement joints in larger areas or spaces exposed to direct sunlight, thermal change and heavy traffic. Fill these with an appropriate flexible sealant rather than rigid grout.
After the adhesive has cured, grout the floor with a product suited to the joint size, tile type and setting. Clean the tile surface methodically, then complete perimeter caulking and transitions with neat, colour-matched sealant where specified. The final details matter. Crisp cuts, aligned joints and clean sealant lines are what make a technically sound floor feel genuinely considered.
For a high-value renovation or multi-unit project, consistency is as important as individual craftsmanship. At Perfectly Laid, substrate assessment, waterproofing interfaces and finishing details are treated as one controlled installation process, because each layer protects the one above it.
The best time to protect a tiled floor is before the tiles make it difficult to see what lies beneath. Give the substrate the attention it deserves, use a complete compatible system, and verify adhesion as you work. That disciplined approach creates the quiet confidence of a floor that looks exceptional on handover day and continues to perform long after.