What Causes Hollow Sounding Tiles? Key Reasons
A newly tiled floor can look exquisite, feel level underfoot and still produce a disappointing hollow tap in certain areas. If you are asking what causes hollow sounding tiles, the answer usually lies beneath the surface: the relationship between tile, adhesive, substrate and, in wet areas, the waterproofing system. The sound is worth investigating, but it is not automatic proof that every affected tile is loose or about to fail.
For homeowners, builders and project managers, the priority is to establish whether the sound is isolated and stable or a sign of compromised adhesion. That distinction protects the finish you can see and the construction work you cannot.
Why Hollow Sounding Tiles Occur
A tile should be supported by adhesive across as much of its back as the installation and tile type require. When a hard object taps a well-bonded tile, the energy transfers into the solid base beneath it, producing a short, dense sound. Where there is an air gap, insufficient adhesive contact or a separation in the assembly, the tile can resonate instead. That is the familiar hollow sound.
The sound alone cannot identify the exact fault. Large-format porcelain, natural stone and wall tiles can all create different tones, while a timber subfloor naturally has a different acoustic character from a concrete slab. The location, size and pattern of the hollow area matter far more than one tap test in isolation.
What Causes Hollow Sounding Tiles Most Often?
Incomplete adhesive coverage
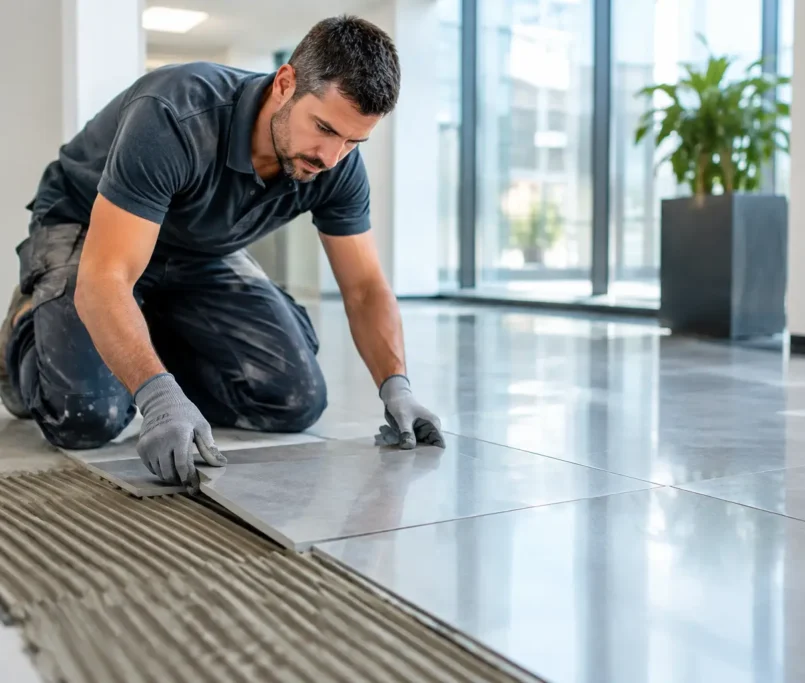
The most common cause is incomplete contact between the tile and adhesive. This may occur when adhesive is applied in isolated blobs rather than consistent ridges, when ridges are not collapsed by bedding the tile correctly, or when the tile is not back-buttered where the format and application call for it.
Voids are particularly concerning beneath large-format floor tiles, exterior paving and natural stone. These materials need dependable support to resist point loads, thermal movement and everyday traffic. A void at the edge or corner of a floor tile can make it more vulnerable to cracking when a chair leg, heel or dropped object applies pressure.
Adhesive applied after its workable time
Tile adhesive has a limited open time once spread onto the substrate. Warm conditions, direct sun, airflow and an overly absorbent base can cause a skin to form before the tile is installed. The adhesive may appear present, but it no longer transfers properly to the back of the tile.
This is one reason disciplined sequencing matters. A precision installation is not simply about choosing a quality adhesive. It is about mixing it correctly, spreading manageable areas, using the right trowel notch and checking transfer as the work progresses.
An uneven, contaminated or moving substrate
Tiles follow the condition of the surface beneath them. If a floor has not been properly levelled, adhesive thickness can vary excessively in an attempt to correct it. High spots can prevent tiles from bedding properly, while depressions can leave unsupported areas.
Dust, old adhesive residue, curing compounds, paint, moisture or loose screed can also interfere with bond strength. On timber floors, inadequate stiffness or movement in the structure may place repeated stress on the tiled finish. On concrete, shrinkage, cracking or movement joints that have not been considered can have a similar effect.
Preparation is therefore not an invisible extra. Demolition, substrate assessment, re-levelling and screeding create the foundation for the final tilework. When these steps are rushed, the consequences may not become obvious until tapping reveals hollow areas or tiles begin to move.
Moisture-related failure in wet or external areas
Bathrooms, laundries, balconies and alfresco spaces demand more than attractive tile selection. Moisture can reach vulnerable layers through failed grout, poorly detailed junctions, missing movement accommodation or a compromised waterproofing system. Over time, this may weaken the adhesive bond or affect the substrate below.
A hollow sound in a shower wall or bathroom floor deserves prompt attention, especially if it is accompanied by cracked grout, staining, loose silicone, drummy neighbouring tiles or water escaping beyond the wet area. The source may not be the tile itself. It can be a broader moisture-management issue that needs careful diagnosis before repairs begin.
Movement and insufficient expansion detailing
Buildings move. Concrete contracts and expands, timber responds to humidity, and sun-exposed exterior surfaces experience significant temperature changes. Tiling systems need appropriate movement joints and perimeter gaps to accommodate that movement.
Without them, pressure can build across the tiled surface. Tiles may debond in sections, tent upward, crack or begin to sound hollow as the bond is stressed. This is especially relevant across large open-plan floors, balconies, commercial entrances and areas where different substrates meet.
Is a Hollow Sound Always a Problem?
Not necessarily. An isolated hollow-sounding tile can remain firm and perform without immediate visible failure, particularly if it is in a low-traffic wall area and shows no cracking, movement or deterioration at the joints. Replacing a stable tile also carries a trade-off: removal can damage adjacent tiles, waterproofing or finishes if undertaken without care.
However, a widespread pattern of hollow tiles is not something to ignore. Nor is a hollow sound combined with flexing, cracked grout, loose tiles, chips at corners, water damage or a change in level. These symptoms suggest the installation needs professional assessment rather than a cosmetic patch.
The age of the installation also matters. A newly completed floor with extensive hollow areas may point to an installation issue that should be addressed early. In an older property, the cause may be historic substrate movement, ageing adhesive, moisture ingress or changes made during a previous renovation.
How a Professional Assessment Should Work
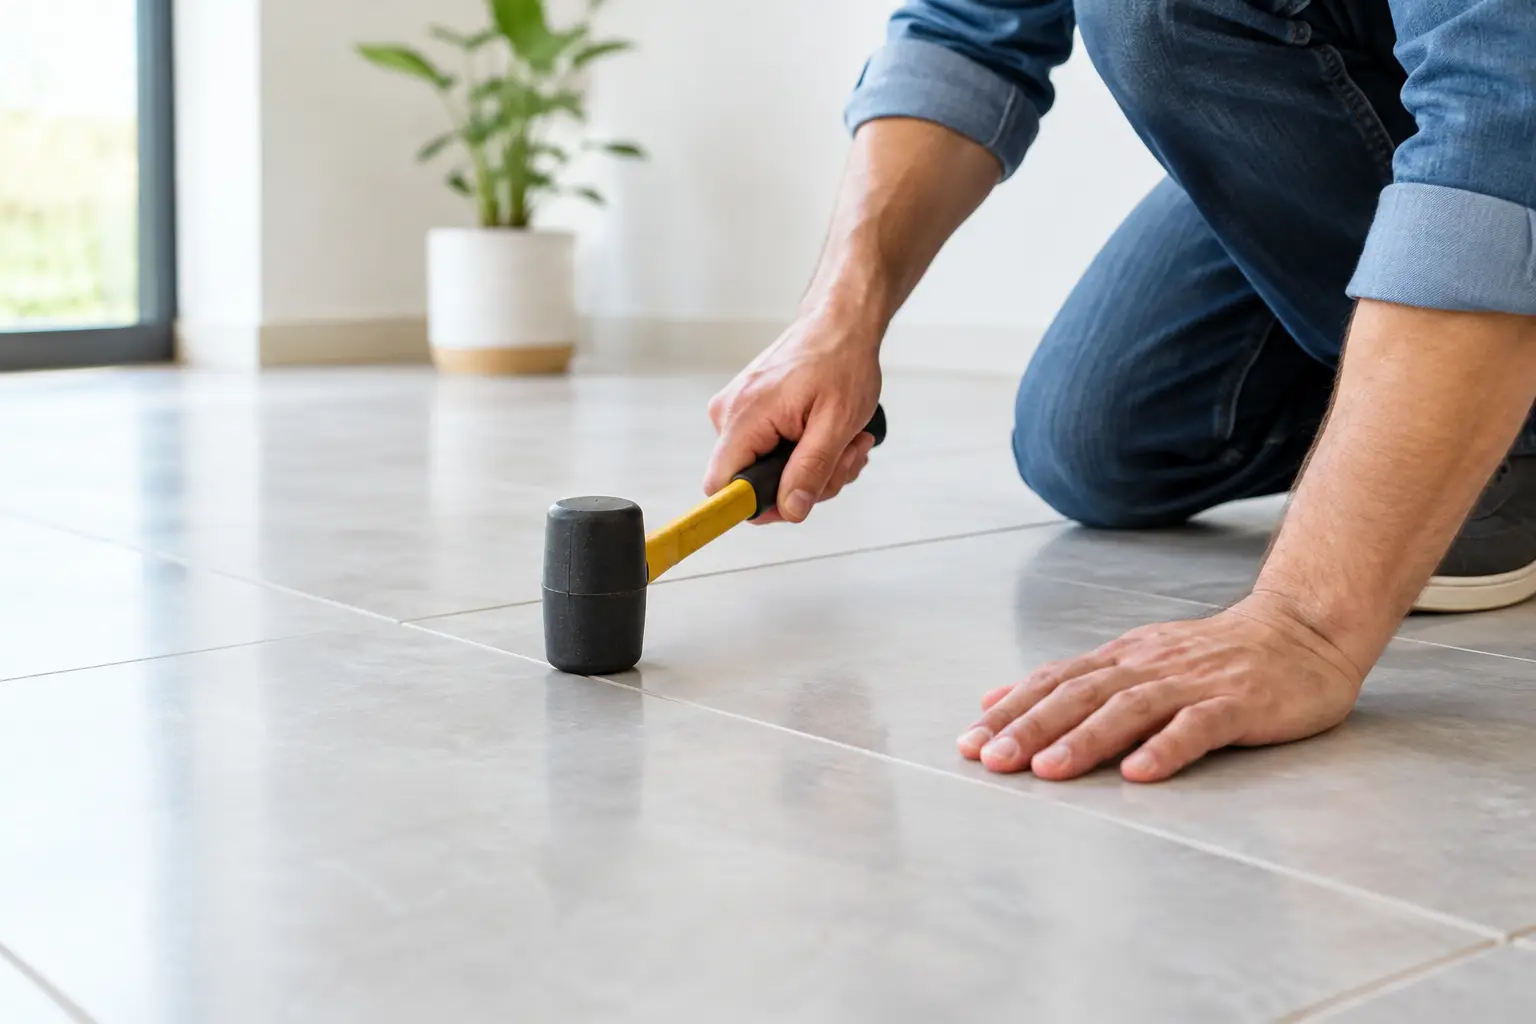
A proper assessment begins with more than tapping tiles using a hard object. Tapping can help map the location and extent of a drummy sound, but it cannot confirm the depth of a void, the condition of waterproofing or the strength of the remaining bond.
An experienced tiling contractor will inspect the tile layout, grout lines, perimeter joints and transitions to other finishes. They will look for visible stress, check whether tiles move under controlled pressure, consider the substrate type and review the room’s exposure to water, heat and traffic. In a wet area, the condition of sealing and drainage details is part of the same conversation.
For larger residential developments or commercial fit-outs, assessment should be systematic. Recording affected locations, identifying recurring patterns and establishing whether the issue relates to one area, one substrate condition or a wider installation method gives project stakeholders a clearer basis for action. This is especially valuable where consistency across many units matters as much as the repair itself.
Repairing Hollow Tiles Without Creating Bigger Problems
The right repair depends on the cause and the extent of the issue. A small number of isolated, loose tiles can often be carefully removed, the substrate prepared and new tiles installed. Where matching tiles are unavailable, a discreet location may provide a spare, or the repair may need to be designed around a complementary replacement.
Some hollow tiles remain bonded at the edges, and injection methods are sometimes proposed. These can be appropriate in tightly defined circumstances, but they are not a universal solution. They do not correct a moving substrate, replace failed waterproofing or resolve missing movement joints. Any repair method should be selected only after the underlying condition is understood.
Where moisture has affected a wet area, lifting tiles without considering the waterproofing layer can turn a local defect into a leak risk. The repair scope may need to include waterproofing remediation, re-screeding or substrate repair before tiling is reinstated. That is a more involved process, but it is the accountable route when the integrity of the room is at stake.
Preventing Hollow Tiles From the Start
Prevention begins before the first tile is set. The substrate must be sound, clean, suitably flat and compatible with the chosen adhesive system. Tile size, weight, location and exposure should guide adhesive selection and application technique, rather than relying on a one-size-fits-all approach.
For premium bathrooms, kitchens, outdoor living spaces and high-traffic commercial floors, the details deserve the same care as the visible finish. Consistent adhesive coverage, correct trowel technique, timely bedding, movement accommodation, waterproofing and considered finishing work all contribute to a tiled surface that looks refined and performs as intended.
At Perfectly Laid, this preparation-led approach is central to precision tiling. It protects the design vision while reducing the avoidable risks that can sit unseen beneath a beautiful surface.
A hollow tap is best treated as useful information, not a reason for panic. Address it early, assess the complete tiling system and choose a repair that protects the finish, the substrate and the long-term confidence you should have in your space.