Tile Setting Out Guide for a Flawless Finish
A beautifully selected tile can still look disappointing if the layout leaves a sliver cut beside the doorway, an off-centre feature wall or uneven joints at the bath. This tile setting out guide explains the planning process that turns individual tiles into a composed, intentional surface – and why it should happen before adhesive is mixed.
Setting out is not simply finding the middle of a room. It is the discipline of reading the space, the tile, the fixed fittings and the finish lines together. In a premium bathroom, kitchen, entrance or alfresco area, that early judgement is what protects the visual balance of the completed work.
What tile setting out really achieves
A tile layout must satisfy both appearance and performance. On a feature wall, the aim may be centred symmetry around a basin, mirror or niche. On a floor, the priorities may include full tiles at the main entrance, clean transitions to adjoining rooms and correct falls to a drain. These decisions can sometimes compete, which is why a layout should never be copied blindly from one project to another.
Professional setting out establishes where the eye will naturally land, where cuts can be placed discreetly and how grout joints will travel through the room. It also confirms that tile sizes, trims and junctions work with the dimensions that exist on site, rather than the dimensions shown on an early drawing.
This process is particularly valuable with large-format porcelain, stone-look tiles, rectified edges and patterned products. Their crisp lines make small inconsistencies far more visible. A few millimetres out at the start can become a distracting misalignment by the time the layout reaches a doorway, niche or full-height wall.
Start with the room, not the tile box
Accurate measurement is the foundation of every setting-out plan. Walls are rarely perfectly square, floors can vary in level and frames or cabinetry may not be installed exactly where anticipated. Measuring only one point across a room is not enough. A skilled tiler checks multiple points, including wall lengths, diagonals, floor levels, opening positions and the location of permanent fixtures.
The substrate matters just as much. Before layout begins, the surface should be assessed for flatness, soundness and suitability for the chosen tile. A large tile installed over an uneven floor can create lipping even when the grid itself is accurate. Likewise, an out-of-plumb wall can affect the width of cuts as the courses rise.
Preparation may involve demolition, levelling, screeding or wall correction before tiling can proceed. In wet areas, waterproofing is also part of the sequence. It is difficult to deliver refined set-out lines if the surface below has not been prepared to receive them.
Identify the focal points
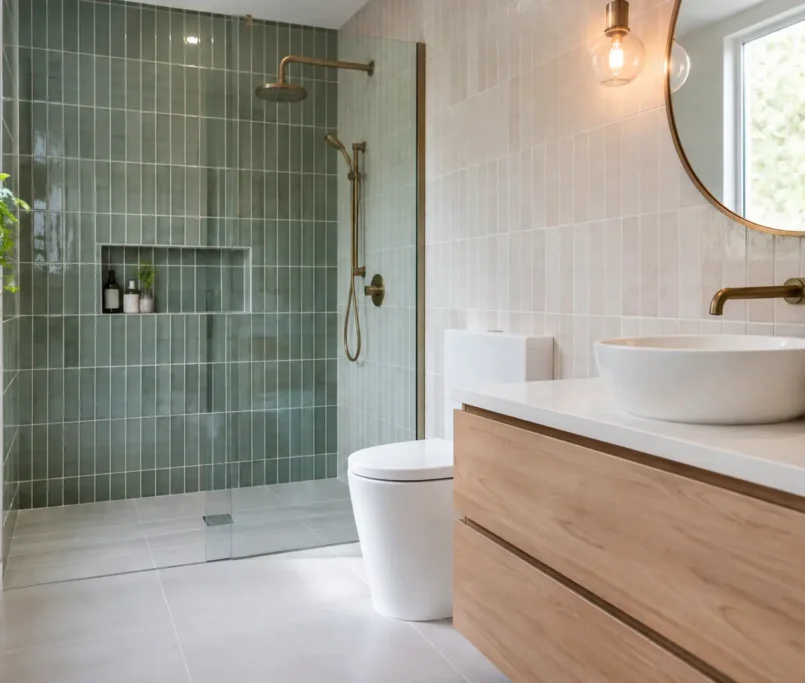
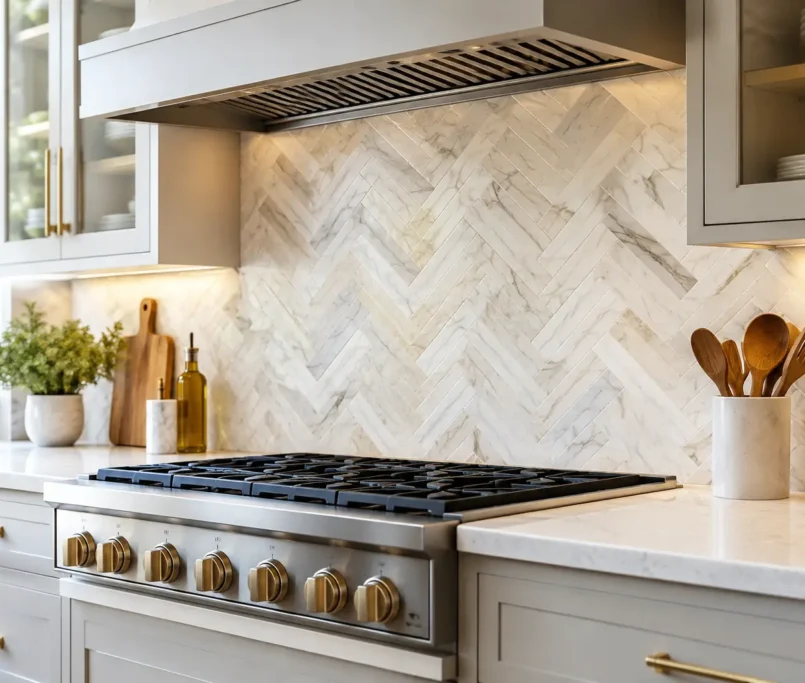
Every room has a hierarchy. In a bathroom, it might be the vanity, freestanding bath, shower screen or statement niche. In a kitchen, it may be the splashback beneath a rangehood or the line where wall tile meets benchtop. In an entry, it is often the approach through the front door.
The layout should respond to those focal points first. Centre lines are marked from the feature, then checked against the room edges. The result is not always mathematically identical cuts on every boundary. Often, a slightly larger cut in a hidden corner is the better choice if it creates a balanced, centred composition where people will actually look.
Establish centre lines and test the grid
Once the key visual reference is agreed, centre lines can be marked using a laser or chalk line. These become the control lines for the grid. For square and rectangular tiles, the lines must be checked for squareness, usually by measuring diagonals or applying a recognised right-angle method. A room that is out of square does not mean the tile grid should follow its defect.
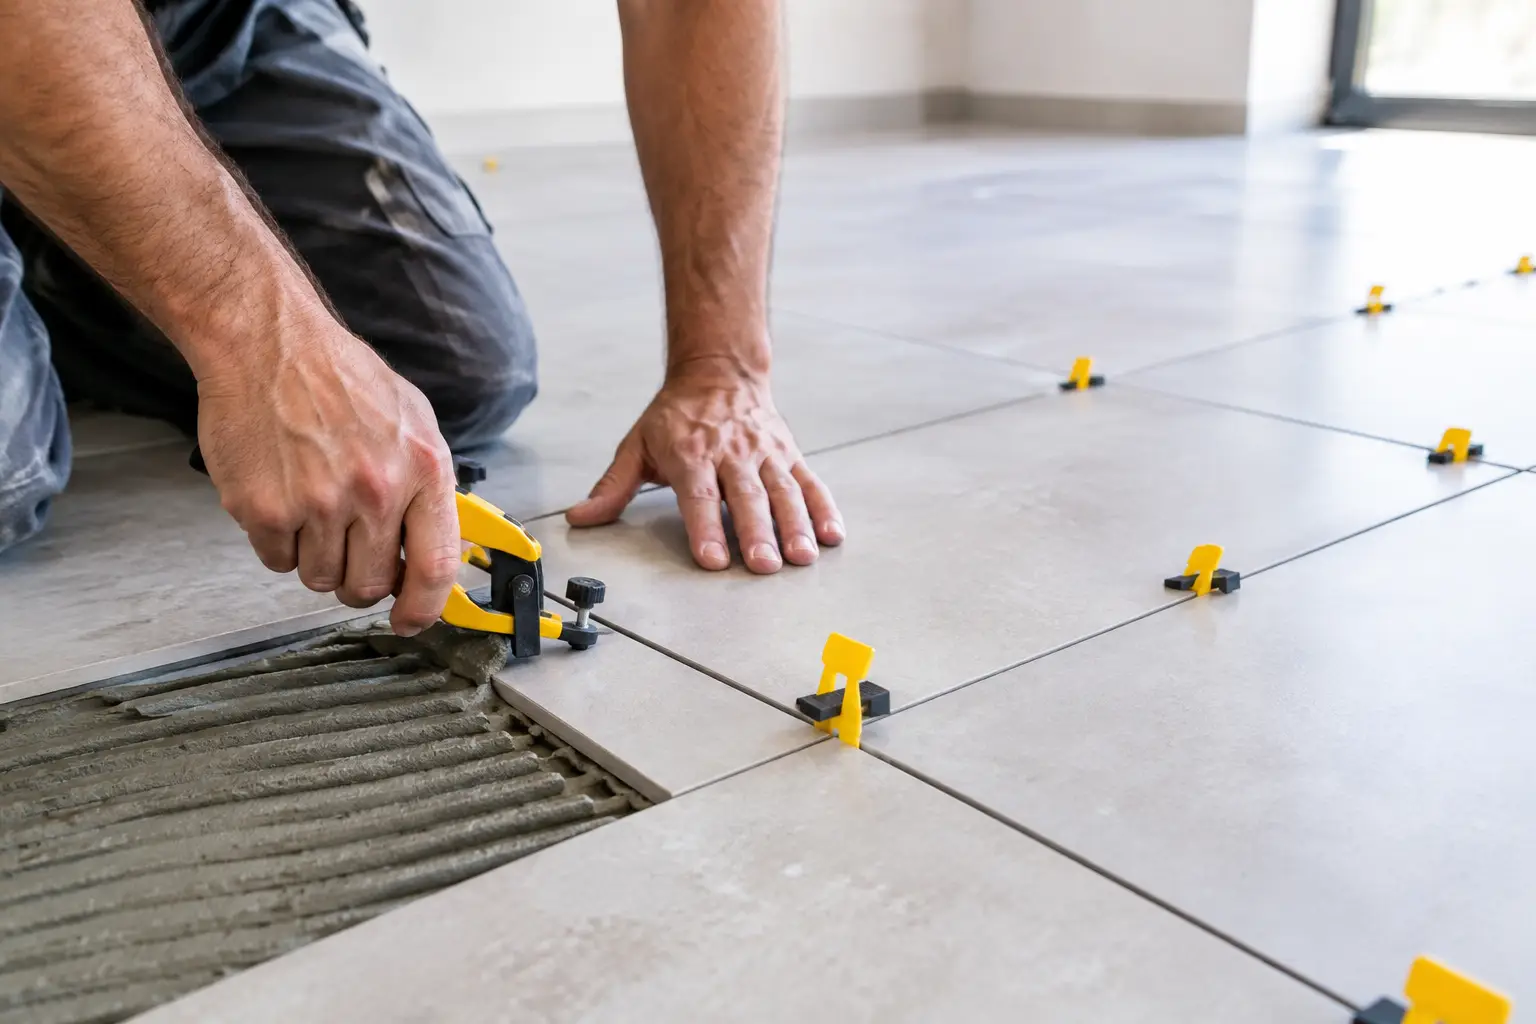
Dry-laying, or calculating tile modules across the space, comes next. This means allowing for the actual tile size plus the intended grout joint. Rectified tiles can accommodate finer joints, but they still require a joint to manage tolerances and movement. The nominal size printed on the box is not always the precise working size, so measurements should be verified from the tiles on site.
At this stage, the installer can see whether the layout produces awkward cuts. A narrow strip at the edge of a floor is rarely acceptable, especially where it is highly visible. Shifting the grid by a small amount may create more generous cuts on both sides while keeping the visual centre intact.
Plan cuts where they belong
The best cuts are deliberate, consistent and placed with care. Full tiles are generally preferred at entrances, along prominent sightlines and at eye-level feature areas. Cuts are better reserved for less visible boundaries, behind fixtures or at corners where they can be finished cleanly with an appropriate trim or sealant joint.
There are exceptions. A shower niche, for example, may deserve centred cuts because it is a designed detail rather than a background edge. With a patterned tile, centring the pattern can take priority over equal perimeter cuts. With natural stone, the arrangement of veining and shade variation may influence the order in which tiles are laid.
Tile orientation matters too. A long plank tile can make a narrow room feel wider when laid across it, or draw the eye towards a garden view when laid lengthways. Yet the chosen direction must also work with falls, thresholds and adjoining finishes. Good setting out is a series of informed trade-offs, not a single rule.
Allow for movement joints, trims and changes of plane
Movement joints are not an afterthought. Floors and walls move through temperature changes, substrate movement and building settlement. Perimeter movement gaps, junctions between different materials and larger expanses of tile need to be considered during the layout phase, then finished correctly with flexible sealant or specified movement profiles.
Similarly, trims affect the final module. A metal edge trim, mitred external corner or stone sill has a physical dimension that must be allowed for before the field tiles are set. Ignoring it can leave an untidy narrow cut or force a compromised detail at the last moment.
Changes of plane need the same care. Wall-to-wall corners, wall-to-floor junctions and tile-to-bath interfaces should be planned for an appropriate flexible finish rather than rigid grout alone. The cleanest rooms are usually the ones where these practical details were anticipated from the beginning.
Wet-area setting out needs another level of precision
Bathrooms and shower areas add drainage to the visual brief. A shower floor must fall correctly to the waste, while the wall layout may need to align with the floor grid, linear drain or shower screen. These elements should be resolved together, not treated as separate installations.
Large-format tile can look exceptional in a shower, but it is not always suitable for every shower floor. Smaller formats or mosaics can follow falls more effectively and offer more grout lines for slip resistance. If a linear drain is used, the tile set-out can often be simplified into a single-plane fall, but the drain position and tile module still need careful coordination.
Waterproofing penetrations, niches, hob lines and screen channels should be checked before tiles are cut. A niche that is a few millimetres off-centre may be far more noticeable once a symmetrical wall tile layout is complete. Resolving these points early protects both the waterproofing system and the finished aesthetic.
Check the layout against the whole project
Tile setting out should not happen in isolation from other trades. Cabinetmakers, plumbers, electricians and glaziers all influence the finished lines. A vanity width may determine whether a feature wall is centred. Tapware locations should relate cleanly to tile joints where the design calls for it. A shower screen channel can conceal a cut only if its position is confirmed before installation.
For multi-unit developments, repeatable setting-out standards are equally important. Each bathroom may share a specification, but site conditions can vary between units. Clear control lines, agreed details and regular quality checks help maintain consistency without overlooking individual variations.
Before fixing begins, a final review should confirm the tile direction, joint size, feature locations, trim selection, threshold details and cut placement. This is the moment to resolve questions. Once adhesive is applied, changes become costly and can affect the programme.
The difference is visible at the finish line
A precise layout gives the installation its quiet confidence. Grout lines appear intentional, fixtures sit comfortably within the grid and the room feels balanced even when the viewer cannot immediately explain why. That outcome comes from disciplined measuring, considered preparation and the willingness to adjust the plan before work begins.
At Perfectly Laid, setting out is treated as part of the craft, not a quick mark-up before installation. When the first tile is placed with purpose, every tile that follows has a far better chance of delivering the finish your space deserves.