How to Tile Splashbacks With a Precision Finish
A splashback is a relatively small surface, but it sits directly in the eye line. Every grout joint, tile cut and silicone edge is visible at close range. Knowing how to tile splashbacks properly is therefore less about simply getting tiles onto a wall and more about controlling the details that create a crisp, considered finish.
For a straightforward kitchen or laundry wall, a capable DIYer can achieve an excellent result with the right preparation and patience. Where tiles are large format, handmade, natural stone, heavily patterned or run around power points and windows, professional installation is often the safer investment. These materials do not forgive rushed setting-out or uneven walls.
Start with the wall, not the tiles
A beautiful tile cannot disguise poor substrate preparation. Before choosing adhesive or opening a box of tiles, inspect the splashback wall under good light. It should be sound, clean, dry and flat enough for the tile format being installed.
Remove loose paint, wallpaper residue, grease and dust. Kitchen walls, particularly behind hobs, can carry an invisible film of cooking oils that prevents adhesive from bonding correctly. Wash the surface with an appropriate cleaner, allow it to dry fully, then follow with a primer suited to the wall and adhesive system.
Flatness matters more as tile size increases. Small subway tiles can accommodate minor variation, although excessive hollows will still affect alignment. A large porcelain tile may bridge a low point or rock on a high point, leaving lipping between adjacent edges. Correct local imperfections with a suitable patching or levelling compound before tiling rather than attempting to compensate with extra adhesive.
In most splashback applications, a sound painted plasterboard wall can be tiled once it has been properly cleaned and primed. However, areas exposed to sustained moisture, such as behind a laundry sink, deserve closer assessment. If there is evidence of water damage, movement or deteriorating plasterboard, repair the wall first. Adhesive is not a structural repair material.
Plan how to tile splashbacks before mixing adhesive
The layout determines whether a splashback feels intentional or improvised. Dry-lay a section on a clean surface and establish the tile dimensions, grout joint width and any pattern repeat. Then measure the full wall, including the distance between the benchtop, cupboards, rangehood, windows and side returns.
Aim for balanced cuts at the visible ends of a run. A full tile at one edge and a narrow sliver at the other usually looks accidental, even when it is technically square. Shifting the layout by half a tile can produce two wider, more balanced cuts and a much more refined result.
For a centred feature, such as a cooker or window, find the centreline and work outward. For a herringbone, basketweave or geometric pattern, take extra time to establish a true starting point. A pattern that begins a few millimetres out of level will amplify across the wall.
Do not assume the benchtop, wall cupboards or ceiling are level. They often are not. Use a quality spirit level or laser to mark a true horizontal datum line. Depending on the room, you may choose to follow the benchtop visually or hold the tile layout level and allow the bottom joint to vary slightly. This is a design judgement: a perfectly level tile line can look wrong against a visibly sloping benchtop, while following a slope can make the whole installation appear untidy.
Choose the right materials for the tile and wall
Use a polymer-modified wall tile adhesive that is compatible with the tile type, substrate and conditions. Porcelain is dense and generally requires a higher-performance adhesive than standard ceramic. Natural stone may need a white adhesive to avoid shadowing or discolouration, while some translucent glass tiles require a specific adhesive recommended by the manufacturer.
Select grout with the same care. A narrow joint can create a sleek, contemporary surface, but it demands precise tile sizing and installation. Wider joints can suit handmade tiles, where variations are part of the character. Grout colour changes the entire read of the splashback: a close match creates a quiet field of texture, while contrast makes the pattern more pronounced.
For the perimeter and any change of plane, use a mould-resistant sanitary silicone rather than grout. Grout is rigid; silicone accommodates the small movements that occur between a benchtop and wall, or where tiled surfaces meet cabinetry. This is one of the finishing details that protects the installation and keeps it looking sharp.
Set out carefully and apply adhesive evenly
Once the layout is confirmed, mark your reference lines clearly. Protect the benchtop with clean cardboard or a drop sheet, taking care not to use anything that may scratch stone or engineered surfaces. Remove power point covers only after safely isolating the circuit if required, and never interfere with electrical wiring. If outlets need moving, engage a qualified electrician before tiling begins.
Mix only as much adhesive as can be used within its stated working time. Conditions affect this window. Warm rooms, direct sunlight and absorbent walls can cause adhesive to skin over quickly, reducing bond strength.
Use the correct notched trowel for the tile size and comb adhesive in consistent, straight lines. Avoid swirling the adhesive. Straight ridges collapse more effectively when the tile is pressed into place, helping to minimise voids. For larger tiles, apply a thin skim coat to the back of each tile as well as combing adhesive onto the wall. This is known as back-buttering and improves coverage.
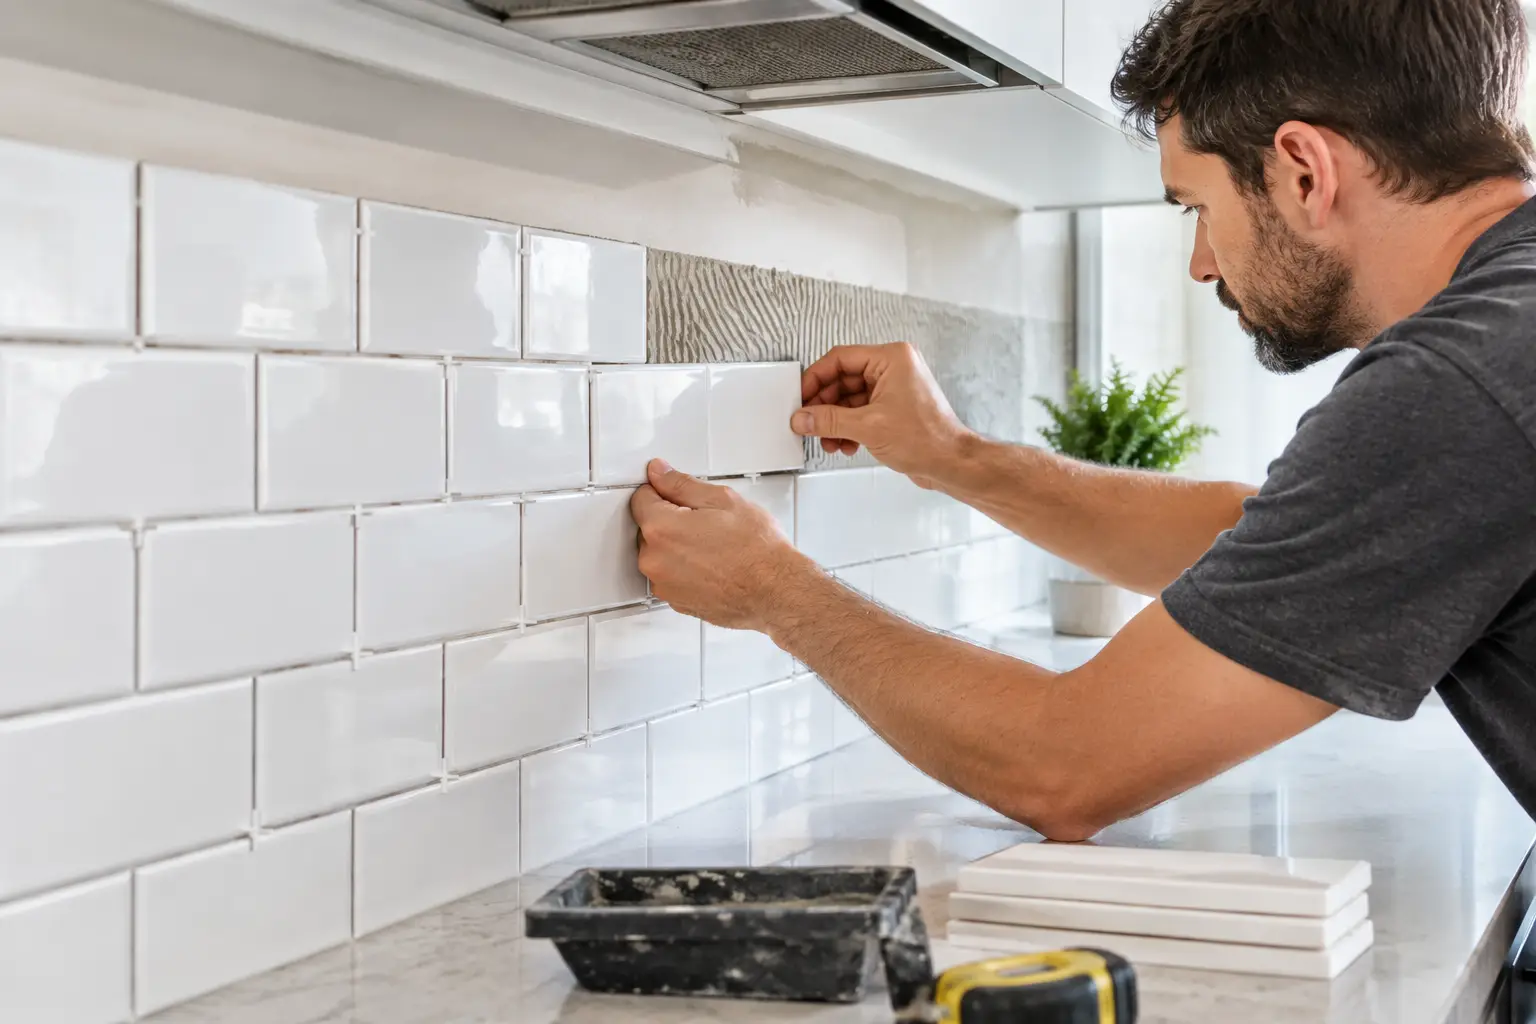
Set tiles with a slight sliding motion across the adhesive ridges, then check coverage by occasionally lifting a freshly laid tile. The adhesive should contact the back evenly, particularly at corners and edges. Do not spot-fix tiles with blobs of adhesive. It may seem faster, but it leaves unsupported areas that can crack under impact or lead to uneven faces.
Use spacers or a levelling system where appropriate, but treat them as aids rather than a substitute for workmanship. Continually check the layout with a level and straightedge. Clean adhesive from joints and tile faces as you work. Once cured, it is far harder to remove without marking glazed surfaces.
Make cuts that look designed, not forced
Most splashbacks require cuts around power points, window reveals, cupboards and rangehoods. Measure each cut individually, especially in older homes where walls and joinery may not run square. The old rule applies: measure twice, cut once.
A quality manual cutter is effective for many ceramic and porcelain straight cuts. For thick porcelain, mitres, natural stone or intricate shapes, a wet saw with a suitable blade usually produces a cleaner edge. Use a diamond hole saw for circular penetrations and an angle grinder carefully for internal cut-outs, ideally finishing exposed edges with a polishing pad where the tile type permits.
Position factory edges where they will be most visible. Place cut edges beneath cupboard lines, at returns or under trims wherever possible. If a cut edge must remain exposed, consider a matching trim profile or professionally finished edge. The right trim should complement the tile and fittings rather than compete with them.
Keep tile cuts around power points generous enough that the cover plate conceals them, but not so large that they become visible once the plate is fitted. Maintain the planned grout joints around outlets too. Randomly tightening or widening joints to make a cut work is one of the quickest ways to disrupt the rhythm of the wall.
Grout, silicone and final cleaning complete the work
Allow the adhesive to cure for the period specified by the manufacturer before grouting. Rushing this stage can disturb tile alignment or trap moisture behind the installation. Apply grout diagonally across the joints with a grout float, pressing firmly to fill the joint fully rather than skimming over the surface.
Wipe away excess with a lightly damp sponge before the grout hardens, rinsing the sponge regularly. Too much water can weaken or wash pigment from fresh grout, so use a controlled touch. Once a light haze appears, polish the tiles with a dry microfibre cloth.
After the grout has cured, apply neat, continuous silicone beads at the benchtop junction and other movement joints. Masking tape can help create straight edges, but remove it while the silicone is still wet. A clean silicone line is a small detail with a substantial effect on the finished appearance.
Finally, refit outlet covers, inspect the wall from several angles and remove any remaining grout haze. A premium splashback should read as one precise surface: straight lines, consistent joints, clean transitions and no visible shortcuts.
For homeowners who want intricate tile layouts, flawless mitres or a finish that matches a high-end renovation, Perfectly Laid approaches splashbacks as precision work from substrate preparation through to the final caulk line. The most useful rule, whether you undertake the work yourself or appoint a tiler, is simple: slow down at the stages nobody notices at first. They are the stages everyone notices once the room is complete.