How to Caulk Tile Edges Neatly Every Time
A tiled wall can be perfectly level, beautifully set out and finished with exquisite grout lines, yet still look unfinished if the perimeter joints are poorly sealed. Learning how to caulk tile edges neatly is what turns a good tiling job into a polished, long-lasting surface – particularly around baths, showers, benchtops and floor-to-wall junctions where movement and moisture are unavoidable.
Caulk is not simply a cosmetic final touch. It is a flexible seal that protects vulnerable junctions while allowing adjacent surfaces to move independently. The cleanest result comes from disciplined preparation, measured application and resisting the temptation to rush the finishing pass.
Start by choosing the right sealant
For tiled wet areas, use a premium sanitary-grade silicone designed to resist mould and remain flexible. Acrylic caulk may be suitable for low-movement, paintable gaps outside wet areas, but it is not the right choice for a shower recess, around a bath or at a tiled splashback exposed to regular water.
Colour matters as much as performance. A matching silicone can make the joint appear almost invisible, while a contrasting colour can deliberately frame the tile edge. In premium bathrooms, the best choice usually depends on the tile, grout and fittings rather than a fixed rule. White silicone against white grout can look crisp, but a colour-matched finish is often more refined on stone-look porcelain, terrazzo or darker tiles.
Check the manufacturer’s recommendations before starting. Some natural stone and highly textured tiles need a neutral-cure silicone to prevent staining or adhesion issues. This is one detail where the right product protects both the visual result and the material itself.
Where tile edges need flexible caulk
A common finishing mistake is to grout every junction. Grout is rigid. Where surfaces meet, they expand, contract and experience minor structural movement. That movement can crack grout and create an entry point for water.
Flexible silicone belongs at changes of plane: where wall tiles meet floor tiles, where two tiled walls meet, and where tiles meet a bath, shower tray, benchtop, window frame or other fixed fitting. It is also typically used at the perimeter of tiled floors, especially in bathrooms, laundries and commercial wet areas.
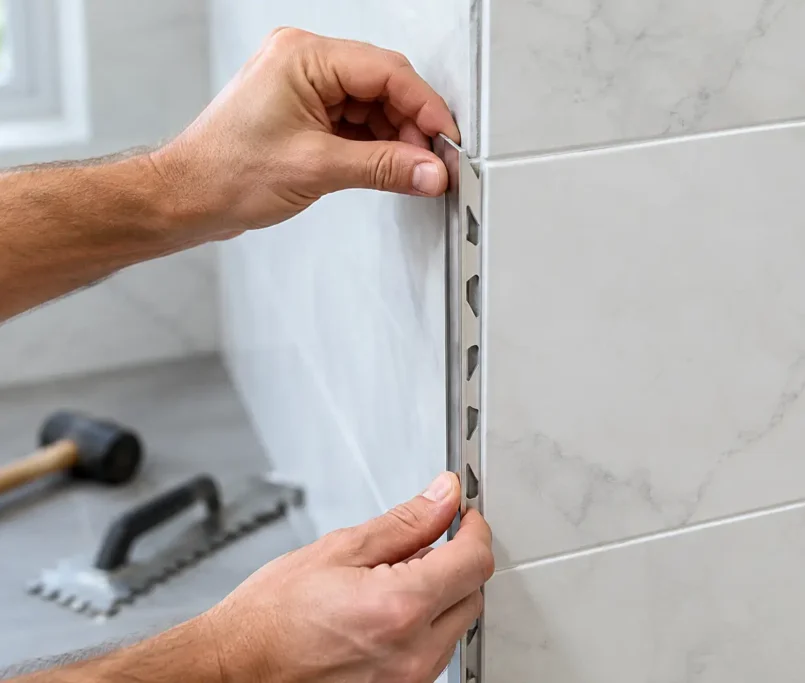
Not every visible tile edge needs caulk. An external tiled corner may be finished with a mitred edge or a tile trim, depending on the design. Caulking should be purposeful, not used to disguise uneven cuts, hollow spots or inadequate preparation. A sealant joint can refine a properly executed installation; it cannot correct one that was poorly set out.
Preparation is what makes caulk lines look precise
The difference between a sharp silicone line and a smeared, uneven one is usually decided before the cartridge enters the gun. The joint must be clean, dry and free of dust, grout residue, soap, oils and old sealant. Silicone will not reliably bond to contamination, and moisture trapped beneath it can compromise the seal.
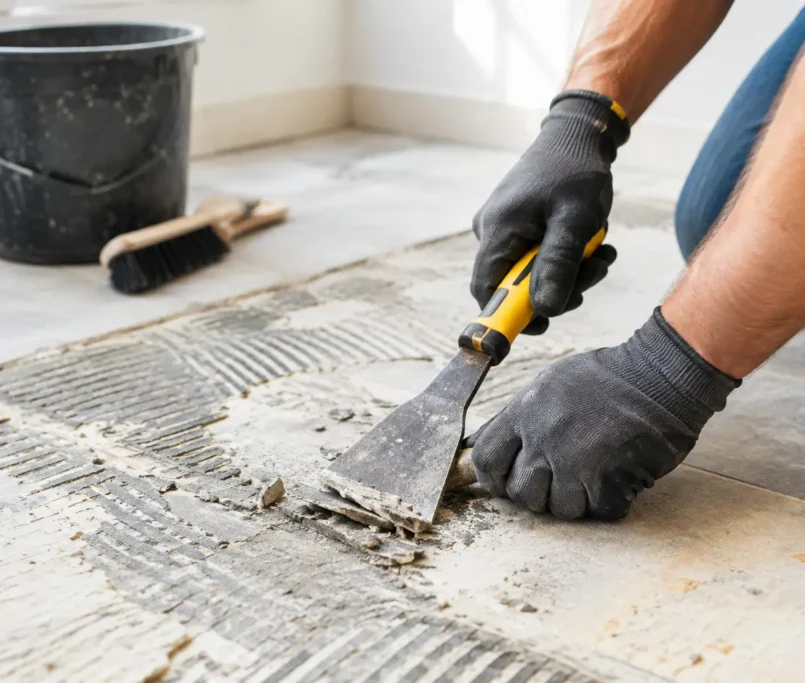
If replacing old silicone, cut it out carefully with a sharp utility knife or sealant removal tool. Avoid scratching glazed tiles, acrylic baths or powder-coated frames. Remove remaining residue with an appropriate silicone remover, then clean the junction and allow it to dry completely. In a shower enclosure, this may mean leaving the area unused for a full day after cleaning.
Assess the joint width before applying anything. Very deep or wide gaps may need backing rod so the silicone bridges the joint correctly rather than sinking into it. The aim is a controlled, flexible bead with clean adhesion to each side of the joint. Overfilling a deep gap wastes material and can reduce performance.
Masking tape is not always essential, but it is valuable when working with large-format tiles, textured surfaces, natural stone, dark grout or a contrasting silicone colour. Apply two straight strips, leaving an even channel between them. Take time to align the tape – it is far quicker than trying to correct a wandering bead later.
How to caulk tile edges neatly: the application method
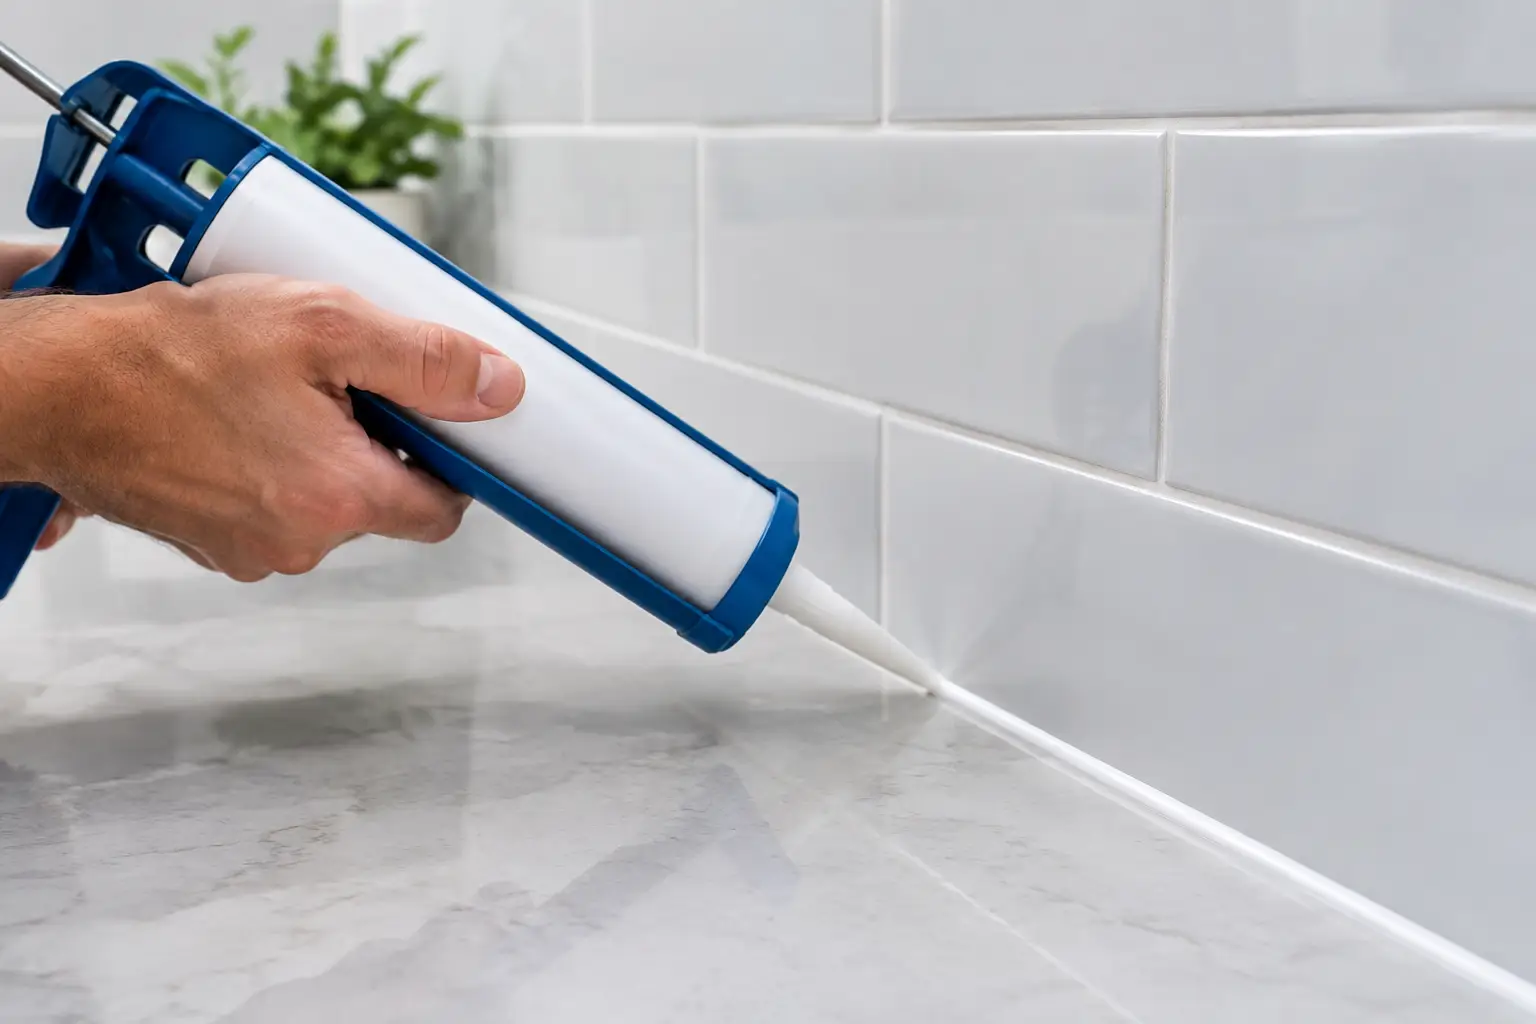
Load the cartridge into a quality caulking gun and cut the nozzle at a 45-degree angle. Start with a smaller opening than you think you need. You can always enlarge it, but an oversized nozzle makes it difficult to control the bead and encourages excess silicone.
Hold the nozzle so it sits into the joint, rather than skimming across the tile face. Keep steady pressure on the trigger and move at a consistent pace. The goal is to slightly overfill the gap with one uninterrupted bead. Stopping and starting midway through a visible wall-to-wall joint often leaves ridges that remain obvious once cured.
For vertical joints, many installers find it easier to work from top to bottom, which helps prevent excess material gathering at the lower end. For long horizontal runs, work in manageable lengths if needed, but plan each section around natural breaks such as corners, frames or fittings.
Apply only as much silicone as you can tool before it begins to skin. Cure and skin times vary between products and room conditions. In warm or dry conditions, silicone can begin to firm up quickly, so keep your work area organised and avoid trying to seal an entire large bathroom in one pass.
Tool the bead once, with confidence
Immediately after applying the bead, tool it with a silicone profiling tool or a clean gloved finger lightly lubricated with a suitable smoothing solution. The purpose is to press the sealant firmly into both sides of the joint and create a consistent, slightly concave profile that sheds water rather than holding it.
One smooth pass is better than repeated fiddling. Overworking silicone drags it out of the joint, creates texture and leaves uneven edges. Wipe your tool frequently with a clean cloth, and do not return excess silicone to the cartridge nozzle.
If you have used masking tape, remove it straight after tooling, while the silicone is still wet. Pull the tape slowly back over itself at an angle away from the fresh joint. Waiting until the sealant has started to cure can tear the edge and defeat the purpose of masking.
The details that separate a clean finish from a messy one
The most professional caulk lines are consistent in width, smooth in profile and cleanly connected at corners. Corners deserve special attention. Rather than ending one bead bluntly into another, maintain a continuous, neatly tooled transition so there is no visible gap or bulky build-up.
Keep a supply of clean, lint-free cloths nearby. If silicone gets onto the tile face, remove it immediately and carefully. Once cured, removal is slower and carries a greater risk of damaging a delicate surface or leaving a visible film.
Avoid using excessive smoothing liquid. A lightly moistened tool is enough. Too much solution can interfere with adhesion, particularly on the edge of the joint, and can make silicone spread farther across the tile than intended.
Finally, give the sealant time to cure. Do not expose a newly sealed shower, bath edge or splashback to water until the product’s specified cure period has passed. A neat bead that is disturbed too early can pull away from the tile or develop a weak point that will fail prematurely.
When a professional finish is the better option
Straightforward silicone replacement can be a manageable maintenance task. However, high-end finishes, large-format tiles, natural stone, complex shower details and commercial fit-outs leave little room for error. If the existing silicone has failed repeatedly, there may also be a deeper issue with movement, substrate preparation, falls or waterproofing that a new bead alone will not resolve.
At Perfectly Laid, finishing details are treated as part of the installation system, not an afterthought. Precise caulking sits alongside proper surface preparation, waterproofing and tile setting to protect the integrity of the completed space.
Take your time at the edges. They are where water, movement and close scrutiny meet – and where a carefully applied line of silicone quietly proves the quality of the work behind it.