How to Tile Curved Walls Without Compromise
A curved wall can be the detail that makes a bathroom, reception area or feature shower feel genuinely considered. It can also expose every shortcut in the installation. Knowing how to tile curved walls is less about forcing tiles around a shape and more about controlling the substrate, selecting materials that suit the radius and setting out every line with intent.
The finished surface should read as one continuous architectural element. No stepped edges, wandering grout joints, cracked corners or awkward cuts at the transition to adjoining walls. That standard begins well before adhesive is opened.
Start with the curve, not the tile
Not all curved walls are alike. A broad, gentle radius may accept a wider range of tiles than a tight shower nib or rounded column. Convex curves, where the wall bows outward, place different demands on tile edges than concave curves, where the surface curves inward. The tighter the radius, the smaller and more flexible the tile format generally needs to be.
First, assess the wall from several angles. Use a straightedge and profile gauge to identify flat spots, hollows and changes in the radius. A wall can look smooth to the eye yet still contain enough variation to throw off grout lines or leave voids beneath the tile. On a high-end finish, those inconsistencies become visible once light grazes across the surface.
The curve must also be structurally sound and suitable for the room. In wet areas, this means confirming the substrate is stable, properly lined and ready to be waterproofed. If the wall needs correcting, it is usually more efficient and reliable to rebuild or render the curve accurately than to attempt to hide defects with adhesive.
Choose tiles that work with the radius
Tile selection is where design ambition meets physical reality. The material may be beautiful, but it still needs to sit cleanly against the wall without excessive pressure, lipping or stressed edges.
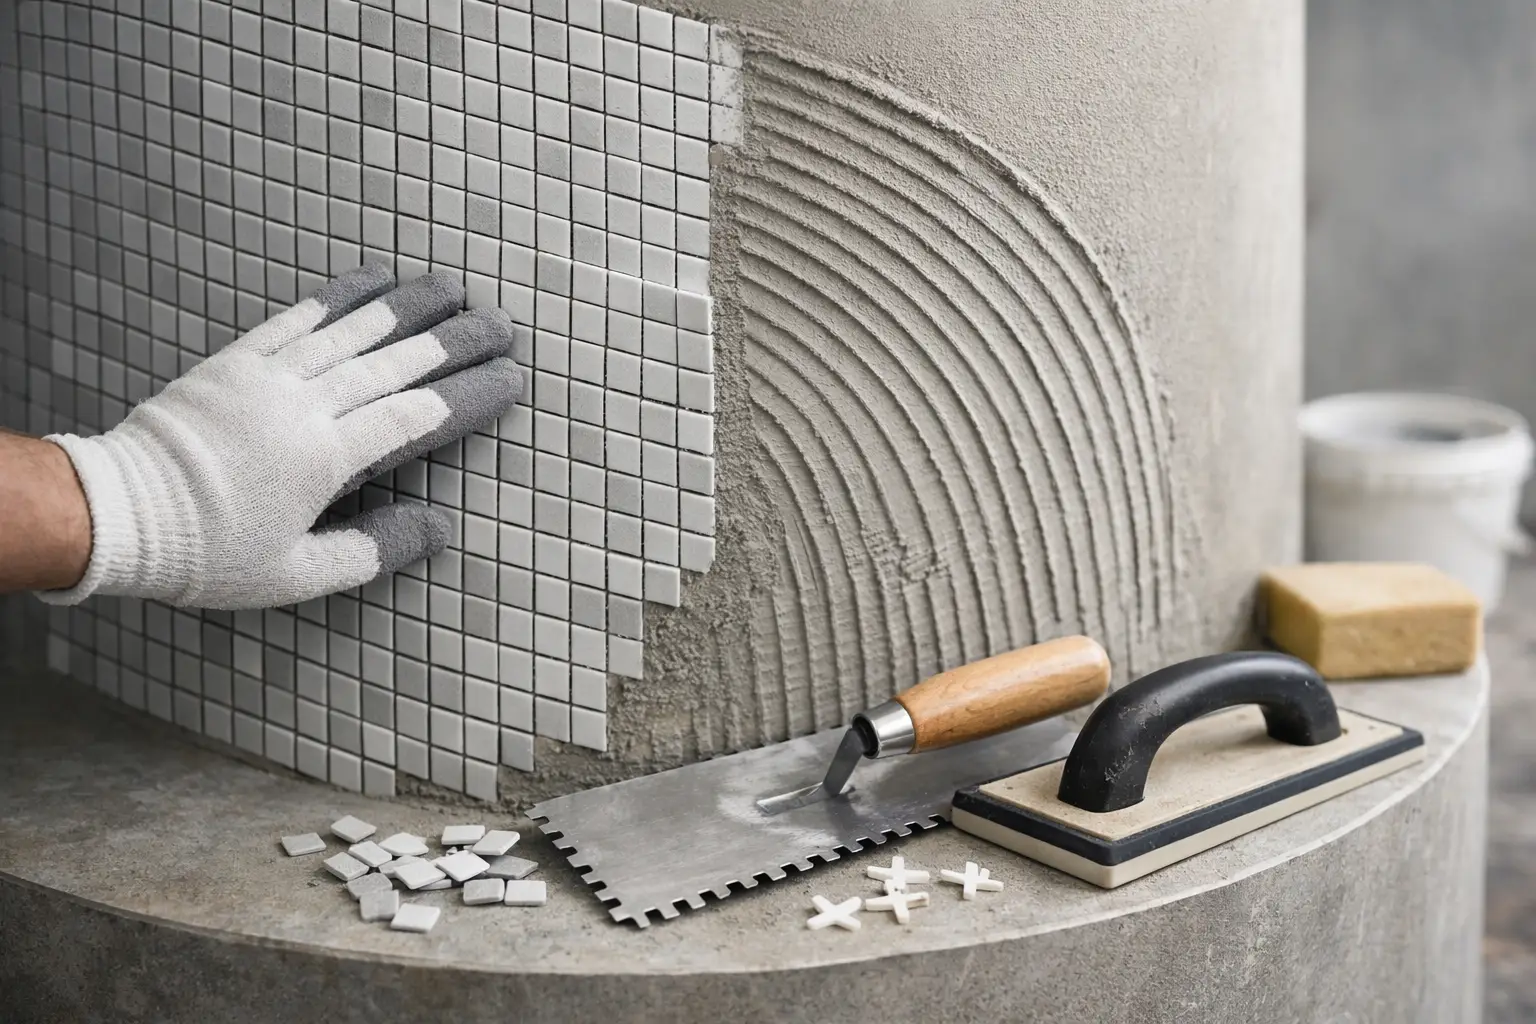
Small-format mosaics are the most accommodating choice for tight radii. Their individual pieces follow the curve naturally, while the sheet backing speeds up installation. They are particularly effective in shower enclosures, niches, rounded benches and feature columns. The trade-off is that mosaics introduce more grout joints, which means more careful cleaning and finishing are required to keep the surface looking refined.
Slim porcelain formats can work on generous curves, especially where the manufacturer confirms the tile’s suitability. Some tiles can be carefully cut into narrower strips to help them follow the radius. This creates a tailored, linear effect, although it increases labour and demands very consistent cutting.
Large-format tiles are not automatically ruled out, but they require caution. A broad curve may accommodate them where the tile is narrow enough or where specialist cutting and controlled handling are used. Trying to bend a rigid tile beyond its tolerance risks cracking during installation or after the room comes into use. Natural stone brings further variation, as thickness and material strength can differ from piece to piece.
Before committing to a full installation, create a dry sample on the actual curve. It is the quickest way to test fit, grout width and visual rhythm under the room’s real lighting.
How to tile curved walls with precise setting out
Setting out determines whether a curved installation feels calm and intentional or busy and compromised. A centre line alone is rarely enough. The installer needs to consider where the curve starts and finishes, how it meets nearby surfaces and where cuts will fall at eye level.
For a rounded feature wall, begin by identifying the most visible point of the curve. This is often the centre of a convex wall or the point directly opposite the room entrance. From there, establish balanced tile positions so cut tiles at either side are equal or visually discreet. On a shower wall, the relationship between the tile pattern, shower screen, niche and fittings should be resolved before installation begins.
Horizontal datum lines need equal discipline. Walls and floors are not always level, particularly in renovations. Setting the first row from an uneven floor can cause every subsequent grout joint to drift. A level datum or temporary ledger gives the installation a true reference point, allowing perimeter cuts to absorb any variation at the floor or ceiling.
On curves, grout joints can appear to widen or tighten visually as they travel around the radius. Consistent spacers and frequent checks are essential, but judgement matters too. The aim is not simply uniform measurements. It is a surface that looks balanced from the angles people will actually see.
Prepare the substrate to a finish-ready standard
Curved tiling does not forgive poor preparation. Adhesive is designed to bond tiles, not correct a wall that is out of shape. Building up thick, uneven adhesive beds makes it harder to achieve proper coverage and can lead to inconsistent tile faces.
The preferred approach is to form the curve accurately beforehand. Depending on the construction, this may involve suitable flexible backing boards, cement-based render, levelling compounds or carefully formed masonry. Each layer must cure as required and be compatible with the next stage of the system.
In bathrooms, laundries and other wet areas, waterproofing must follow the prepared surface, including every change of plane, penetration and junction. A curved shower wall may look like a single uninterrupted form, but it still needs a continuous waterproofing strategy behind the tile. This is one area where an attractive finish can conceal a serious failure if the work beneath has not been completed properly.
The surface should be clean, sound and primed where the adhesive system requires it. Good preparation protects both the visual result and the long-term performance of the installation.
Install with controlled adhesive coverage
Use an adhesive specified for the tile, substrate and location. In many curved-wall applications, a quality flexible adhesive gives the installer the working properties needed to achieve full contact without the tile slipping out of position. The correct choice depends on the tile type, wall construction and whether the area is exposed to moisture or temperature movement.
Apply adhesive in manageable sections. On a curve, it is tempting to spread a large area, but adhesive can skin over before sheets or individual tiles are placed. Trowel direction should support air release as the tile is bedded in, and back-buttering may be needed for larger pieces or where coverage is difficult to achieve.
Press each tile into the adhesive with even pressure, checking it against the curve as work progresses. Do not rely on grout to disguise lipping. Where mosaic sheets are used, inspect the joints between sheets closely. Sheet lines are one of the most common signs of rushed mosaic work, particularly around a rounded wall where the backing can pull the spacing out of alignment.
For a convex curve, take care that tile corners do not sit proud as they travel over the apex. For a concave curve, make sure tiles are fully supported rather than bridging across a hollow. Regularly lift a tile or sheet during the early stages to verify adhesive transfer and adjust technique before the issue continues across the wall.
Give edges and transitions the same attention
A curved wall usually terminates somewhere: at a ceiling, return wall, floor, opening or glass screen. These details should be decided as part of the layout, not improvised on the final day.
Mitred edges can create a crisp, contemporary finish where suitable, but they require strong material, accurate cutting and protection from impact. A matching trim may be a more practical choice in busy commercial areas or on exposed external corners. For handmade or natural materials, a carefully selected edge treatment can preserve the character of the tile without looking overly engineered.
Changes of plane should not be hard-grouted. Use a colour-matched flexible sealant at movement joints, wall-to-floor junctions and where tiled surfaces meet different materials. This allows for normal building movement and keeps the detail clean. The sealant line should be neat, consistent and placed only after the tiling and grout have cured appropriately.
Grout for performance and visual calm
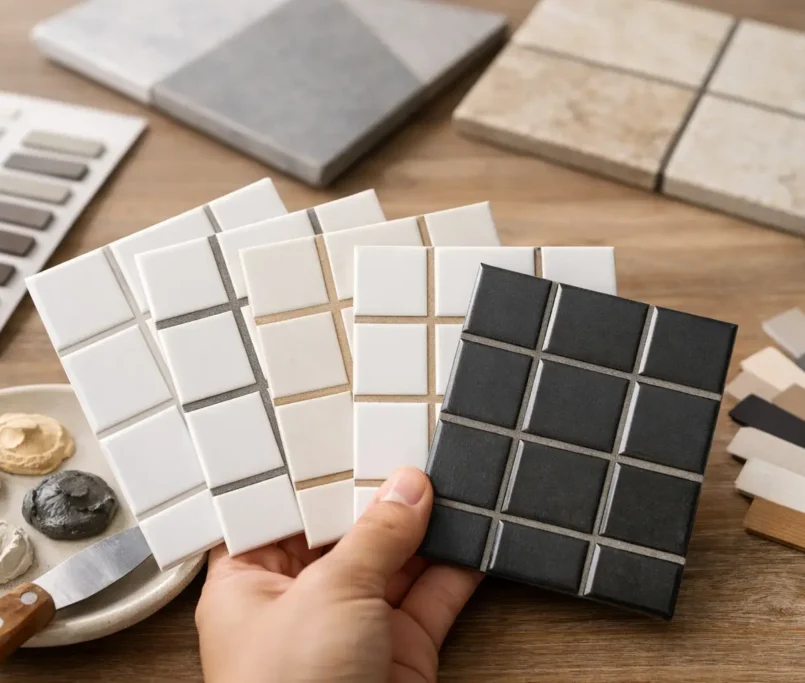
Grout colour has an outsized effect on curved walls. A matching grout can make mosaics feel almost monolithic, allowing the curve itself to take centre stage. A contrasting grout emphasises the pattern and can be striking, but it also makes every alignment variation more visible.
Use grout suited to the joint width and room conditions, then clean it methodically. Curves catch light from multiple directions, so haze, pinholes and uneven joint profiles are far easier to notice than on a flat wall. Final polishing, silicone work and a detailed inspection under the project lighting are not minor finishing tasks. They are what separate a competent installation from a considered one.
For complex curves, expensive finishes or wet-area work, specialist installation is a worthwhile safeguard. At Perfectly Laid, the focus is on resolving the preparation, waterproofing, setting out and finishing as one coordinated scope, so the final surface has the precision its design demands.
A curved wall should never feel like a difficult shape that has been managed. When the radius, tile format and finishing details are resolved together, it becomes the feature people notice for exactly the right reason.