How to Retile an Alfresco Area Properly
An alfresco area usually shows failure before the rest of the home does. Tiles start to sound hollow, grout opens up, puddles sit where water should run off, and the finish that once felt sharp begins to look tired. If you are asking how to retile an alfresco area, the real job is not simply replacing tiles. It is correcting whatever caused the original installation to fail, then rebuilding the surface with the precision an exposed outdoor space demands.
Outdoor tiling has less forgiveness than an internal floor. It deals with rain, direct sun, temperature movement, furniture traffic, barbecue grease, and in many homes, the visual pressure of being connected to a kitchen or living area. A poor installation will show itself quickly. A well-executed one should feel clean, level, deliberate and built to last.
How to retile an alfresco area starts with diagnosis
Before any demolition begins, inspect the existing surface carefully. The visible problem might be cracked grout or lifting tiles, but the underlying issue is often poor preparation, inadequate falls, movement in the slab, water ingress, or the wrong adhesive for external conditions.
Check whether the area drains properly after rain. Look for low spots where water sits, drummy tiles that suggest bond failure, and cracked joints around edges or thresholds. If the alfresco adjoins internal living spaces, pay close attention to the transition point. Water tracking back towards the home is not a cosmetic issue. It is a construction issue.
This stage matters because it determines scope. Some projects need a straightforward retile over a sound substrate. Others require complete removal, re-levelling, screeding, waterproofing, and movement joint planning before a single new tile is laid. The difference in outcome is significant.
Demolition is only the beginning
Removing the old finish should be done cleanly and with the substrate in mind. If the slab beneath is damaged during demolition, you can create more work than you solve. Once the old tiles, adhesive and loose material are cleared, the surface needs to be assessed properly.
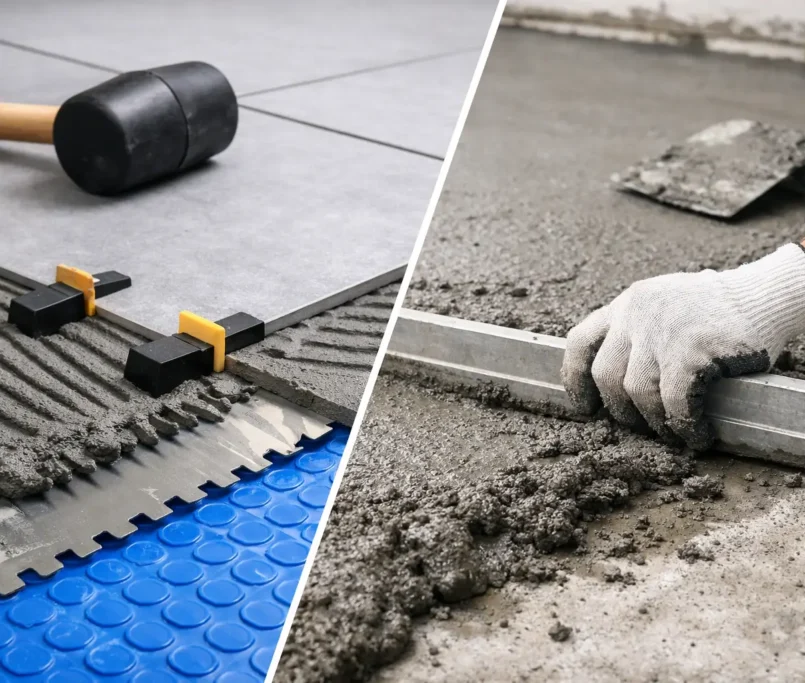
A sound substrate should be stable, clean, and suitable for outdoor tile installation. In practice, this often means repairing cracks, grinding high points, filling voids, and removing contaminants that would compromise adhesion. If the existing slab has poor falls, this is the point to address it. Retiling over a badly graded surface simply gives you a newer version of the same drainage problem.
Where falls need correction, a properly installed screed can make the difference between an alfresco that performs beautifully and one that always feels compromised. The goal is simple – controlled water run-off away from the house, without awkward lips or visual inconsistency.
When the substrate needs more than a patch repair
Not every slab is ready for tile once it has been cleaned up. Some outdoor areas show widespread movement cracking, previous failed repairs, or inconsistent levels across the space. In these cases, a quick fix is rarely the right one.
If the base is unstable, investing in proper preparation protects the entire installation. This is where quality-first tiling contractors distinguish themselves. The tile is the visible finish, but the performance comes from everything underneath it.
Choosing tiles for an alfresco area
Tile selection should be led by performance first and aesthetics second, though the best projects deliver both. Outdoor tiles need to handle moisture, temperature variation and regular wear. Slip resistance is also a key consideration, especially around pools, open edges, or homes where the alfresco is used year-round.
Porcelain is often a strong choice because it is dense, durable and available in refined finishes that suit contemporary outdoor spaces. Natural stone can create an exceptional look, but it requires more consideration around porosity, maintenance and installation detail. Larger format tiles can make an alfresco feel more expansive and premium, though they also demand tighter substrate tolerances. If the floor is not properly prepared, larger tiles will expose every imperfection.
Colour and finish matter too. Dark tiles can absorb heat in full sun, while heavily textured finishes may trap dirt. The right selection depends on how exposed the space is, how it connects with the interior, and whether the priority is low maintenance, architectural sharpness, or a more natural finish.
Waterproofing, falls and movement matter more outdoors
Many failed alfresco floors look fine on installation day. Problems appear later because the technical detailing was treated as secondary. In external areas, it should never be secondary.
Where waterproofing is required, it needs to be compatible with the substrate and the adhesive system. Edges, upturns, thresholds and penetrations all need disciplined treatment. If water finds a path beneath the tiles, bond failure and staining can follow.
Falls also need to be right before laying begins. Trying to fix drainage with adhesive thickness is poor practice and usually leads to uneven support beneath the tile. A properly prepared base allows each tile to sit with full contact and consistent alignment.
Movement joints are another detail often overlooked in lower-quality work. Outdoor areas expand and contract. Without correct movement accommodation, the stress has to go somewhere, and that somewhere is usually the tile bed or grout line.
Installing the new tile with precision
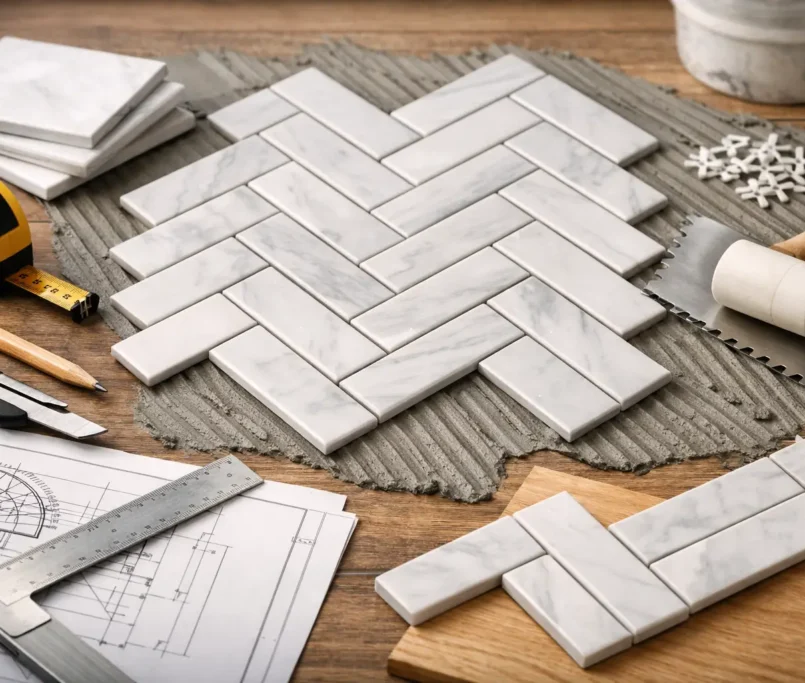
Once the surface is properly prepared, the tiling itself becomes a matter of craftsmanship and control. Layout should be considered before adhesive is mixed. That means planning cuts, setting out to suit thresholds and edges, and avoiding awkward slivers in visible areas.
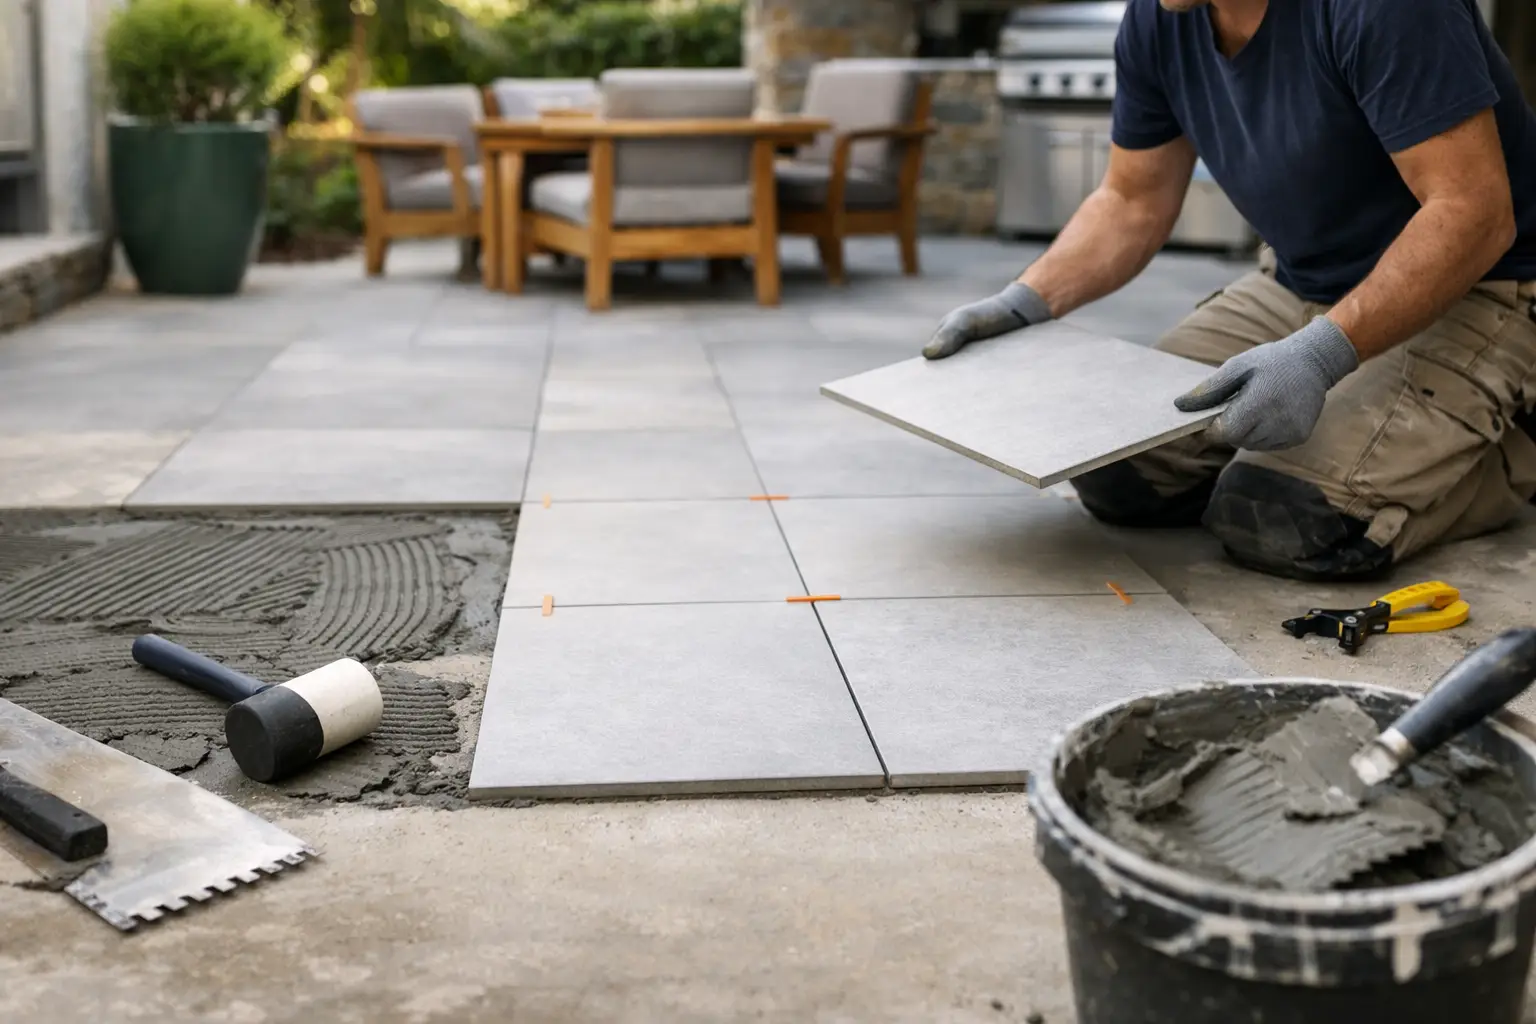
External tile installation requires suitable adhesives and installation methods for the conditions. Coverage matters. Voids beneath outdoor tiles increase the risk of cracking and water-related issues, so achieving proper bedding is essential. Spacing should remain consistent, and lippage should be tightly managed, especially where the alfresco links directly to interior living zones with a more refined visual standard.
This is where experience shows. A premium outdoor tiled area should not only perform well under weather exposure. It should read as intentional design. Clean lines, balanced set-out, precise joints and careful edge treatment are what elevate the result.
The finishing details that protect the look
Grouting and caulking are often treated as the last small tasks, but they have a disproportionate effect on both appearance and durability. The grout needs to suit the tile, the joint width and the conditions. Caulking should be neat, flexible and correctly applied where movement is expected.
Poor finishing can undermine an otherwise strong installation. Sharp tile work with messy sealant lines or inconsistent grout joints never feels premium. In an alfresco area, where light is harsher and surfaces are viewed from multiple angles, those details are impossible to hide.
Should you DIY or bring in a specialist?
There are smaller outdoor tiling jobs that competent DIY renovators can attempt, but retile work is rarely the easiest version of the trade. Existing failures need to be diagnosed accurately. Substrates often need correction. Drainage, external adhesives, movement detailing and finishing all need to be right.
If the alfresco is a key entertaining space, sits at the rear of a high-value home, or connects directly to internal flooring, poor execution becomes expensive very quickly. The visual standard is higher, and the technical risk is greater. In these cases, specialist installation is usually the more cost-effective choice over the life of the floor.
For builders, developers and project managers, the equation is even clearer. Outdoor tiled areas affect programme, waterproofing coordination, defect risk and final presentation. Working with a contractor that handles preparation through finishing brings more control and fewer surprises.
What a proper alfresco retile should cost you
Cost depends on more than tile size and square metre rate. The biggest variables are demolition complexity, substrate condition, whether screeding or waterproofing is required, and how much detailing is needed around doors, steps, drains and edges.
A cheaper quote can look attractive until you discover it excludes the work that actually determines performance. If one contractor prices for removal and direct lay, while another includes re-levelling, waterproofing and movement joints, they are not quoting the same job.
Ask what is included beneath the tile. Ask how falls will be handled. Ask what system is being used outdoors and how transitions will be finished. Clients who care about quality should expect clear answers. At Perfectly Laid, that clarity is part of protecting the final result.
How to know the job is finished properly
A successful alfresco retile should feel effortless to use. Water should drain as intended. The floor should feel solid underfoot, with no hollow spots or rocking tiles. Joints should be consistent, cuts should be deliberate, and edge detailing should look resolved rather than improvised.
Most importantly, the space should feel elevated. A well-retiled alfresco does more than replace tired materials. It sharpens the architecture, improves liveability and gives the outdoor area the same level of finish as the rest of the home.
If you are planning how to retile an alfresco area, think beyond the tile you can see. The best outdoor floors are built from the substrate up, with every layer working together. Get that right, and the space will not just look better for the next season. It will stay composed, durable and beautifully finished for years to come.