How to Install Tile Trim for a Flawless Finish
Tile trim is a small detail with a disproportionate effect on the finished room. It protects exposed tile edges, creates a crisp visual stop and gives a bathroom, kitchen or alfresco area the deliberate, tailored finish that quality tiling demands. Knowing how to install tile trim properly means treating it as part of the tile layout, not an accessory added at the end.
At Perfectly Laid, finishing details are planned from the first set-out lines. The right trim profile, material and placement should support both the design and the demands of the space, whether it is a refined shower niche, a hard-working kitchen splashback or a high-traffic commercial fit-out.
Choose tile trim before setting out the tiles
The first decision is not where to cut the trim. It is selecting a profile that works with the tile thickness, room style and level of exposure. A trim that sits too proud of the tile catches the eye for the wrong reason. One that is too shallow leaves the tile edge vulnerable and can create a weak, unfinished line.
Measure the tile thickness, including the expected adhesive bed. Most trims are sized to the tile depth, but large-format tiles, uneven substrates and natural stone can require careful allowance. The aim is for the finished face of the trim to sit flush with, or just fractionally below, the tile surface. It should protect the edge without becoming the dominant feature.
Material matters as much as profile. Aluminium trim is widely used for clean contemporary lines and comes in finishes that complement tapware and hardware. Stainless steel offers greater resilience in busy commercial settings or areas exposed to moisture and cleaning chemicals. PVC can be practical for budget-conscious applications, while brass delivers a more distinctive design statement but needs suitable care. In wet areas, choose a corrosion-resistant product designed for the environment.
Straight-edge, square-edge and rounded profiles each create a different effect. A narrow square trim suits modern rectified tiles. A rounded profile can soften a family bathroom or protect a frequently used external corner. For a premium outcome, match the trim finish intentionally with other visible metalwork rather than treating it as an isolated choice.
Prepare the substrate and finalise the layout
Trim cannot correct a wall that is out of plumb, a floor that has not been levelled or a poor tile set-out. Those underlying issues will telegraph through every line of the installation. The substrate should be sound, flat and suitable for tiling, with waterproofing completed and cured where the location requires it.
Before mixing adhesive, dry-lay the critical areas. This is particularly important around shower niches, window returns, external corners, splashbacks and feature walls. Check where full tiles will land, how the grout joints will align and whether the trim will finish cleanly at a ceiling, benchtop, floor or adjoining wall.
Avoid starting a run of trim without knowing exactly how it will terminate. A visible end at eye level may need an end cap, a neat mitre or a return detail. At an external corner, two trims meeting with an untidy overlap can undermine an otherwise exceptional installation. These decisions are simple on paper but difficult to disguise once adhesive has cured.
How to install tile trim with precision
Cut trim only after confirming the tile layout and joint widths. Mark each length carefully, allowing for mitres, end caps and any visible transitions. Use a mitre box or a suitable saw with a fine blade designed for the trim material. Cuts should be square, clean and free from burrs. Lightly smooth sharp edges where needed, taking care not to damage coated or polished finishes.
Apply tile adhesive to the prepared substrate with the correct notched trowel for the tile size and surface conditions. The adhesive bed must provide proper support behind both the tile and trim. Do not rely on isolated dabs, especially in wet areas or on larger-format tiles, where inadequate coverage can lead to cracking or debonding.
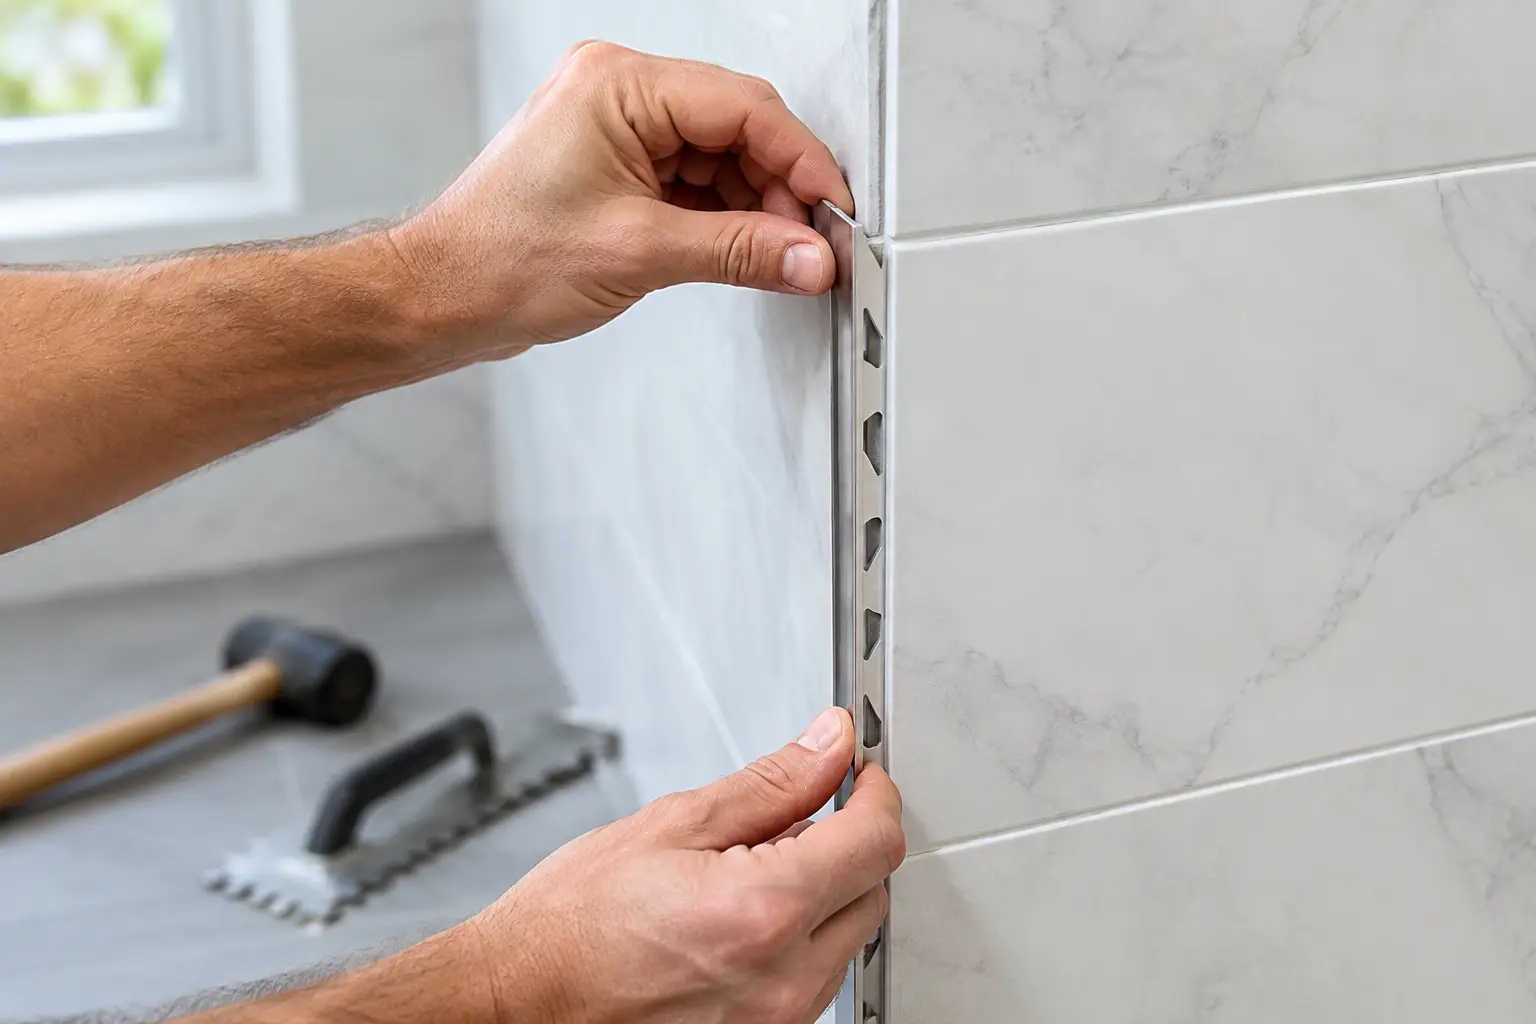
Press the perforated anchoring leg of the trim firmly into the fresh adhesive. Run a straightedge along the visible face to confirm that it is straight and properly aligned. Adhesive should fill the perforations, creating a secure mechanical bond, but keep the finished face of the trim clean. Dried adhesive on metal finishes is difficult to remove without scratching the surface.
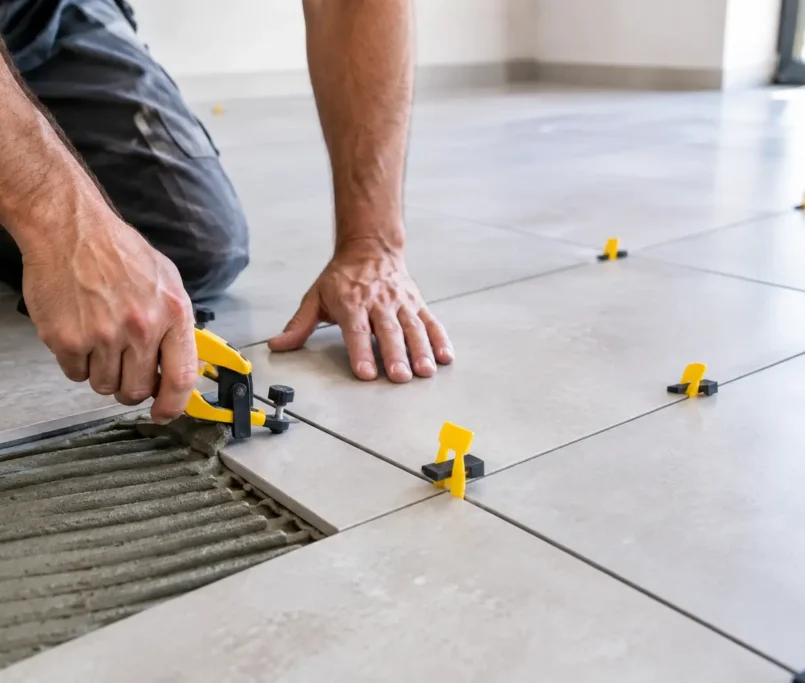
Then bed the adjacent tiles into the adhesive, maintaining consistent grout joints between the trim and tile. Tile spacers are useful, but do not force the tile hard against the profile. A defined grout joint allows for a neat finish and helps accommodate minor variation. Check the tiles and trim together with a straightedge as you progress. A trim line that starts straight can still wander if tile pressure is not controlled.
Where two lengths meet, align them tightly and ensure their faces are level. On long walls, slight inconsistencies become far more visible than they appear during installation. For mitred external corners, dry-fit both pieces first. The joint should close neatly without gaps, and the profile faces should meet at an even angle. If the wall corner is not truly square, a precise cut may need minor adjustment rather than a rigid 45-degree approach.
Respect movement joints and wet-area details
Tile trim is not a substitute for movement accommodation. Internal changes of plane, such as wall-to-wall and wall-to-floor junctions, generally require a flexible sealant joint rather than rigid grout. The same principle applies where tiled surfaces meet baths, shower trays, benchtops, window frames or other dissimilar materials.
In a shower or other wet area, waterproofing must continue behind the tile installation and be properly detailed at penetrations, corners and junctions. Trim protects tile edges, but it does not waterproof an assembly. If there is any uncertainty about substrate condition, waterproofing integrity or drainage falls, resolve it before tiling begins. A beautiful edge detail cannot compensate for moisture entering behind the finish.
Outdoor applications require additional consideration. Select trim suitable for ultraviolet exposure, temperature changes and the local environment. Ensure the installation allows for movement and that water is directed away from vulnerable edges. Exterior work is less forgiving because thermal expansion, weather and substrate movement place greater pressure on every finishing detail.
Grout and finish without damaging the profile
Allow the adhesive to cure in line with the manufacturer’s guidance before grouting. Apply grout carefully into the joint between tile and trim, compacting it fully while keeping the profile face as clean as possible. Work in manageable sections and clean excess grout promptly with a suitable sponge and clean water.
Do not use aggressive abrasives, acidic cleaners or metal tools on finished trim unless the manufacturer specifically permits them. Brushed, powder-coated and polished profiles can all be marked by careless cleaning. After grouting, inspect the work in natural and artificial light. Look along the trim rather than only at it – this reveals small deviations, adhesive residue and uneven joints that are easy to miss from directly in front.
The final sealant work deserves the same discipline. Where a flexible joint is required, use the appropriate sanitary-grade or construction sealant in a consistent bead. The colour should complement the grout and surrounding finishes. A rushed sealant line next to perfectly installed trim is still a visible compromise.
When professional installation is the smarter choice
A straightforward splashback edge may be within reach for an experienced renovator with accurate tools and patience. However, high-end bathrooms, large-format porcelain, natural stone, feature niches and multi-room projects leave little room for correction. Once a trim is set in adhesive, removing it without damaging waterproofing, tiles or adjacent finishes can be costly.
Professional tilers bring more than clean cuts. They assess the substrate, establish balanced set-outs, manage waterproofing interfaces and make the small adjustments that allow trims, grout joints and tile lines to read as one considered composition. This is especially valuable where multiple trades and premium fixtures need to align precisely.
A properly installed trim should never ask for attention. It simply frames the tilework, protects the edges and lets the room feel complete. Give that narrow line the same care as the tile itself, and it will carry the finish with quiet confidence for years to come.