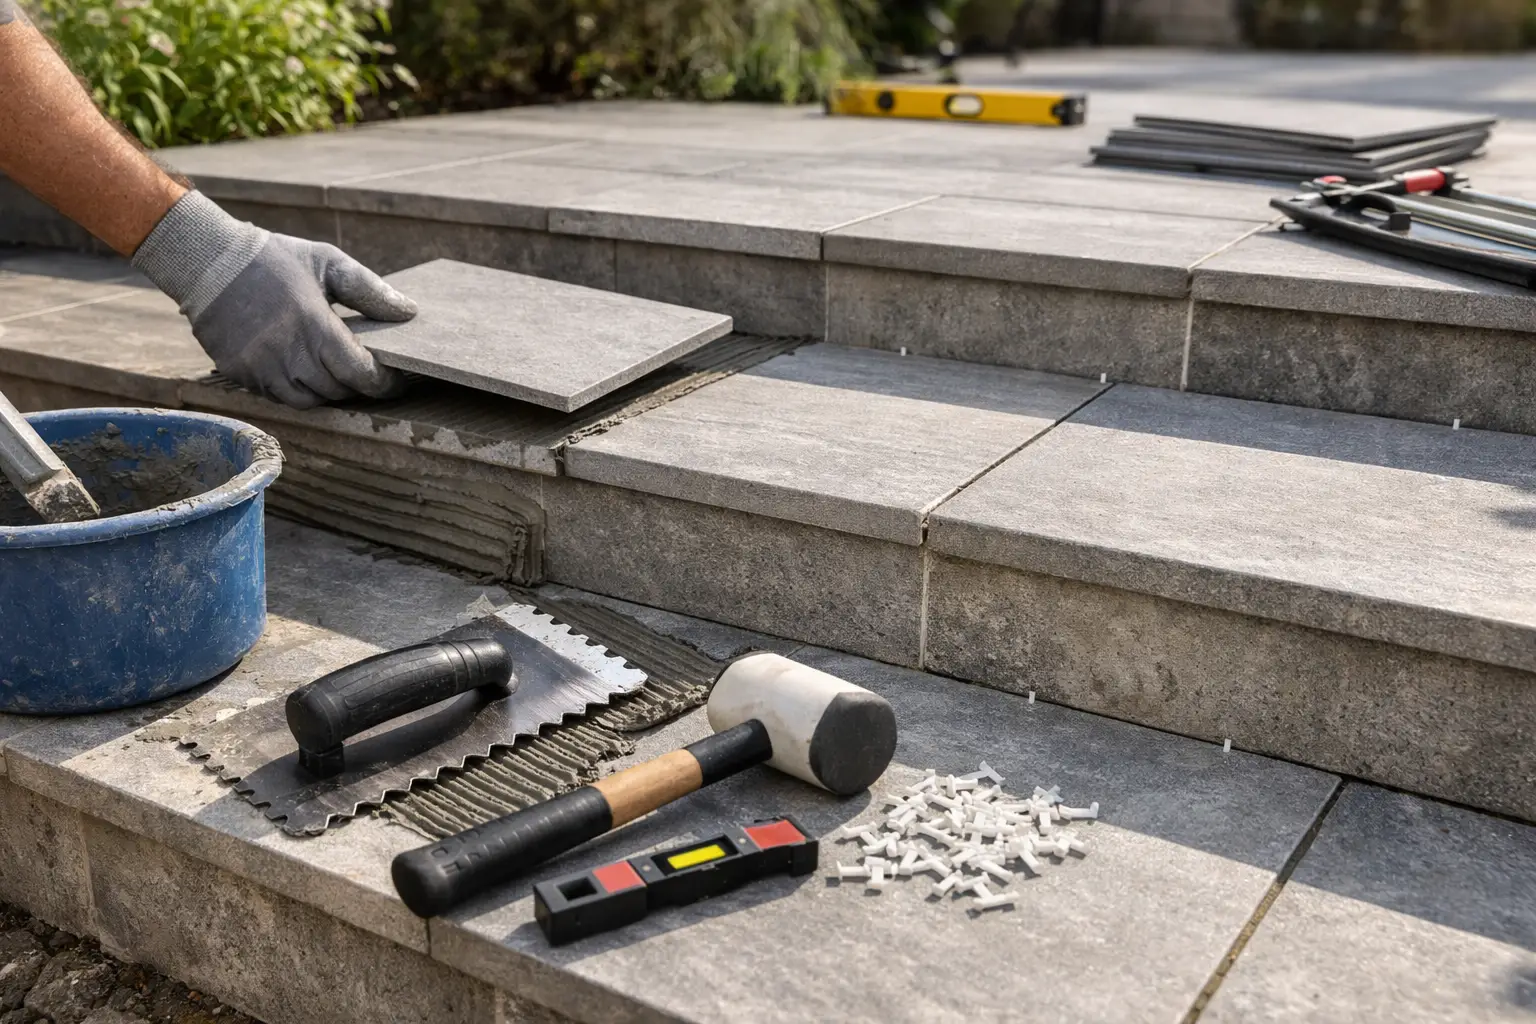
How to Tile Outdoor Steps for a Lasting Finish
Outdoor steps have nowhere to hide poor workmanship. Every riser line, cut edge and grout joint is visible on approach, while rain, temperature changes and daily foot traffic test the installation long after the project is finished. Knowing how to tile outdoor steps starts with understanding that the tiles are the final layer of a system, not a cosmetic cover for an uncertain base.
A beautifully tiled entrance, garden stair or alfresco transition can transform the way a property feels. But the premium result comes from precise preparation, deliberate material selection and finishing details that manage water rather than merely looking neat.
Start with a base that is stable, sound and sloped
Before selecting a tile, inspect the existing steps. Concrete should be fully cured, structurally sound and free from loose material, paint, grease, laitance or crumbling edges. Tiling directly over a cracked or hollow substrate without addressing the cause is an invitation for tiles to loosen later.
The steps also need a controlled fall away from the building. Even a small amount of standing water can work into grout joints and behind tiles, particularly through repeated wet and dry cycles. A level that looks perfect indoors may be a problem outdoors. Each tread should direct water forward, not back towards a wall, doorway or internal threshold.
Where the concrete is uneven, it should be repaired or re-levelled using an exterior-rated product compatible with the adhesive system. Major irregularities are not solved by applying excessive adhesive beneath the tile. Thick, inconsistent adhesive beds make it harder to achieve full support and can leave vulnerable voids beneath high-traffic areas.
Existing tiled steps require an equally careful assessment. A stable, well-bonded tiled surface can sometimes be tiled over, but only after checking levels, drainage, movement and the added height at doors and landings. In many cases, removal gives the installer a more reliable foundation and a cleaner opportunity to correct underlying defects.
Choose tiles made for grip and exposure
Outdoor tiles need to perform in wet conditions as well as complement the architecture. Porcelain is often the preferred choice because it is dense, low-absorption and available in refined stone, concrete and timber-look finishes. Natural stone can also create an exceptional result, but it requires a suitable sealant, considered cleaning regime and a clear understanding of how it will weather.
Slip resistance should guide the selection. A highly polished tile may look sophisticated in a showroom but can become hazardous on a rain-wet tread. Look for a finish designed for external use and suited to the expected traffic. The right rating depends on the location, exposure and whether the steps serve a private home, pool area, hospitality venue or shared residential development.
Tile size is a design and technical decision. Large-format porcelain can make a staircase feel architectural and calm, with fewer grout lines interrupting the surface. However, it demands a flatter substrate, precise cutting and careful handling. Smaller tiles can follow awkward shapes more easily and may offer more jointed grip, though too many joints can make a small stair feel busy.
At the front edge of each tread, a purpose-made stair nosing or a mitred tile detail may be appropriate. A mitred edge delivers a sharp, monolithic appearance, but it must be cut and installed with exceptional accuracy and protected from impact. Purpose-made nosings provide a more defined edge and can improve visibility and traction. The best choice depends on the desired aesthetic, tile type and how heavily the stairs will be used.
How to tile outdoor steps with proper waterproofing
Waterproofing is not reserved for bathrooms. On outdoor steps adjoining a building, above enclosed areas, or built over a balcony or suspended structure, a compatible waterproofing membrane is often essential. It protects the substrate and directs moisture management into the wider construction, rather than allowing water to find its own path.
The membrane system must suit exterior exposure and work with the chosen adhesive. Corners, wall-to-step junctions, penetrations and changes in plane need particular attention, as these are common movement points. Waterproofing should be applied to the prepared substrate, cured correctly and protected during the tiling process.
Not every freestanding concrete garden step needs the same membrane specification. That is why a site-specific assessment matters. The key question is not simply whether waterproofing is present, but where water can travel, what is beneath the steps and how the entire assembly will cope with movement and weather.
Set out the staircase before mixing adhesive
A disciplined set-out prevents the common visual failures that make tiled steps look improvised: narrow tile slivers at one side, misaligned riser joints or a top tread that does not meet the landing cleanly. Measure the full stair run, including side returns, walls, landings and nosing details. Then dry lay where practical and establish the most balanced arrangement.
The risers should read consistently from the front. Depending on the tile format, joints may align vertically from tread to riser or be intentionally offset. Either approach can work, but the decision should be made before installation begins, not adjusted one step at a time.
Allow for movement joints around perimeter walls, structural junctions and larger tiled areas. Outdoor installations expand and contract more than internal surfaces. These joints should be correctly placed and finished with a flexible exterior sealant rather than hard grout, maintaining both the appearance and resilience of the work.
Use the right adhesive technique, not more adhesive
External tiling calls for a flexible, polymer-modified adhesive rated for the tile, substrate and site conditions. The exact product choice depends on factors such as porcelain versus stone, tile size, exposure, substrate movement and whether waterproofing has been applied. Compatibility across the full system is more valuable than selecting products in isolation.
For treads, full adhesive coverage is critical. Adhesive should be combed in one direction, then the back of the tile should be buttered where needed to achieve close to complete support. This reduces voids that can collect water or allow a tile to crack under a concentrated load, such as a heel, chair leg or dropped pot.
Work methodically from a stable reference point, checking the fall on every tread and the level of each riser. Tiles should not be installed so tightly that the joint is merely decorative. Consistent joints accommodate grout, assist alignment and give the system room to perform as intended.
Cuts deserve the same care as full tiles. Exposed edges should be clean, square and thoughtfully positioned. On premium work, the smallest details carry disproportionate visual weight: a centred joint, an even mitre, a straight nosing line and a neat transition into adjoining paving.
Grout and seal the finishing details correctly
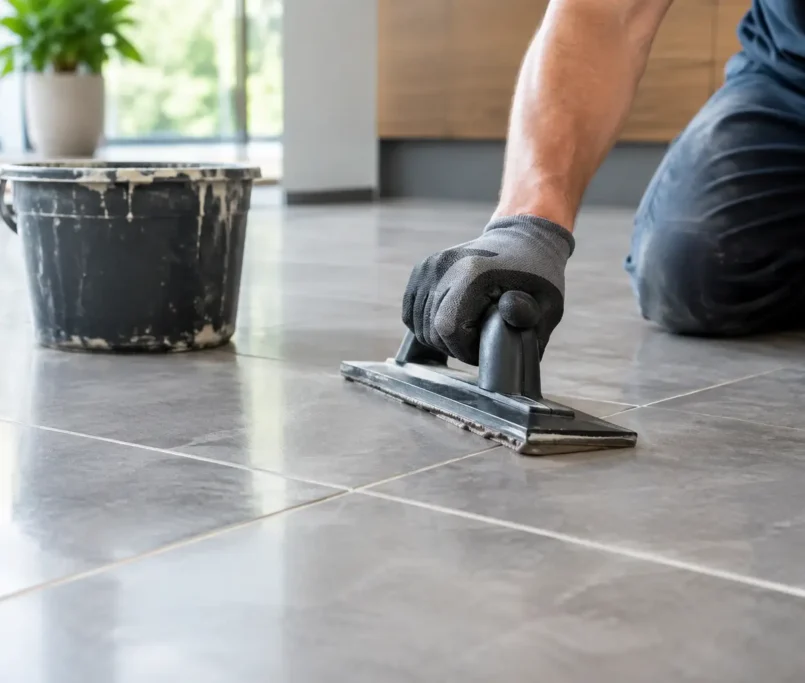
Once the adhesive has cured for the required period, grout the joints with an exterior-rated product suited to the joint width and tile type. Grout colour has a strong effect on the final appearance. A closely matched tone creates a quieter, more continuous finish, while contrast can emphasise geometry and make individual treads more legible.
Grout is not waterproofing, and it should not be expected to compensate for inadequate falls or missing movement joints. Any perimeter gaps and changes of plane should be finished with a colour-matched flexible sealant. This allows movement where rigid grout would otherwise crack.
Natural stone usually needs sealing to limit staining and moisture absorption. Some porcelain tiles do not require sealing, but textured surfaces may benefit from a suitable protective treatment depending on the product and use. Always follow the tile manufacturer’s guidance, particularly when using cleaners or sealants that can alter slip resistance or leave residue.
Avoid the shortcuts that cause failures
The recurring causes of outdoor step failures are rarely mysterious. They are usually the result of tiling over unstable concrete, ignoring drainage, using internal-grade products, leaving poor adhesive coverage or treating every joint as groutable. These shortcuts can initially look acceptable, then reveal themselves through cracked grout, hollow tiles, staining, water ingress or loose nosings.
Another mistake is focusing only on the staircase in isolation. The tile build-up must work with nearby door thresholds, drainage channels, paving levels and wall finishes. A precise installation considers the transition before the first tile is cut.
For homeowners, a tiled staircase is often the point where indoors meets outdoors. For builders and project teams, it is a highly visible detail that must perform consistently across daily use and changing conditions. Perfectly Laid approaches that balance through careful preparation, compatible systems and finish work that respects the architecture around it.
The enduring result is not simply a set of steps covered in tile. It is a composed, safe route through the property, where every line is deliberate and every layer has been installed to protect what sits beneath it.