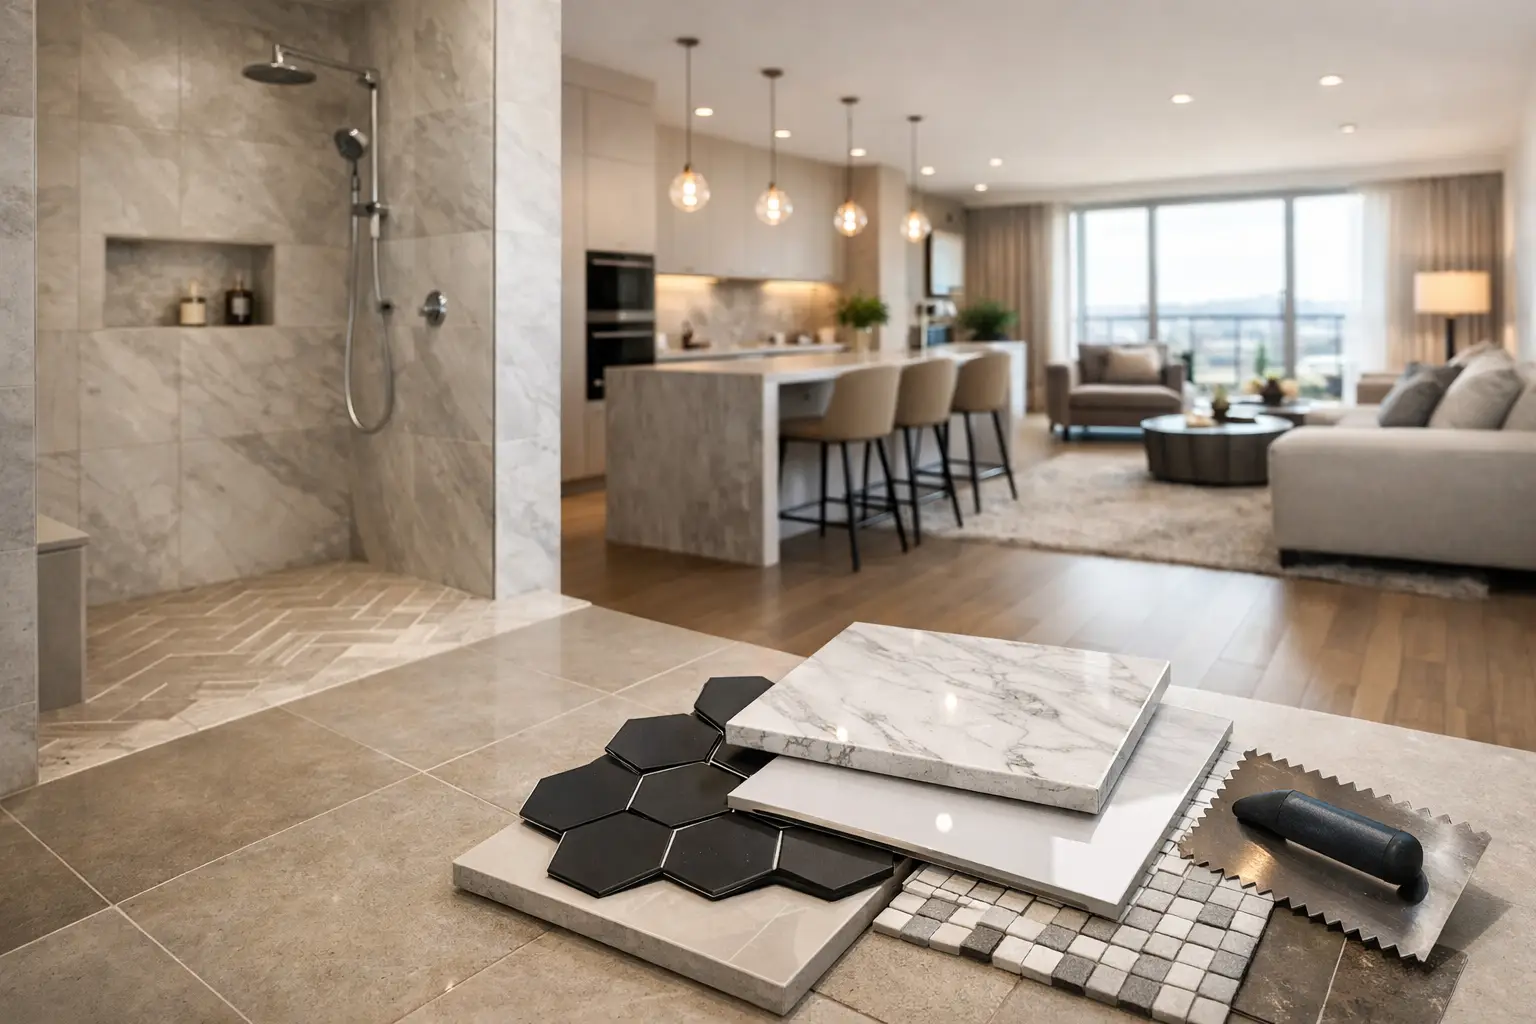
Apartment Tiling Example for a Premium Flat
A well-tiled flat does not announce its quality only through an expensive tile. It shows in the straightness of a grout line at the doorway, the quiet confidence of a level floor, and the way a shower falls cleanly to its waste. This flat tiling example shows how a considered scheme can bring a compact home together while protecting the details that are hardest to correct once the furniture arrives.
The brief is a two-bedroom city flat with one main bathroom, a kitchen-dining area and an entrance hall. The owners want a refined, contemporary finish that feels generous rather than busy. They also need materials that will cope with wet shoes, regular cooking and the daily use expected of a well-lived-in home.
Flat tiling example: one scheme, three distinct spaces
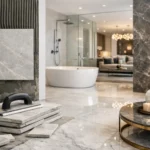
The strongest flat tile schemes use repetition with restraint. In this example, the same warm stone-look porcelain family creates a visual thread from the entrance to the kitchen, while the bathroom introduces a quieter variation for a more restorative mood.
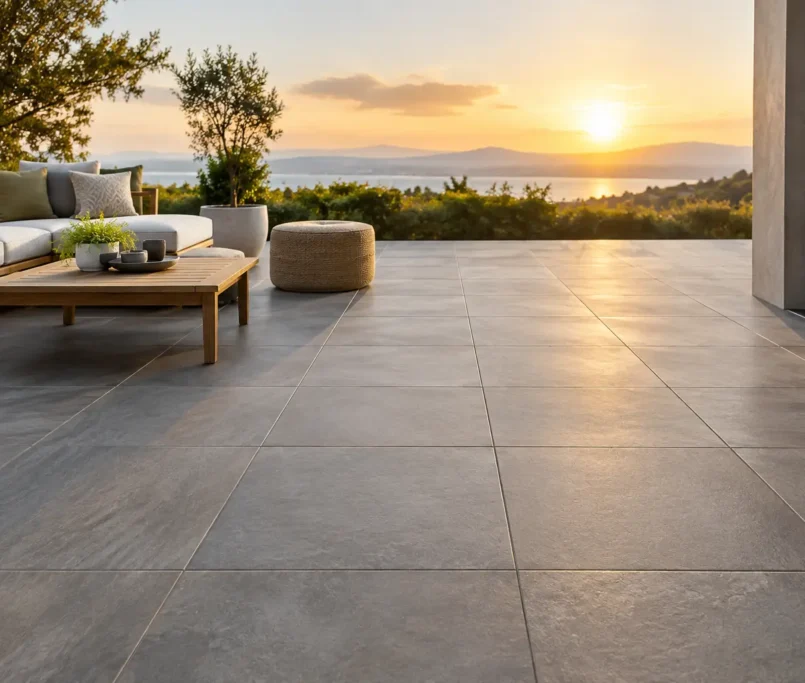
For the entrance hall and kitchen-dining area, large-format 600 x 600 mm porcelain tiles in a soft limestone tone provide the foundation. A matt finish gives the surface a natural appearance and better everyday practicality than a highly polished tile. It is forgiving of small marks, easy to maintain and sufficiently understated to sit comfortably beside timber cabinetry, painted joinery and changing furnishings.
The tiles run in the same direction through the hall and kitchen. That decision matters. In a flat with limited floor area, uninterrupted lines make adjoining spaces feel calmer and more connected. A threshold crowded with trims, changing grout colours or tiles turned at a different angle can make an otherwise thoughtful layout feel fragmented.
In the bathroom, the floor changes to a smaller-format porcelain in a closely related tone. A 300 x 600 mm tile or mosaic within the shower zone gives the installer the falls needed to direct water properly to the floor waste. On the walls, a larger 600 x 1200 mm tile is laid vertically to draw the eye upwards and make the room feel taller. The result is tonal, not matching for the sake of matching: each tile format earns its place through proportion and performance.
The entrance and kitchen: durable without looking commercial
The entrance is where an elegant scheme first meets real life. Shoes, umbrellas, bags and occasional grit place different demands on the floor than a bedroom. The chosen porcelain has enough texture underfoot to feel secure, but it is not so heavily textured that cleaning becomes a chore.
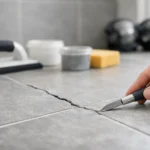
A narrow perimeter movement joint, colour-matched to the grout, allows the tiled floor to respond to normal building movement without disrupting the finished appearance. This is particularly relevant in flat settings, where tiled areas often meet concrete slabs, lightweight partitions and fixed joinery. Tile should never be treated as a rigid decorative layer that can simply be bonded over whatever sits beneath it.
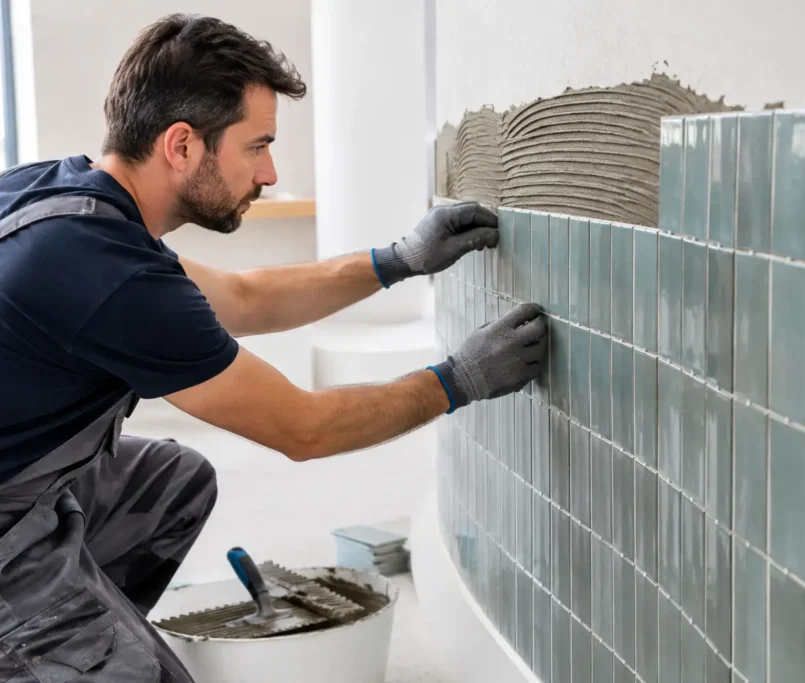
In the kitchen, the same floor tile continues beneath the dining table and into the working area. It creates an uncluttered base for a feature splashback rather than competing with it. Here, a handmade-look glazed tile in a muted olive or chalky blue can introduce colour behind the hob and worktop. Slight tonal variation gives the splashback character, while the restrained floor ensures the overall composition still feels composed.
The grout is selected a shade deeper than the floor tile, not starkly contrasting and not so close that every joint looks washed out. Grout colour is a small decision with an outsized effect. Very pale grout on a busy kitchen floor can make maintenance feel relentless, whereas a carefully chosen mid-tone holds the pattern together and remains practical.
Bathroom detail is where the workmanship is tested
Bathrooms ask more of a tiling installation than almost any other room. A beautiful tile cannot compensate for poor substrate preparation, inadequate waterproofing or falls that allow water to sit in the wrong place.
In this example, the existing bathroom is stripped back so the condition of the substrate can be assessed properly. Any unevenness is corrected before tiling begins. Walls are prepared to receive the large-format porcelain, and the floor is screeded with accurate falls towards the shower waste. The aim is not merely to make water disappear eventually. It is to ensure the floor performs predictably every day, without puddling at the shower edge or sending water towards the vanity.
Waterproofing is then applied as a complete system across the wet areas, with particular care at junctions, penetrations, corners and the shower zone. This stage is mostly hidden once the project is complete, yet it is central to the long-term success of the room. A premium bathroom should feel effortless to use because the technical work beneath its surface has been handled with discipline.
The wall layout is set out before the first tile is fixed. Full or balanced cuts are prioritised at the most visible edges: around the vanity, beside the mirrored cabinet and at the shower screen. A narrow, awkward sliver at eye level can undermine the effect of an otherwise exquisite tile. Equally, centred feature walls are not always the answer. The correct set-out depends on sightlines from the door, fixture positions and where cuts can be made least visible.
For the shower niche, the wall tile is mitred or finished with a refined edge detail where appropriate, avoiding a bulky, mismatched trim. The niche is sloped subtly towards the shower so water cannot linger on its base. Silicone sealant is used at movement junctions rather than grout, then colour-matched so it becomes part of the design rather than an afterthought.
Why format and layout should be decided before ordering
A tile selection made from a small showroom sample can look entirely different across a full floor or wall. Scale, light and joint width all change the reading of colour and texture. Before ordering, the tile format should be tested against the actual room dimensions, door positions, wastes, cabinetry and sanitaryware.
Large-format tiles can make a compact flat feel more expansive because they reduce the number of visible joints. However, they demand a flatter substrate and more meticulous handling. They may also create larger offcuts in small rooms, affecting both material allowance and labour. Smaller formats give greater flexibility around shower falls and curved or irregular spaces, but bring more grout lines and a busier visual rhythm.
There is no universally superior tile size. A spacious open-plan kitchen may benefit from 600 x 1200 mm porcelain, while a narrow entrance could look more balanced with 600 x 600 mm tiles. In the bathroom, the floor waste type, shower layout and fall requirements should guide the format, not a trend image alone.
The details that make a flat feel finished
Tiling is most convincing when it resolves the edges as carefully as the main surfaces. In this flat example, skirting is considered early. Tiled skirting can create a crisp architectural look in the kitchen and entrance, particularly where walls are clean-lined and contemporary. Painted skirting may be the better choice where a softer residential character is preferred. The important point is that the junction is planned, not improvised after the floor is laid.
Door clearances also need checking before the floor build-up is confirmed. A new tiled floor may affect internal doors, kitchen plinths, appliance positions and transitions to carpet or timber. In a high-rise flat, lift access, protection of common areas, waste removal and working hours need equal attention. These logistical details protect the programme and reduce unnecessary disruption for neighbours and building management.
Lighting completes the scheme. Warm downlights can flatter stone-look porcelain, while under-cabinet lighting gives a handmade splashback depth after dark. Natural light will reveal the tile’s undertone during the day, so samples should be viewed in the flat itself rather than selected only under showroom lighting.
A premium tiled interior is not created by adding more surfaces or more expensive finishes. It comes from selecting materials with purpose, preparing every substrate properly and setting out each space with the final view in mind. Whether the project is one renovated flat or a multi-unit development, that level of precision gives the design its staying power.