How to Tile Laundry Walls for a Lasting Finish
A laundry wall works harder than it first appears. It sits behind appliances that vibrate, beside taps and sinks that splash, and often in a compact room where every grout line is on display. Knowing how to tile laundry walls is therefore less about simply fixing tiles to plasterboard and more about creating a surface that looks considered, cleans easily and remains sound over time.
The finest laundry tiling begins before the first tile is opened. A crisp layout, a stable substrate and carefully finished edges are what give even a practical utility space the polished feel of a high-end interior.
Start with the wall, not the tile
Tiles can only perform as well as the surface beneath them. Before choosing adhesive or setting out a pattern, inspect the walls for movement, moisture damage, loose paint, hollows and uneven areas. Laundry rooms commonly reveal issues around old splashbacks, plumbing penetrations and appliance recesses, where past leaks or hurried repairs may have compromised the lining.
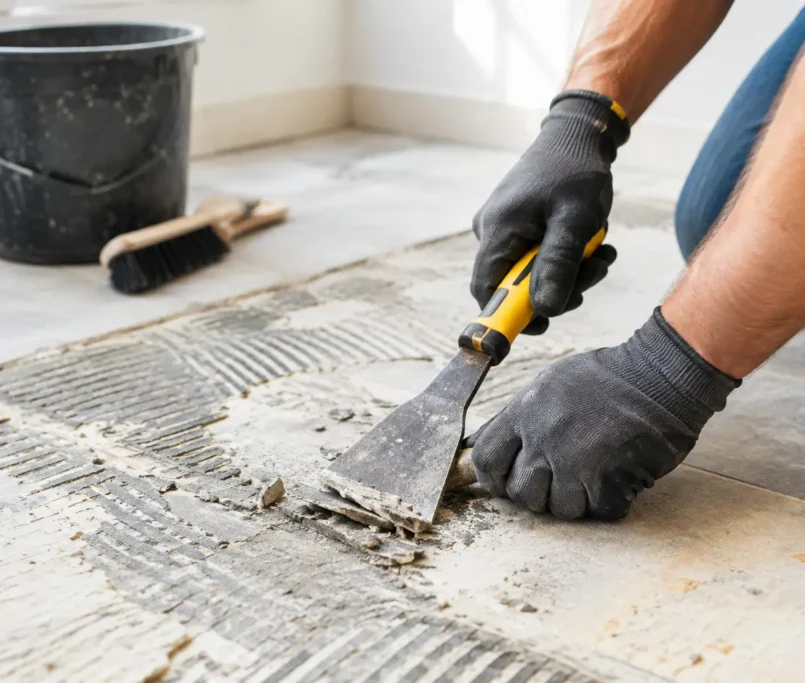
Remove any loose finishes and repair the substrate properly. A wall that is out of plumb or noticeably uneven should be corrected before tiling, rather than disguised with excessive adhesive. Thick patches of adhesive are difficult to control and can leave tiles sitting proud, with lipping that catches both the eye and the light.
The right preparation depends on the wall construction. Sound masonry may simply need cleaning, levelling and priming. Plasterboard needs to be firm, dry and suitable for the intended tile weight. In areas subject to regular splashing, cement-based tile backing boards or a compatible waterproofing system may be a more reliable solution than standard board alone.
Decide where waterproofing is needed
A tiled finish is water-resistant, but tiles and grout are not a waterproof barrier in themselves. Moisture can still reach the substrate through grout lines, movement joints, corners and service penetrations. This is why waterproofing should be considered as part of the wall build-up, not an optional extra applied after a problem appears.
A full laundry does not always need to be treated like a shower enclosure. It depends on the room layout, local building requirements and how the space will be used. However, walls behind a laundry sink, around a utility tap, below benchtops where splashing is likely, and near floor-level wet areas deserve particular attention.
Use a system designed to work together: primer, membrane, reinforcing tape for internal corners and compatible sealant around penetrations. Allow each coat to cure as specified. Rushing this stage risks trapping moisture or weakening the bond of the adhesive above it. For projects involving extensive plumbing changes, existing damp or a laundry that doubles as a pet-washing or cleaning area, professional assessment is a sensible safeguard.
Choose tiles for proportion as well as performance
Laundry walls offer an opportunity to introduce colour, texture and character without overwhelming the home. Gloss subway tiles reflect light in a narrow room and are easy to wipe down. Large-format porcelain creates a quieter, more contemporary surface with fewer grout lines. Handmade-look ceramics bring warmth and variation, though their edges and shade movement require more careful setting out.
The most suitable choice depends on the room. A small laundry may benefit from a lighter tile and a restrained grout colour to keep the walls visually open. In a larger utility room, a deep green, blue or charcoal tile can create a deliberate design statement, especially when paired with timber cabinetry or brushed-metal fittings.
Consider the practical detail as well. Porcelain is highly durable and low-porosity, while ceramic wall tiles are often easier to cut and perfectly suitable for many dry or lightly splashed areas. Check that the selected tile is rated for wall installation and that its weight is appropriate for the substrate. Large or heavy tiles demand a flatter wall and often a specialist adhesive and fixing method.
Plan the layout before mixing adhesive
The difference between a functional tiled wall and an exquisite one often comes down to setting out. Dry-lay tiles or mark a gauge rod first, then decide where full tiles will fall. Aim to avoid narrow cuts at the top of the splashback, beside a door architrave or at the visible end of a run.
In most laundry rooms, the focal point is the wall above the benchtop, sink or washing machine. Establish a level datum line there, rather than assuming floors, cabinetry or ceilings are perfectly level. If the floor falls slightly, a level tile line will usually look more refined than following an uneven surface.
Think through every interruption before installation begins: power points, taps, cabinetry, shelves, windows and appliance hoses. Cuts should feel intentional and balanced wherever possible. A centred tile, a symmetrical joint pattern or neatly aligned outlets can make a modest tile selection look considerably more premium.
Check tile direction and joint width
Rectangular tiles can be stacked, brick-bonded, vertically aligned or laid in a herringbone pattern. Each choice changes the proportions of the room. Vertical stacking can make low ceilings feel taller; a horizontal layout can visually widen a tight wall. Herringbone is striking, but it creates more cuts, more labour and more opportunities for minor inconsistencies to become visible.
Joint width should suit both the tile and the intended finish. Rectified porcelain can often take a narrow, precise joint, while handmade or irregular tiles need a wider joint to accommodate variation. Use tile spacers or levelling clips where appropriate, but do not rely on them to correct a poorly prepared wall.
Fix the tiles with control
Use an adhesive suited to the tile type, wall substrate and moisture exposure. Mix only the amount that can be used within its working time, following the manufacturer’s instructions precisely. Adhesive that has skinned over should be removed and replaced, not reworked with extra water.
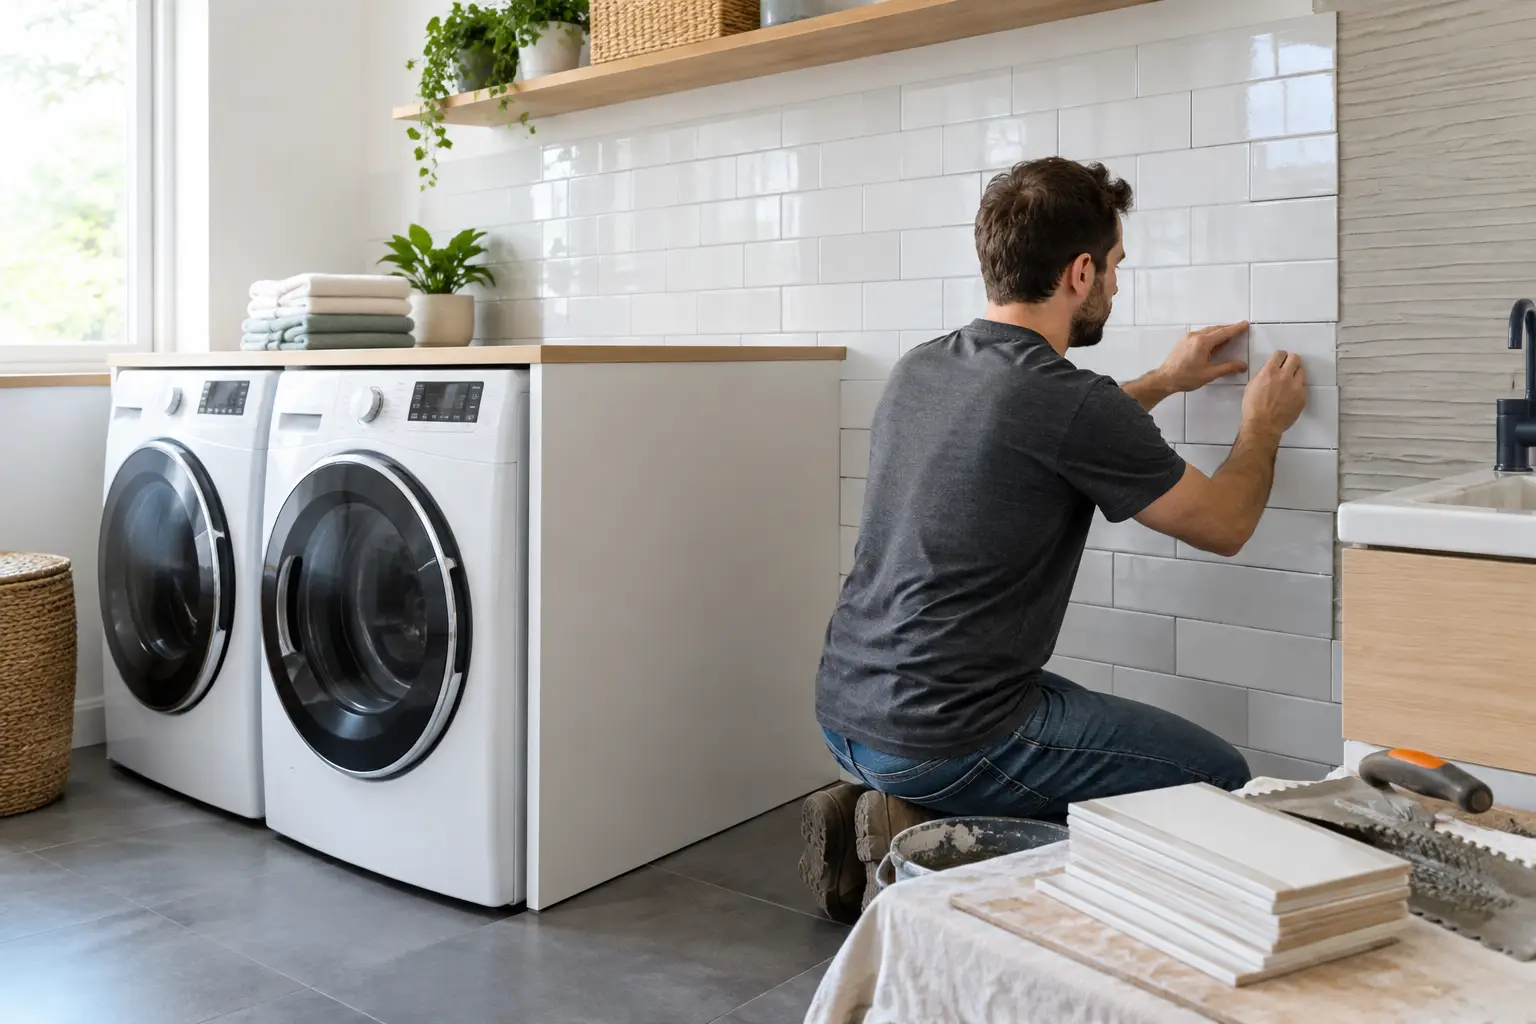
Spread adhesive evenly with the correct notched trowel, holding it at a consistent angle. For larger-format tiles, back-butter the tile as well as combing adhesive onto the wall to achieve dependable coverage. Press each tile into place with a slight sliding action and check regularly with a straightedge and spirit level.
Work in manageable sections. Frequent checks are quicker and cleaner than discovering a drifting joint line or uneven plane once the adhesive has hardened. Keep joints clear of excess adhesive as you go, because hardened residue makes grouting slower and can prevent grout from reaching its proper depth.
Tiles should never be forced tight into internal corners, against benchtops or around fixed elements. These locations need room for movement and are normally finished with a flexible, mould-resistant sanitary sealant rather than rigid grout.
Grout, caulk and finish the details
Once the adhesive has cured fully, grout the joints with a product appropriate for the tile and room conditions. A grout colour close to the tile creates a calm, continuous appearance, while a contrasting grout emphasises the layout and pattern. Neither is automatically better – the right choice depends on whether the design calls for quiet refinement or graphic definition.
Apply grout diagonally across the joints, compacting it firmly, then clean the tile faces in stages before haze develops. Avoid over-washing with excessive water, which can weaken or discolour some grout finishes. After the grout has cured, polish away any remaining haze with a clean, dry cloth.
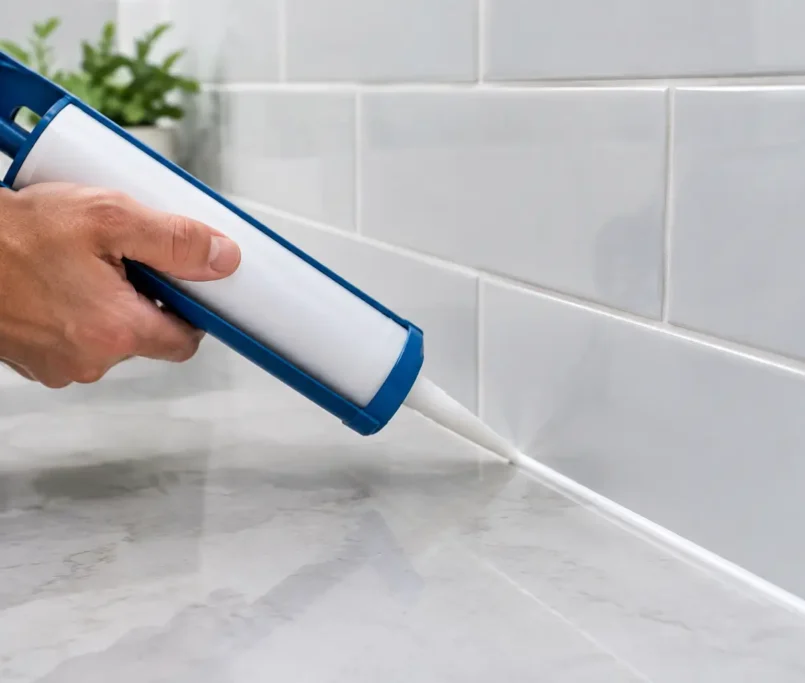
Finish all changes of plane and perimeter gaps with neat silicone or another suitable flexible sealant. This includes internal corners, the junction between tile and benchtop, and penetrations around pipes where required. Straight, consistent sealant lines are a small detail with a major impact on the finished appearance.
Know when precision installation is worth it
A straightforward laundry splashback can be a rewarding project for a careful homeowner with the right tools and a sound wall. The balance changes when the room includes large-format porcelain, uneven substrates, waterproofing requirements, delicate stone, patterned layouts or multiple services to work around.
These are the conditions where experienced tilers protect both the visual result and the underlying construction. At Perfectly Laid, preparation, waterproofing and finishing are treated as one coordinated scope, because a beautiful tile surface should not come at the expense of durability behind it.
A well-tiled laundry makes everyday tasks feel more considered, from rinsing muddy shoes to sorting the weekly wash. Give the wall the same care as a kitchen splashback or bathroom feature wall, and it will bring lasting order, resilience and quiet refinement to one of the home’s busiest spaces.