How to Plan Kitchen Splashback for a Perfect Fit
A kitchen splashback may cover only a narrow section of wall, yet it has an outsized effect on the finished room. It frames the worktop, catches the light at eye level and must cope with daily heat, moisture and cleaning. Knowing how to plan kitchen splashback details before tiles are ordered is what separates a considered, long-lasting finish from a layout that feels improvised.
For a premium result, the splashback should not be treated as an afterthought once the cabinetry is in place. Its material, height, edges, joints and relationship with power points all need to be resolved alongside the kitchen design. The best schemes look effortless because the decisions underneath them were precise.
Start with the kitchen’s fixed lines
Begin by studying the elements that cannot move: the worktop height, wall units, extractor, windows, open shelving, tall cabinetry and appliance locations. These establish the boundaries of the splashback and determine where tile cuts, joins and terminations will fall.
In many kitchens, the most straightforward approach is to tile from the worktop to the underside of wall cabinets. This creates a clean, contained band that is practical behind a hob and sink. In kitchens with open shelves or no wall units, a full-height splashback can make the room feel more expansive, particularly where the tile continues behind an extractor or across a feature wall.
Neither option is automatically better. A shorter splashback may suit a quieter, more architectural kitchen, while full-height tiling brings texture and presence. What matters is that the chosen height finishes at a deliberate line rather than stopping at an arbitrary point on the wall.
Check the true condition of the walls
A beautiful tile cannot hide a poorly prepared substrate. Walls behind old splashbacks can carry adhesive residue, uneven plaster, cracks or hollows that affect both tile alignment and bond strength. Removal work may also reveal surfaces that need repairing or re-levelling before installation begins.
This is particularly relevant with larger-format porcelain, stone slabs and glossy tiles, where even a minor variation in the wall can show through as lippage or inconsistent joints. Proper preparation gives the tiler a stable, flat base from which to set out the design accurately. It also protects the longevity of the installation in areas exposed to steam and regular cleaning.
Choose a material that suits real kitchen use
The visual choice is personal, but performance should lead the conversation. A splashback sits behind cooking zones, near water and beneath lighting that can expose every surface mark. Consider how the material will age in your particular kitchen, not just how it appears in a showroom sample.
Ceramic and porcelain tiles remain versatile choices. They offer a broad range of colours, shapes and finishes, and porcelain is especially well suited to busy kitchens because of its density and low water absorption. Handmade-look ceramic tiles create warmth and variation, but their irregular edges and tonal shifts need careful setting out to look intentional rather than uneven.
Natural stone has a distinctive depth that manufactured materials cannot fully replicate. It can be exquisite in a refined kitchen, although many stones require sealing and more considered cleaning. Acidic spills, oils and aggressive cleaners may mark some surfaces. If a client loves the character of stone but wants lower maintenance, a stone-look porcelain may offer a more forgiving alternative.
Glass, stainless steel and engineered slabs also have their place. Slab splashbacks minimise grout lines and can create a calm, continuous look, but they demand highly accurate measuring and fabrication. A tiled splashback offers more flexibility around imperfect walls, service points and future repairs, as well as opportunities for pattern and detail.
Plan the layout before ordering tiles
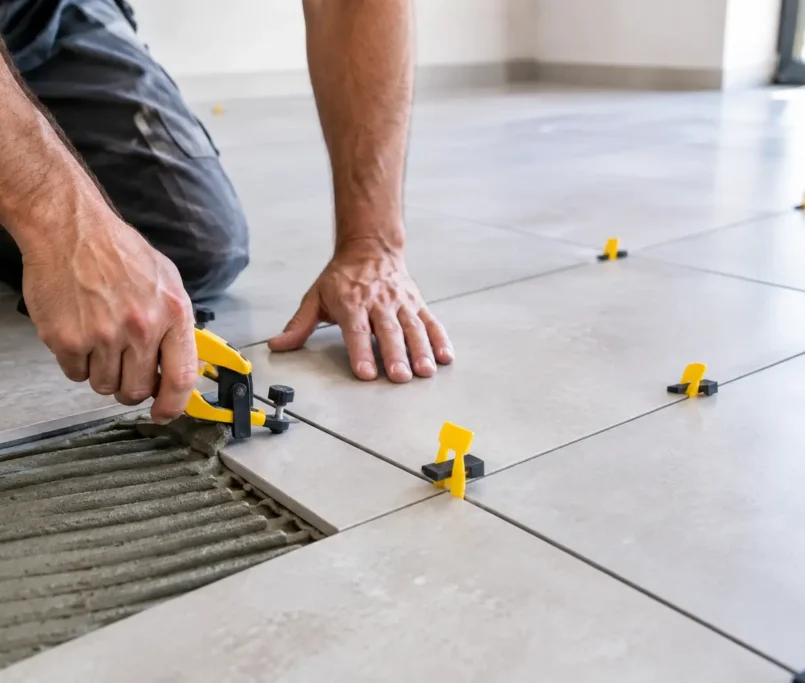
Tile quantity is only one part of the order. The layout determines whether the final wall feels balanced. Before installation, establish the centre lines of the main visual areas: behind the hob, under the extractor, around a window and across any uninterrupted run of worktop.
A centred layout behind the hob often gives the kitchen a composed focal point. However, this needs to work with the rest of the wall. Centring a patterned tile on the hob may leave a narrow, awkward cut beside a tall unit, for example. The best setting-out plan balances the entire elevation rather than solving one small section in isolation.
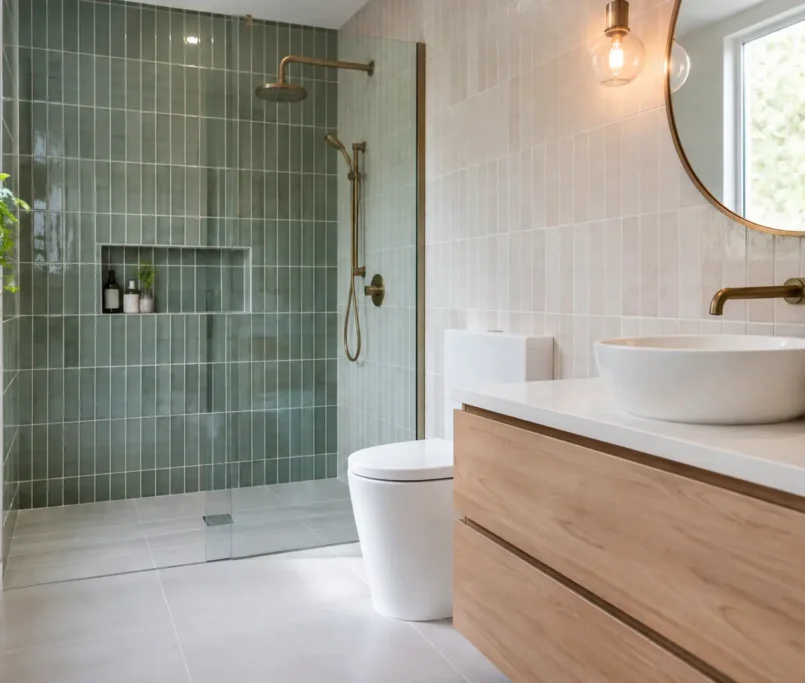
For metro tiles, decide whether the design will be stacked, brick-bonded, vertical or herringbone. A stacked layout feels crisp and contemporary, while brick bond can soften a more traditional kitchen. Vertical tiles can add height, although they make uneven cuts at the top or sides more noticeable. Herringbone brings movement and craft, but creates more cuts, requires extra material and should be installed with disciplined alignment.
Large-format tiles need equally careful thought. Fewer grout joints can look luxurious, but each tile has greater visual weight. A poorly placed narrow strip at a corner will be obvious. Where possible, plan for generous, consistent cuts at either end of a run and avoid tiny slivers around cabinets, windows or outlets.
Allow for waste based on the complexity of the design, not simply the wall area. Straightforward layouts may need a modest allowance, while diagonal, herringbone or heavily cut schemes require more. Ordering enough tiles from the same batch is also sensible, as shade variation between production runs can be noticeable.
Resolve power points, switches and extractor details
Electrical accessories are often the detail that disrupts an otherwise excellent splashback. Their position should be agreed early with the kitchen designer, electrician and tiler. If there is scope to adjust them, avoid placing outlets where they interrupt a key tile centreline, sit half on a grout joint or force small cuts into a feature pattern.
Black, brass, brushed metal or colour-matched plates can either disappear into the scheme or become a deliberate accent. The important point is precision around each opening. Tile cuts should be neat, carefully supported and finished so faceplates sit flush without covering poor workmanship.
The extractor also needs a clear plan. Consider whether the splashback runs behind it, terminates at its edges or continues to the ceiling. If a duct cover is being fitted, confirm its dimensions before tiling. Leaving this until late in the project can create avoidable gaps or a finish line that does not align with the rest of the kitchen.
Select grout and finishing details with care
Grout is not merely a practical filler. It changes the rhythm and contrast of the whole splashback. A closely matched grout creates a quieter, more continuous surface, while contrasting grout makes the tile shape and layout more prominent. With handmade or textured tiles, a sympathetic grout tone often allows the natural variation to remain the feature.
Joint width should suit both the tile and the desired aesthetic. Rectified porcelain can work with finer joints, provided the wall is properly prepared and the installation is accurately controlled. Handmade tiles may need wider joints to accommodate their variation. Trying to force irregular tiles into an ultra-tight grid usually compromises the result.
At the junction between splashback and worktop, use a flexible, mould-resistant sanitary sealant rather than grout. This joint needs to accommodate slight movement between materials and should be finished cleanly in a colour that complements the grout or worktop. Corners and changes of plane require the same attention. These are small details, but they are where kitchen installations often reveal their quality.
Think about lighting, colour and samples in the actual room
The same tile can look completely different under warm pendant lighting, cool task lights and daylight from a nearby window. Take physical samples into the kitchen and view them against the worktop, cabinet finish and handles at different times of day. A white tile may read cream beside a cooler worktop; a glossy surface may create reflections that suit one kitchen and overwhelm another.
If the splashback is the main decorative element, keep the surrounding finishes calm enough to let it perform. If the cabinetry or stone worktop already has strong veining or colour, a simpler tile may deliver a more resolved result. High-end design is rarely about adding every feature. It is about allowing the right materials to sit together with confidence.
Confirm the installation sequence
A clear sequence protects the finished work. Cabinetry, worktops, electrical rough-in and any wall repairs should be coordinated before tiling starts. The worktop should normally be installed first so the splashback can be set precisely to its finished level, with the flexible sealant joint completed at the end.
Avoid rushing tile installation before final appliance, extractor and accessory dimensions are confirmed. A few days spent coordinating trades can prevent costly recutting, mismatched edges and delays later in the programme. For renovations and high-specification fit-outs alike, accountability at this stage is as valuable as the tile selection itself.
Perfectly Laid approaches splashbacks as a precision finish, beginning with substrate readiness and ending with crisp cuts, controlled joints and carefully finished sealant lines. That discipline is what allows an elegant design to remain practical long after the kitchen is complete.
A well-planned splashback should feel naturally at home in the room: aligned with the cabinetry, proportioned to the wall and detailed to withstand everyday life. Give the layout and preparation the same attention as the tile itself, and the result will keep looking considered every time the kitchen lights come on.