Tile Installation Project Timeline Explained
A tiled space can look deceptively simple once it is finished. Clean lines, balanced joints, crisp edges and a polished surface give the impression that the work came together quickly. In reality, a well-run tile installation project timeline is built on preparation, sequencing and patience. If any one stage is rushed, the finish may still look acceptable on day one, but failures often show up later as cracked grout, loose tiles, poor drainage or movement.
For homeowners, builders and commercial project teams, the question is rarely just how long tiling takes. The better question is what needs to happen, in what order, and where delays are most likely to occur. That is what protects the final result.
What shapes a tile installation project timeline?
No two projects move at exactly the same pace. A compact laundry with straightforward ceramic wall tiles will run very differently from a large-format stone installation across a high-end bathroom, or a multi-unit programme where access, staging and coordination all matter.
The main variables are the condition of the substrate, the size of the area, the tile type, the layout complexity and whether waterproofing is required. Add in curing times, other trades on site and product lead times, and the timeline can shift from a matter of days to several weeks.
This is why premium tiling contractors do not treat installation as a single task. It is a sequence. Surface preparation, levelling, screeding, waterproofing, tile setting, grouting and finishing all have their own technical requirements. When each stage is done properly, the project feels controlled. When they overlap carelessly, defects tend to follow.
A typical tile installation project timeline, stage by stage
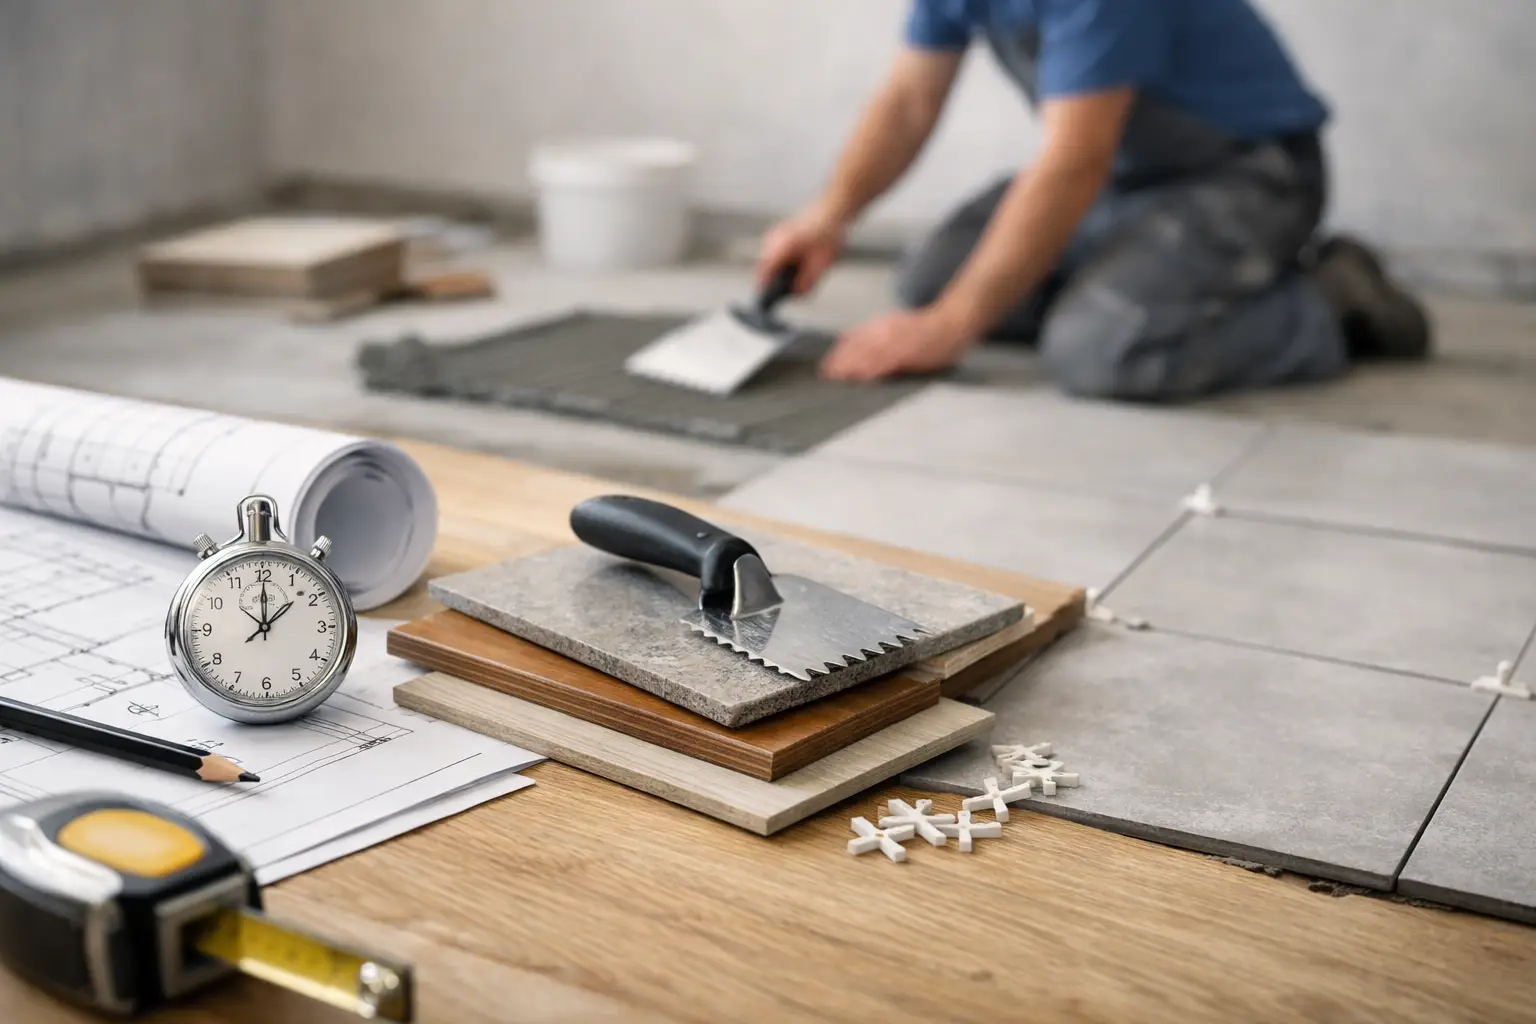
Site review, measuring and planning
Before any tile is cut or any adhesive is mixed, the job needs to be assessed properly. This includes measuring the space, checking levels, identifying movement risks, reviewing drainage falls where relevant, confirming tile selections and working through layout details.
On residential projects, this stage is often where design decisions are locked in. Tile size, pattern direction, feature walls, trim selections and set-out points all influence labour time. On commercial work, planning also covers access, staging, sequencing with other trades and any programme constraints.
This early stage may be completed quickly, but it has a direct impact on everything that follows. A project that is clearly scoped at the beginning is far less likely to stall halfway through.
Demolition and substrate preparation
If existing finishes need to be removed, demolition is usually the first physical step. Old tiles, adhesive beds, damaged screeds or unsuitable wall linings may all need to come out before the new installation can begin.
This part of the timeline can be short on a clean new-build surface or more involved in renovation work, especially where hidden problems appear once the old materials are stripped back. It is common to uncover uneven floors, water damage, cracked substrates or walls that are out of plumb.
Preparation is not the glamorous part of tiling, but it is where quality is protected. Re-levelling, patching, floor correction and substrate stabilisation take time, yet these steps are often the difference between an ordinary result and a precise one.
Screeding and levelling
Where floors need correcting, screeding or levelling compounds may be required before tiles can be installed. This is especially important for large-format tiles, wet areas, outdoor spaces and projects where drainage falls must be exact.
The timing here depends on the depth of the application and the product used. Some systems cure relatively quickly, while others need longer before they are ready to receive tiles. That waiting period is not downtime in the negative sense. It is what allows the substrate to perform properly beneath the finished surface.
Waterproofing in wet areas
Bathrooms, laundries and other wet zones introduce another critical stage into the tile installation project timeline. Waterproofing must be applied to specification, and it must be allowed to cure correctly before tiling starts.
This is one of the most common places where unrealistic schedules create risk. Waterproofing is not a box-ticking exercise. Membranes need the right preparation beneath them, correct detailing at joints and penetrations, and enough time between coats and before covering.
If the space is part of a broader renovation or fit-out, this stage also depends on other trades finishing their rough-ins correctly. A delayed plumber or incomplete penetration detail can hold up the waterproofing, which then shifts the tiling start date.
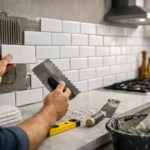
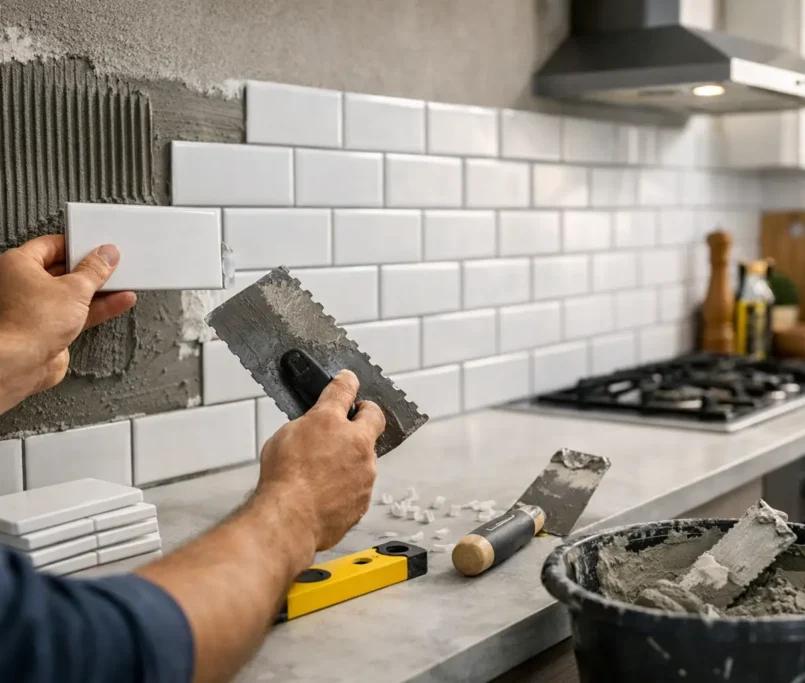
Tile laying and set-out
Once the substrate is ready, the visible craft begins. This is the stage most clients picture when they think about tiling, but even here the timeline depends heavily on the finish being pursued.
Straight lay formats in regular sizes are generally quicker than herringbone, bookmatched stone, mosaics or detailed feature walls. Large-format porcelain often requires slower, more deliberate handling and setting. Tight tolerances, minimal lippage expectations and refined edge alignment all demand time and care.
A quality contractor will also spend time on set-out. That means centring layouts correctly, balancing cuts, preserving symmetry where it matters and ensuring transitions, niches, corners and drains look intentional. Fast installation without layout discipline may save hours, but it usually costs the project in visual quality.
Curing before grouting
After tiles are laid, adhesive needs time to cure before grouting. This stage is easy to underestimate because the area may already look almost finished. Even so, moving too quickly can disturb bond strength and compromise the installation.
This is another area where timeline expectations need to be realistic. On premium projects, the finish is only as reliable as the curing time that supports it.
Grouting, silicone and finishing details
Grouting transforms the look of the installation, but it also needs precision. Joint width, grout consistency, clean-up technique and colour selection all affect the final appearance. On textured or porous tiles, the process may take longer because extra care is required to avoid staining or haze.
After grouting, movement joints and perimeter junctions are typically finished with suitable silicone or caulking. These details matter more than many clients realise. They help accommodate movement, protect edges and create the crisp finish associated with high-end work.
Final detailing may also include tile polishing, cleaning, sealing where required and a close inspection of alignment, cuts and surface presentation.
How long does tiling usually take?
For a small and relatively simple room, tiling may be completed in a few days if the substrate is in good condition and no major remedial work is needed. A full bathroom renovation with demolition, preparation, waterproofing and detailed finishes will often take longer, particularly where multiple trades are involved.
Larger homes, alfresco areas and commercial fit-outs can extend further depending on access, scale and sequencing. Multi-unit developments are a category of their own. In those settings, the question is less about one room and more about production planning, labour allocation and maintaining the same finish standard across repeated spaces.
The honest answer is that timelines vary because quality tiling is not just installation. It is controlled execution from the first substrate check to the final bead of silicone.
Where delays usually happen
Most tiling delays do not come from tile laying itself. They come from what sits around it.
Late tile deliveries are one issue, particularly with imported or specialty products. Unprepared substrates are another. On renovation projects, hidden damage can add time once demolition begins. On active sites, access restrictions, incomplete joinery measurements, unfinished waterproofing prerequisites or scheduling clashes with plumbers, electricians and painters can all create hold-ups.
Weather can also affect external areas. Patios, decks and alfresco installations may need to pause if conditions compromise substrate dryness or curing.
What matters is not pretending these risks do not exist. It is managing them early, communicating clearly and building the programme around the technical realities of the work.
Why a realistic timeline protects the finish
Clients often ask for speed, and that is understandable. Everyone wants progress. But speed without discipline usually shows up in the details. Uneven planes, poor falls, hollow spots, rushed grout clean-up and failures at movement joints are often symptoms of pressure overtaking process.
A realistic timeline allows the contractor to protect both appearance and durability. That means enough time to prepare the surface properly, enough time for membranes and adhesives to cure, and enough time to install with accuracy rather than haste.
This is particularly important on design-led spaces where the tile selection is part of the room’s identity. Premium stone, terrazzo-look porcelain, feature mosaics and large-format panels all reward careful installation. They do not forgive rushed workmanship.
What clients can do to keep the programme on track
The most successful projects are the ones where decisions are made early and the scope is clear. Confirm tile selections, trims, grout colours and layout preferences before work starts. Make sure materials are on site when needed. Coordinate other trades so the area is genuinely ready for the tiler, not nearly ready.
It also helps to choose a contractor who manages the full process rather than treating preparation as someone else’s problem. When the same team is accountable for substrate prep, waterproofing, installation and finishing, the timeline is usually more predictable and the quality easier to control. That end-to-end discipline is where refined results are built.
Perfectly Laid approaches tiling in exactly that way, with precision at every stage and a clear understanding that the timeline is part of the craftsmanship, not separate from it.
If you are planning a tiled space, ask not only when it can be finished, but how it will be brought there. The best projects do not feel rushed. They feel considered, and that is usually what makes them last.