Deck and Patio Retiling Guide for Lasting Results
A tired outdoor tiled area rarely fails all at once. It starts with a hollow sound beneath a footstep, grout that remains damp after rain, a cracked edge tile, or water sitting where it should be draining away. This deck and patio retiling guide explains what separates a cosmetic refresh from an outdoor installation built to look exceptional and perform through changing weather.
Retiling a deck, patio or alfresco area is not simply a matter of selecting a new porcelain tile. The visible finish is only as dependable as the structure, falls, waterproofing and movement control beneath it. Get those details right, and the result can transform an exterior space into a refined extension of the home. Overlook them, and even premium tiles may crack, debond or stain prematurely.
Start with the reason the existing tiles failed
Before demolition begins, establish what went wrong with the original installation. Replacing tiles without addressing the cause is one of the most expensive ways to repeat the same problem.
Loose tiles may point to poor adhesive coverage, an unsuitable adhesive, moisture entering from below, or movement in the substrate. Cracked tiles can indicate a structural issue, inadequate movement joints, or a deck base that flexes under load. Persistent puddles usually mean the surface was installed without sufficient falls towards a suitable drainage point.
A ground-level patio and an elevated deck require different scrutiny. Patios may be affected by settlement, tree roots, poor sub-base compaction or water tracking against the house. Elevated decks, balconies and rooftop entertaining areas demand close attention to load capacity, drainage outlets, waterproofing terminations and the condition of the supporting structure.
This assessment is where a quality outcome begins. It informs the full scope of work, from removal and repairs through to screeding, membrane systems and final caulking. It also prevents a contractor from quoting for a surface-level solution where the substrate needs proper intervention.
Deck and patio retiling guide: choose the right scope
There are two broad approaches to outdoor retiling: remove the existing finish and rebuild the tiled system, or install over existing tiles. Neither is automatically right in every situation.
Full removal is generally the more dependable option when tiles are loose, cracked, drummy, uneven or showing signs of water damage. It allows the substrate to be inspected, repaired and re-levelled, and it creates the opportunity to correct falls before the new finish is installed. Although it involves more demolition and disposal, it offers greater control over the performance of the completed area.
Tiling over tiles can save time and reduce disruption, but only when the existing surface is sound, well bonded, clean and suitably level. It will raise finished floor heights, which can create complications at door thresholds, drainage points, steps and balustrades. It is not a shortcut for an unstable base, and it should never conceal failed waterproofing or trapped moisture.
For timber-framed decks, the question is more fundamental. Tiles should not be laid directly onto conventional decking boards. Timber movement, board gaps and deflection can quickly compromise a rigid tiled finish. A properly engineered tile-ready system may be possible, but it needs a stable substrate, appropriate sheet materials, compatible waterproofing and considered movement joints. The deck structure must also be capable of carrying the additional weight of the tiling build-up.
Plan drainage before selecting the tile
Outdoor tiling must deal with water confidently. A beautiful large-format porcelain tile loses its appeal quickly when rainwater pools on the surface, tracks towards the building, or seeps beneath the installation.
Falls should direct water away from the property and towards compliant drains, outlets or garden areas designed to receive runoff. The exact fall required depends on the tile format, surface texture, drainage layout and local site conditions, but the principle is constant: water needs a deliberate path. Large tiles can make achieving consistent falls more demanding, particularly where an existing slab is uneven.
Preparation may involve grinding high spots, repairing cracked concrete or installing a bonded screed to form the correct levels. This is skilled work, because the finished surface must drain while still appearing visually balanced at doors, walls and transitions. A patio that drains well but leaves awkwardly cut slivers of tile at every edge is not a premium finish.
Drainage details deserve the same attention as the field of tile. Linear drains, point outlets, grated channels and thresholds should be integrated into the layout early, not treated as an afterthought once tiling has started.
Specify materials for exposure, not just appearance
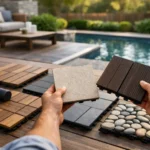
Porcelain is a popular choice for decks and patios because it is dense, low-absorption and available in sophisticated stone, concrete and timber-look finishes. Yet not every porcelain tile is suited to every external application.
Choose a tile with an appropriate slip resistance for the location, especially around pools, outdoor kitchens and uncovered paths. A highly textured finish can offer better grip in wet conditions, but it may take more effort to clean. A smoother tile may suit a protected alfresco area, provided the slip rating is appropriate for its expected use. The best selection balances aesthetic intent, safety, maintenance and exposure to rain, frost and dirt.
Tile size affects both the look and the technical execution. Large-format tiles create a calm, contemporary surface with fewer grout lines, but they demand a very flat substrate, careful handling and excellent adhesive coverage. Smaller formats and mosaics can follow complex falls more easily, though additional grout joints mean more cleaning and finishing work.
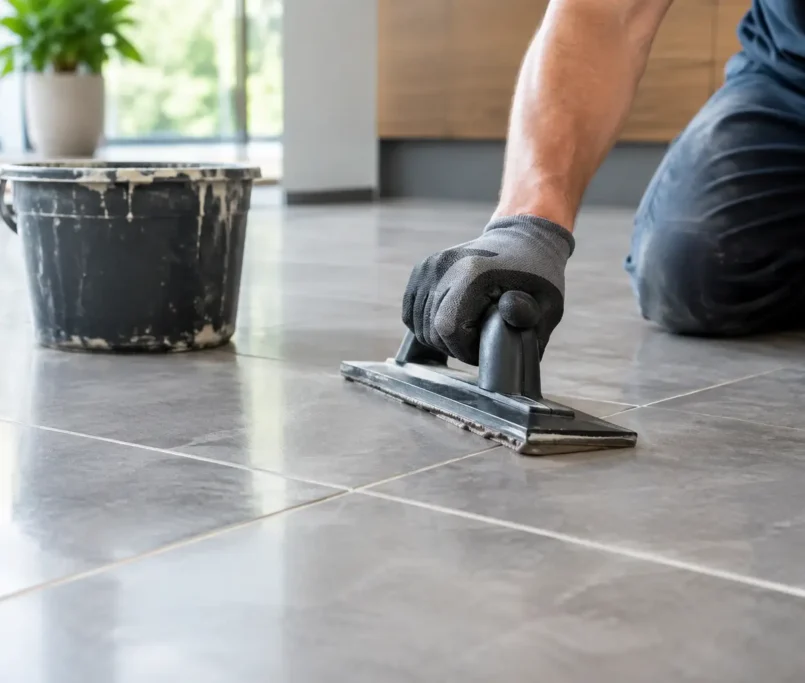
Adhesive, grout and sealants must be specified as a compatible external system. Exterior-rated flexible adhesive supports movement and thermal change, while a quality grout helps resist staining and moisture ingress. Perimeter joints, junctions and penetrations need flexible sealant rather than rigid grout. These finishing details are small in scale but decisive in preventing water from finding a path behind the tiles.
Preparation is the part that protects the finish
The most impressive outdoor tiling projects are rarely won by the tile alone. They are won underneath it.
Once the old surface is removed, the base should be cleaned back, checked for soundness and repaired where required. Cracks need to be assessed rather than simply covered. Structural cracking, movement or deteriorated concrete may require a different solution from a minor surface imperfection. On elevated areas, waterproofing should be treated as a complete system, with particular care at walls, drains, doorways, corners and penetrations.
Where waterproofing is required, it needs to be compatible with the substrate, adhesive and intended exposure. Membranes must be applied over correctly prepared surfaces and allowed to cure as specified. Rushing this stage to gain a day in the programme can create a far greater delay later if tiles need to be removed to investigate a leak.
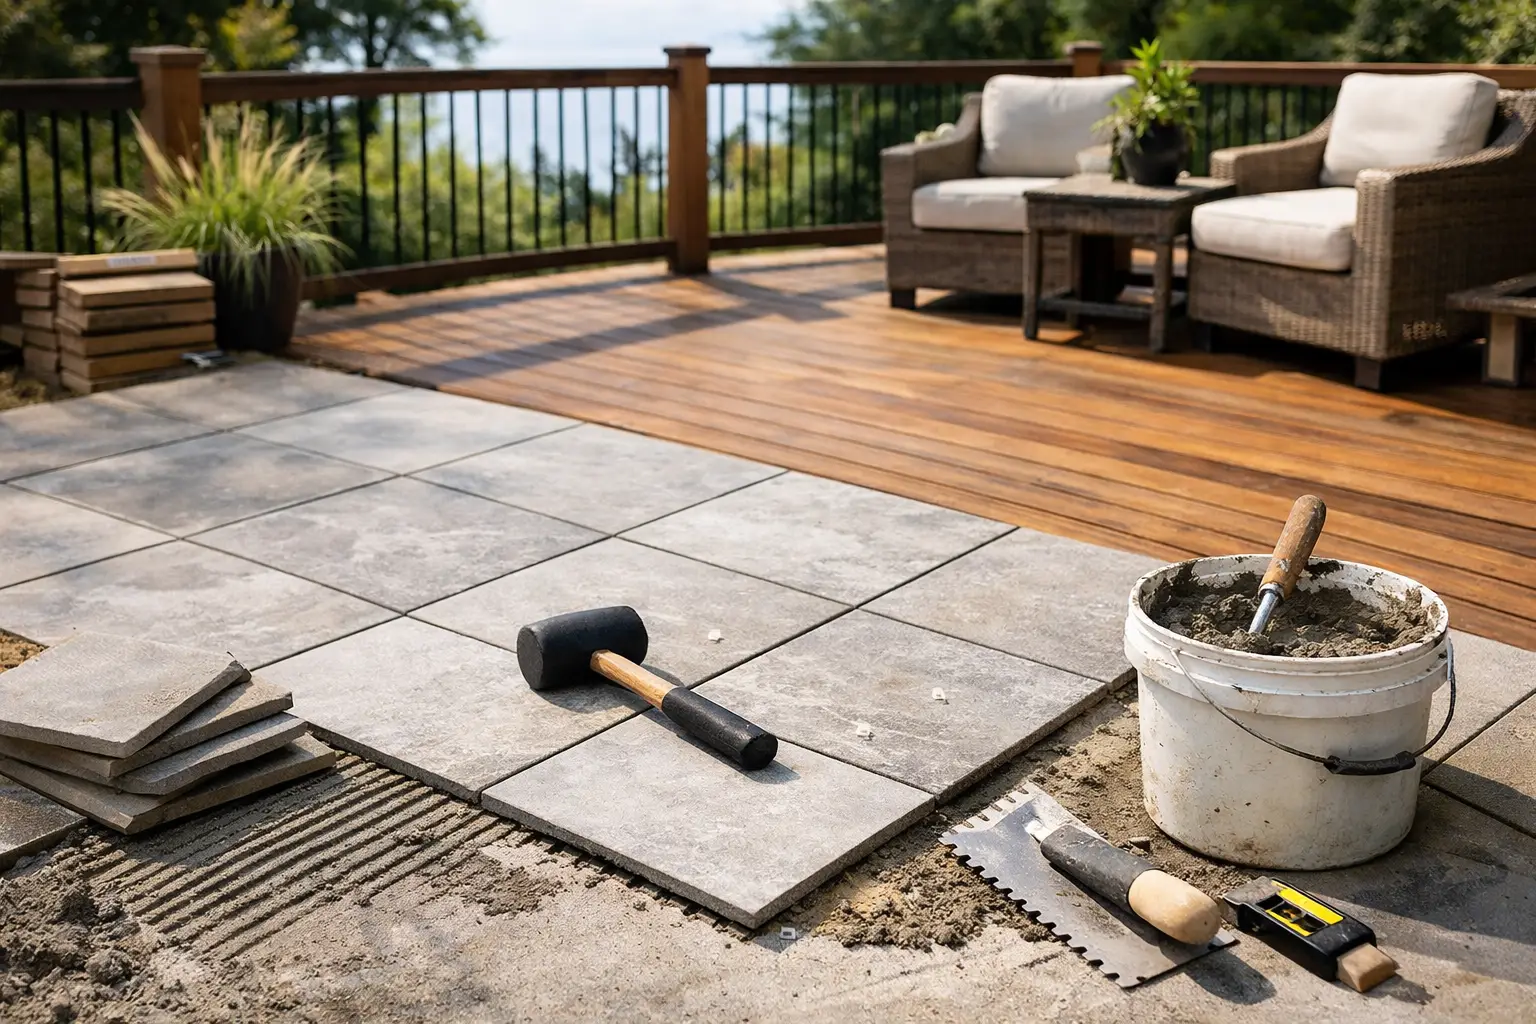
Precision tile installation follows. Tiles should be dry-laid or planned before fixing so cuts fall in considered locations, patterns align with architectural features and narrow edge pieces are avoided where possible. Adhesive coverage beneath exterior tiles must be thorough, without voids that can collect water or leave vulnerable points under traffic.
Do not overlook movement joints and edge details
Exterior tiled surfaces expand and contract with temperature changes. Movement joints allow the tiled assembly to respond without forcing that stress into the tiles or grout.
The required layout depends on the size and geometry of the area, the substrate, sun exposure and existing construction joints. Joints are typically needed around the perimeter, at changes in plane, over relevant substrate joints and across larger expanses. They should be planned into the tile pattern, not improvised after cracks appear.
Edges also need a clear decision. A tiled patio may finish against lawn, paving or a retaining wall. A raised deck may require a tile trim, drop edge, skirting detail or carefully formed step. Each option affects drainage, durability and the final visual line. This is where craftsmanship becomes visible: clean cuts, consistent joints and neatly finished transitions make the entire space feel considered.
Build in realistic time for a quality result
Outdoor retiling is weather-sensitive. Rain, cold temperatures and excessive heat can affect preparation products, waterproofing, adhesive and grout. Cure times are not optional allowances. They are part of the installation system.
A clear programme should account for demolition, substrate repairs, screeding where needed, waterproofing, curing, tiling, grouting and sealant work. It should also allow for tile lead times and site access, particularly where materials must pass through a finished home or be transported to an upper-level terrace.
For homeowners, the practical question is whether the area can remain out of use while the work is completed properly. For builders and project managers, it is whether the trade sequence protects the finished tiles from later damage. In both cases, clear communication around scope, staging and handover makes the process far easier to manage.
A well-retiled deck or patio should feel effortless once it is complete: water drains as intended, edges sit cleanly, joints remain consistent and the surface complements the architecture around it. That outcome starts long before the first tile is laid – with an honest assessment of what the space needs, and a commitment to get the hidden work perfectly laid.