Rectified Tile Explained for Crisp, Tight Joints
You can spot a rectified tile install from the doorway. The grid reads cleaner, grout joints look intentionally slim, and the whole surface has that gallery-like calm people associate with high-end bathrooms, kitchens and commercial fit-outs.
That look is achievable, but it is not “just choose rectified and you’re done”. Rectified tiles raise the standard on everything underneath and everything around them – substrate flatness, adhesive coverage, levelling, movement joints, and finishing. If any of those are treated casually, the same tight joints that look so refined will also highlight every minor variation.
What is rectified tile?
If you’ve been asking, what is rectified tile in practical terms, it’s this: a tile that has been mechanically finished after firing so the edges are cut to a very consistent size and a true 90-degree angle.
Most ceramic and porcelain tiles are fired in kilns, and during that process they can shrink slightly and unevenly. Standard “pressed” tiles are usually sorted into size batches (often called calibres) so they can still be installed neatly, but their edges are typically a little rounded and the dimensions can vary more from tile to tile.
Rectified tiles go a step further. After firing, the tile edges are ground or sawn so each piece is extremely consistent. That consistency is what allows installers to run narrower grout joints and maintain straighter lines across long runs.
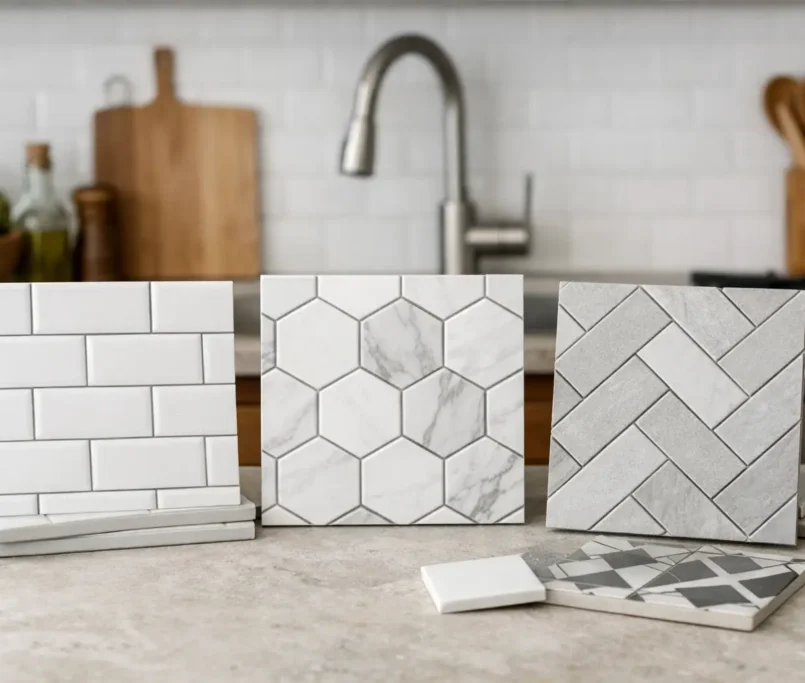
Rectified vs non-rectified: what you see on the wall
Non-rectified tiles tend to have a softer, slightly pillowed edge. Even with excellent workmanship, you’ll usually use a wider grout joint to absorb minor size differences and to keep the layout looking balanced.
Rectified tiles have a crisp edge that reads more architectural. When they’re laid well, the grout line becomes a subtle shadow rather than a bold grid.
Why rectified tiles look “more expensive”
Rectification doesn’t automatically mean a tile is a luxury product, but it enables a luxury finish.
Tighter grout joints reduce visual “noise”, especially in large formats. In a shower, you also tend to have fewer grout lines overall if you’re using larger rectified porcelain. That can feel calmer and more design-led, and it can be easier to keep looking pristine because there’s simply less grout.
There’s also a psychological effect: straight, consistent joints suggest precision. When the lines run true through corners, niches and reveals, the space feels considered.
The real trade-off: tolerance drops, demands rise
Rectified tiles are less forgiving. That is not a fault – it’s the deal.
With a slightly wider grout joint, the installation has more capacity to “hide” tiny substrate waves or micro-variations between tiles. When you tighten joints, you reduce that buffer. Any lippage (where one tile edge sits higher than the next) becomes more noticeable because your eye is already trained on those fine lines.
Rectified edges also mean chips can stand out more if handling is rough or if cutting isn’t disciplined. And because the layout tends to be more minimal, small mistakes feel bigger.
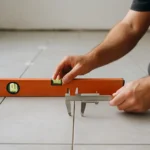
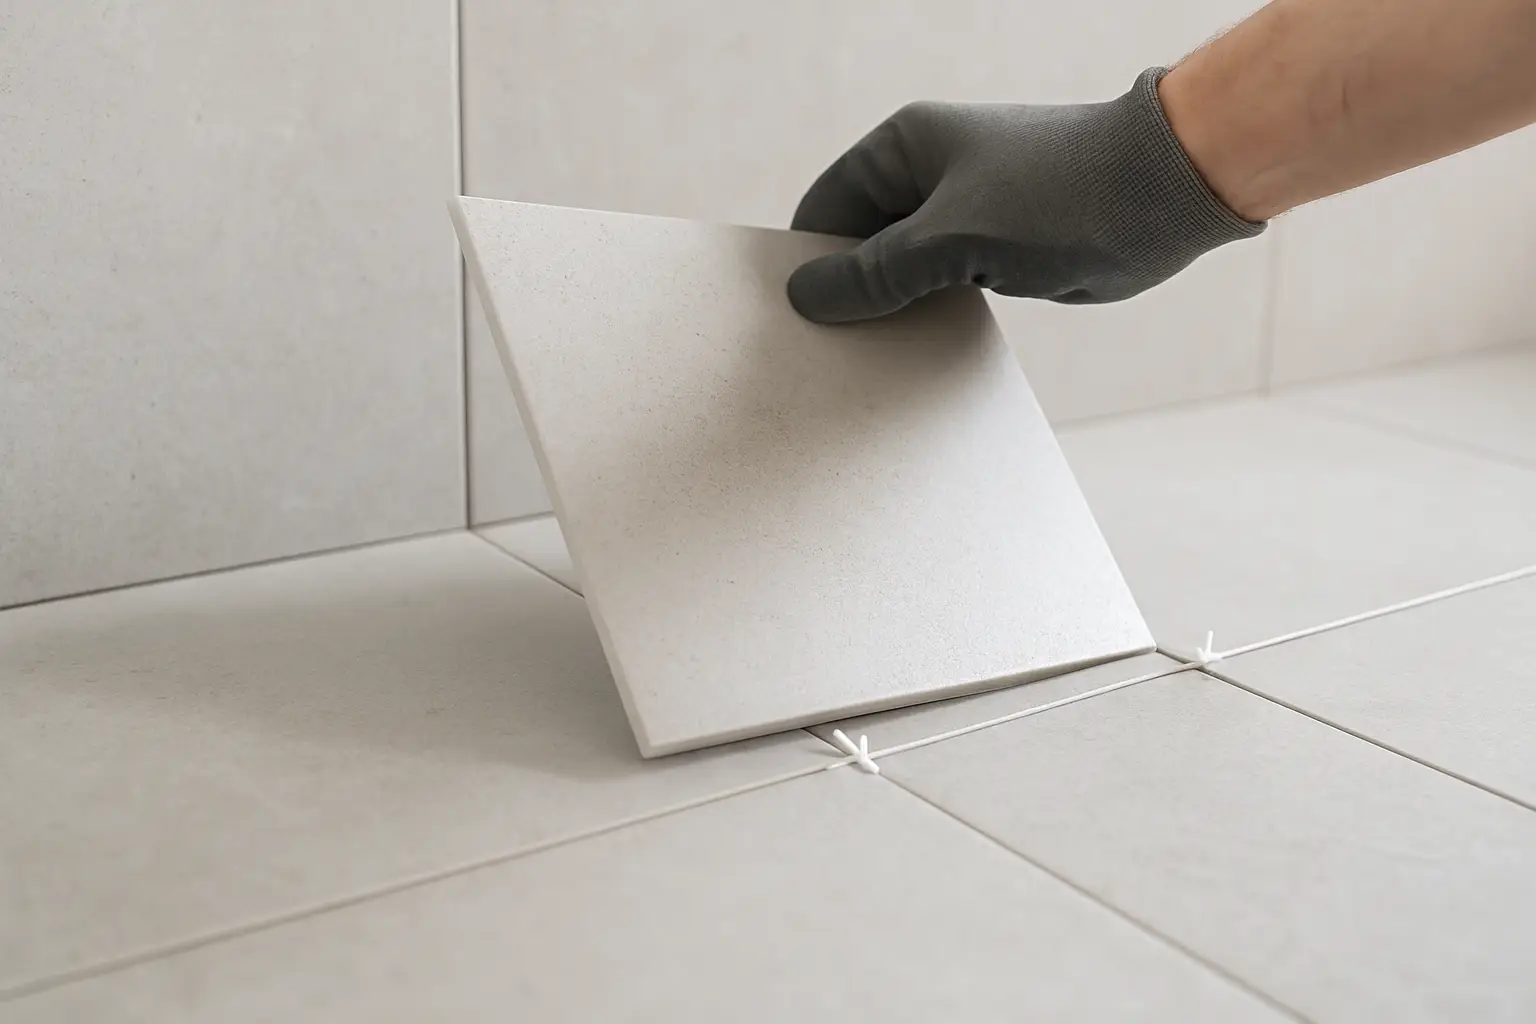
Grout joint width: how tight is realistic?
A common expectation is “no grout lines” or “1 mm everywhere”. In real-world installations, that’s often where projects start to unravel.
Even rectified tiles have manufacturing tolerances. Add site conditions – walls that aren’t perfectly plumb, floors with slight fall requirements in wet areas, and normal structural movement – and you need a joint that can cope.
For many rectified porcelain installations, a 2-3 mm grout joint is a more workable sweet spot. It still looks crisp, but it gives you enough room to keep lines consistent and to accommodate minor variations without forcing tiles together.
The right width also depends on format and setting. A large-format wall tile in a powder room behaves differently to a heavy floor tile in a busy café. The aim is the same, though: a joint that looks intentional and performs long-term.
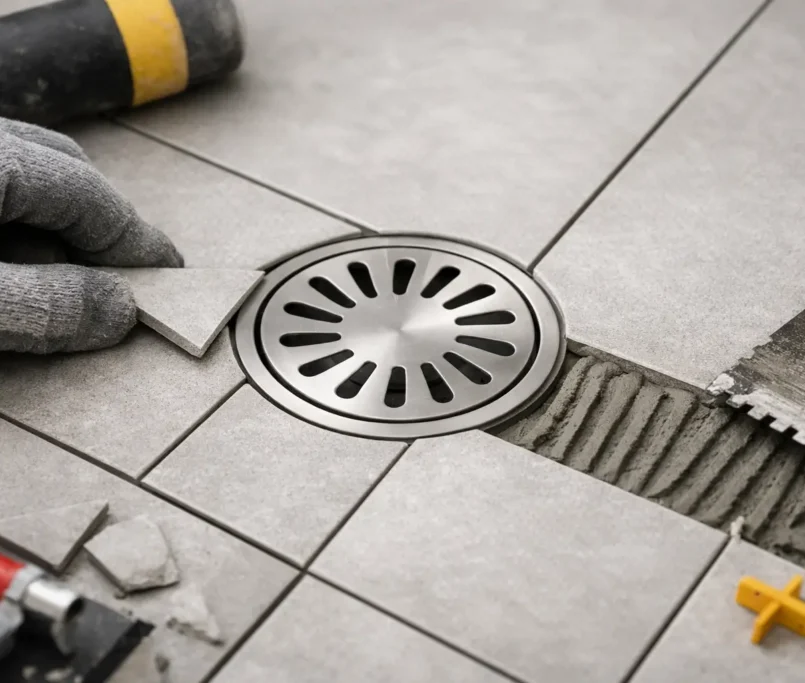
The substrate matters more than the tile
Rectified tile performance is decided before the first tile is buttered. If the surface isn’t flat, you can’t “adhesive your way out of it” without compromising coverage and creating uneven curing.
On floors, this can mean proper re-levelling or screeding so you’re laying onto a plane, not a landscape. On walls, it can mean correcting bows and hollows, especially around wet area build-ups, niches and plumbing penetrations.
In wet areas, waterproofing is non-negotiable. The visual refinement of rectified tiles shouldn’t distract from the functional layers that protect the structure. Precision is not only about what you can see – it’s also about what you never have to worry about.
Lippage, lighting and large formats
Large rectified tiles can be spectacular, but they’re also the most demanding.
Two things amplify lippage: tile warpage (a slight bow that can occur during firing) and grazing light (strong light running across the surface, like downlights washing a wall). A tile can be within tolerance and still show a shadow line if the light is unforgiving.
This is why layout decisions matter. A 50% brick bond (half offset) with certain large formats can exaggerate lippage because the highest point of one tile meets the lowest of the next. A smaller offset often reads cleaner.
An experienced installer will look at the tile, the room, the light direction, and choose a pattern that supports the finish you’re paying for.
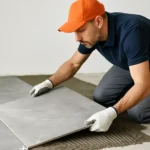
Cutting and edge finishing: where the “premium” is won
Rectified tiles reward meticulous cutting.
Because the edges are crisp, you can achieve cleaner mitres and sharper external corners – but only if the cuts are true, the tools are set up properly, and the finishing is patient. In showers, this extends to niches, set-downs, channels and penetrations, where the tile geometry has to work around waterproofing details and falls.
You’ll also want to think about how edges terminate: at door jambs, around windows, and where tile meets another material. Sometimes that’s best handled with a discreet trim. Sometimes a mitred return creates a more architectural look. The “right” choice depends on the design and the durability requirements of the space.
Where rectified tiles make the most sense
Rectified tiles shine when the design intent is clean and contemporary, and when the space benefits from visual continuity. Bathrooms and ensuites are obvious candidates, particularly with large-format porcelain on walls. Kitchens can look exceptional with rectified splashbacks because the lines stay crisp and aligned to joinery.
Commercially, rectified tiles are popular in retail and hospitality where the finish needs to read premium under bright lighting and close scrutiny. They can also support a more monolithic look in foyers and amenities.
Outdoors, it depends. Rectified porcelain pavers can be a strong choice for alfresco zones if the substrate, drainage and movement allowances are engineered properly. External environments are harsher on finishes, so the installation system matters even more.
Common misconceptions to avoid
The first is that rectified tile means you can skip grout. You can’t. Grout isn’t only decorative – it helps manage minor movement, supports edges, and protects the installation from debris and moisture ingress.
The second is assuming rectified equals slip resistance or durability. Rectification is about edge accuracy, not surface performance. Slip rating, wear resistance and suitability for wet areas are separate considerations.
The third is expecting the tightest joint to always look best. Sometimes a slightly wider joint, paired with a grout colour that matches the tile, produces a calmer result than pushing a joint too tight and ending up with inconsistent spacing.
Getting the rectified look without the rectified stress
If you love the idea of crisp lines but you’re renovating an older property with imperfect substrates, you’re not out of options. You can still achieve an elevated finish by choosing a tile with a softer edge, using a well-considered grout colour, and investing in preparation so the surfaces are true.
Rectified tile is a tool, not a shortcut. The “premium” effect comes from the whole system working together: flat substrates, disciplined layout, correct adhesive selection, levelling where required, waterproofing that’s treated with respect, and finishing details that are executed patiently.
If you want that kind of outcome on a residential renovation, a commercial fit-out, or a multi-unit programme where consistency matters, a craftsmanship-led contractor makes the difference. That’s exactly the approach we bring at Perfectly Laid – precision tiling backed by process, so the finish looks exquisite on day one and stays that way.
A helpful way to think about rectified tile is this: it doesn’t demand perfection from the tile alone, it demands it from the project. When everything is prepared and executed with that mindset, the result feels effortless – which is the most premium look of all.