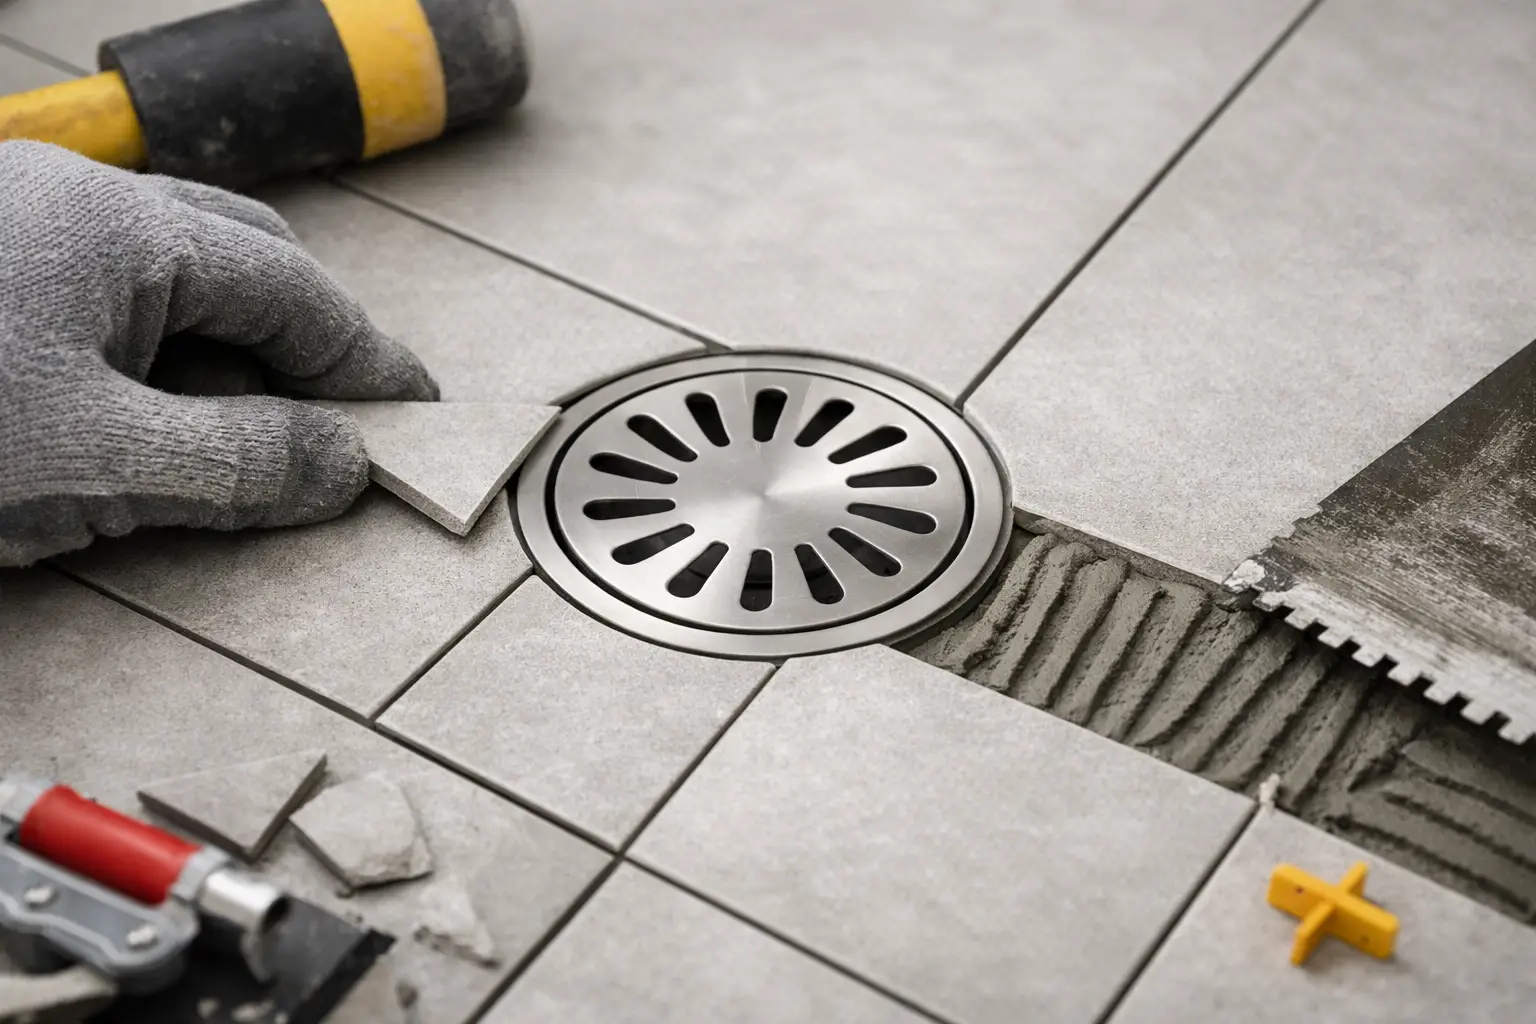
How to Tile Around Floor Wastes for a Clean Finish
A floor waste should disappear into the design without ever being overlooked in the construction. Knowing how to tile around floor wastes is not simply about cutting a neat hole in a tile. It is about creating reliable drainage falls, protecting the waterproofing system and achieving a finish that looks intentional from every angle.
In bathrooms, laundries, shower rooms and external living areas, the waste is where performance and visual precision meet. Get the geometry wrong and water can pond on the floor, sit against a wall or find its way beneath the tile surface. Get it right and the finished floor feels calm, level to the eye and built to last.
Start with the floor waste, not the tile
The floor waste location, grate size and required falls should be confirmed before tile selection or set-out begins. This is especially important when working with large-format tiles, natural stone or patterned finishes, where the visual impact of cuts is more pronounced.
A central point waste requires the floor to fall from every direction towards one small point. A linear drain, by comparison, can allow a single, consistent fall in one direction. Neither option is automatically better. The right choice depends on the room layout, the waterproofing design, tile format and the desired aesthetic.
For a standard point waste, the surrounding tiles need to follow the fall without creating unsupported corners, sharp lips or awkward slivers. This is why experienced tilers plan the waste position alongside the screed stage rather than trying to solve it once tiles are already being laid.
Build the fall into the substrate
Tiles do not create drainage falls. The substrate beneath them does.
Before tiling begins, the floor should be properly prepared, re-levelled where required and screeded to direct water to the waste. In wet areas, the fall must be consistent enough to move water efficiently while still allowing tiles to sit securely and comfortably underfoot. A floor that looks flat but holds water is not a successful floor.
The precise fall will depend on the area, local requirements and waste type. Shower floors commonly need a more pronounced fall than a general bathroom floor, while an external patio may need a different approach again due to rainfall exposure and the size of the drainage area.
The critical detail is avoiding reverse falls. Even a small high point between the shower entry and the waste can cause water to collect. During preparation, a straightedge and level should be used across multiple directions to check that the screed leads cleanly to the drain.
Waterproofing must integrate with the waste
The floor waste is a penetration in the waterproofing system, so it needs careful treatment. The membrane must be correctly dressed and bonded to the waste flange or puddle flange in accordance with the selected waterproofing system.
This is not a detail to leave to chance. A beautifully tiled bathroom can still fail if water tracks beneath the finish around an inadequately waterproofed waste. The visible grate is only the final layer of a much more important assembly below it.
Allow the waterproofing to cure as specified before tiling. Rushing this stage to gain a day on the programme can create a far more costly delay later. Quality workmanship protects the finish by protecting everything beneath it.
Choose tile sizes that suit the drainage geometry
Small tiles are naturally easier to form around a point waste because their grout joints can accommodate changes in direction. Mosaics remain a practical choice for shower bases and compact wet areas for this reason, particularly where a four-way fall is required.
Large-format tiles can still be used successfully, but they demand more planning and more precise cutting. With a point waste, a large tile often needs to be divided into sections that fall neatly towards the drain. These pieces are sometimes described as envelope cuts because they create triangular planes leading into the waste.
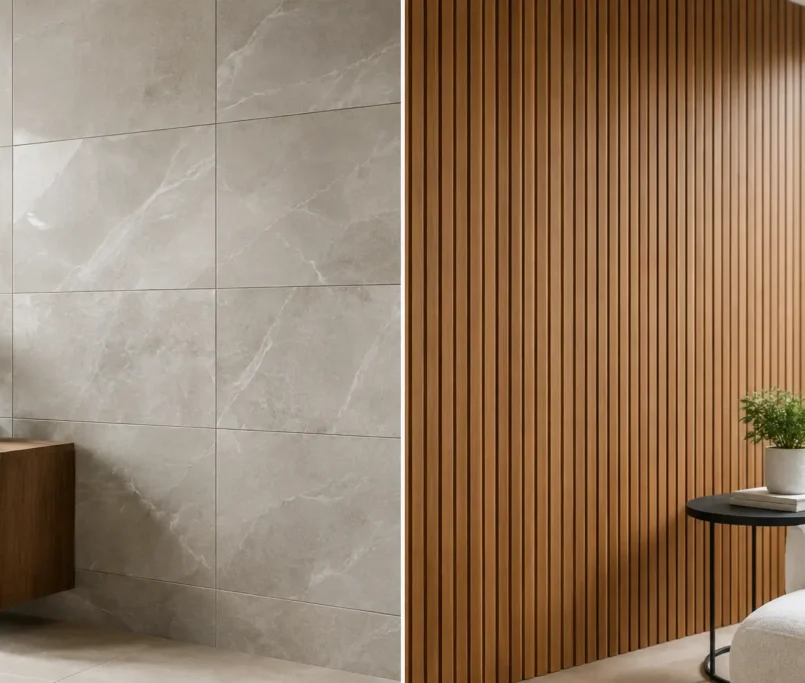
The trade-off is visual. More cuts can make a floor feel busier, particularly with heavily veined porcelain or stone-effect tiles. A linear drain positioned at the rear of a shower or along one edge can be a more refined option when the design calls for larger tiles and minimal interruption.
Before fixing any tiles, dry-lay the proposed pattern around the waste. This reveals whether the grate will sit centred on a grout joint, within a tile, or at the intersection of cuts. It also helps prevent narrow pieces at walls and doorways, which can weaken the overall composition.
How to tile around floor wastes with precision
Once the screed, waterproofing and set-out are confirmed, tiling can begin. The aim is to keep the grate accessible, the cuts balanced and the fall uninterrupted.
First, establish the main tile lines from the most visible part of the room, not automatically from the waste. In a bathroom, this might be the doorway, vanity line or shower screen. The waste should work within a considered layout rather than dictate an off-centre pattern across the entire space.
Next, mark the waste opening accurately on the tile or tile sections. Measure from fixed reference lines more than once. A template can be useful for circular wastes, while square wastes often suit straight, mitred or four-piece cuts depending on the tile size and layout.
Use the correct cutting equipment for the material. Porcelain typically requires a quality wet saw or diamond blade, while dense natural stone may need further refinement to ensure clean edges. Avoid forcing a cut with unsuitable equipment. Chipped edges are difficult to disguise around a polished grate and can compromise the premium finish of the room.
The opening should be large enough for the grate and its frame to sit correctly, but not so large that wide gaps need to be hidden with grout or sealant. The grate should remain removable for cleaning and maintenance. It should never be locked in place by tile adhesive, grout or silicone.
Keep adhesive coverage consistent
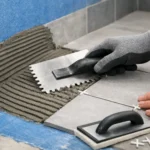
Apply adhesive with the appropriate trowel and back-butter tiles where needed, particularly with larger formats. Full, even coverage supports the tile across the changing planes around the waste and reduces the risk of voids.
Voids are a common hidden problem. In a wet area, unsupported tile edges can flex under foot traffic, allowing grout to crack or water to enter beneath the surface. Around a floor waste, where cuts may create smaller tile pieces, solid bedding is even more important.
Check each piece as it is installed. The tile should follow the fall without rocking, and its edge should not sit proud of the adjacent tile. A slight change in plane is expected where the floor turns towards a point waste. A sharp, uncomfortable ridge is not.
Grout, grate and finishing details
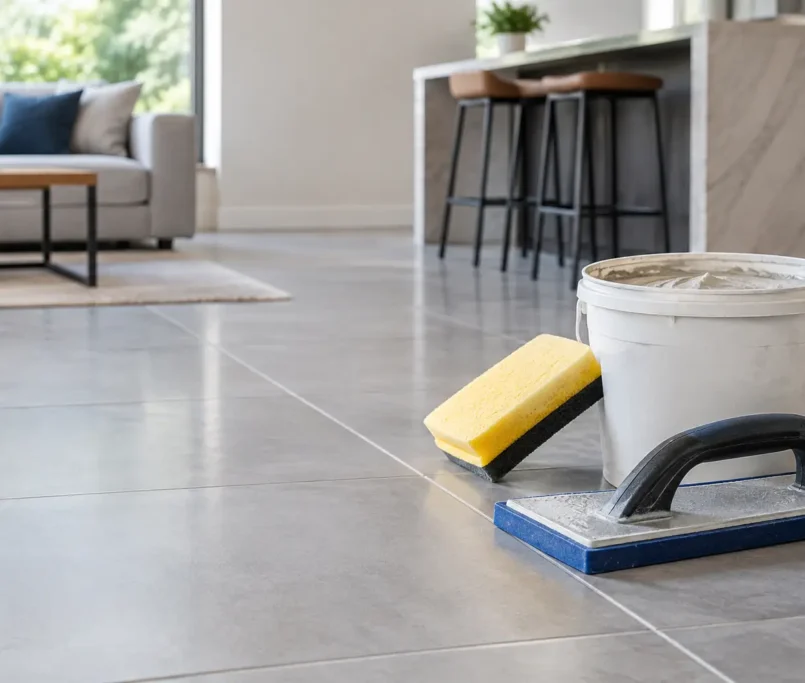
Once the adhesive has cured, grout joints should be filled thoroughly and cleaned carefully. Select a grout suitable for wet areas and the joint width specified by the tile design. The grout colour can either soften the cuts around the waste or make them a deliberate feature – both approaches can work when chosen intentionally.
Do not use grout where movement sealant is required. Perimeters, changes of plane and specified movement joints need a flexible sealant rather than rigid grout. This allows the tiled surface to accommodate minor movement without cracking at vulnerable edges.
Set the grate at the correct finished height. Ideally, it should sit flush with or fractionally below the surrounding tile surface so water enters freely. A grate set too high can create ponding; one set too low may look unfinished or leave an edge that catches dirt.
Before handover, test the floor with water. Watch where it travels, where it slows and whether any water remains after the test. A small amount of surface tension close to the grate can occur, but visible pooling away from the drain is a sign that the fall or installation needs attention.
Common shortcuts that compromise the result
The most frequent failures are rarely caused by the tile itself. They come from inadequate substrate falls, a waste that was not correctly integrated into the waterproofing, poorly planned cuts or insufficient adhesive beneath small pieces.
Another avoidable mistake is selecting a tile format before considering the drainage design. A dramatic 600 mm tile may suit the wall perfectly but be impractical around a central shower waste without extra cuts. Good tiling is not about forcing a material into a space. It is about making every material, line and level work together.
For high-end renovations, multi-unit developments and commercial wet areas, this coordination should happen early between the builder, plumber, waterproofer and tiling contractor. Clear sequencing keeps the programme moving and avoids expensive alterations once finishes have begun.
A floor waste may be one of the smallest elements in a room, but it has a disproportionate effect on how the room performs and feels. When preparation, falls, waterproofing and tile set-out are handled with care, the result is simple: water goes where it should, and the craftsmanship is visible in every clean line.