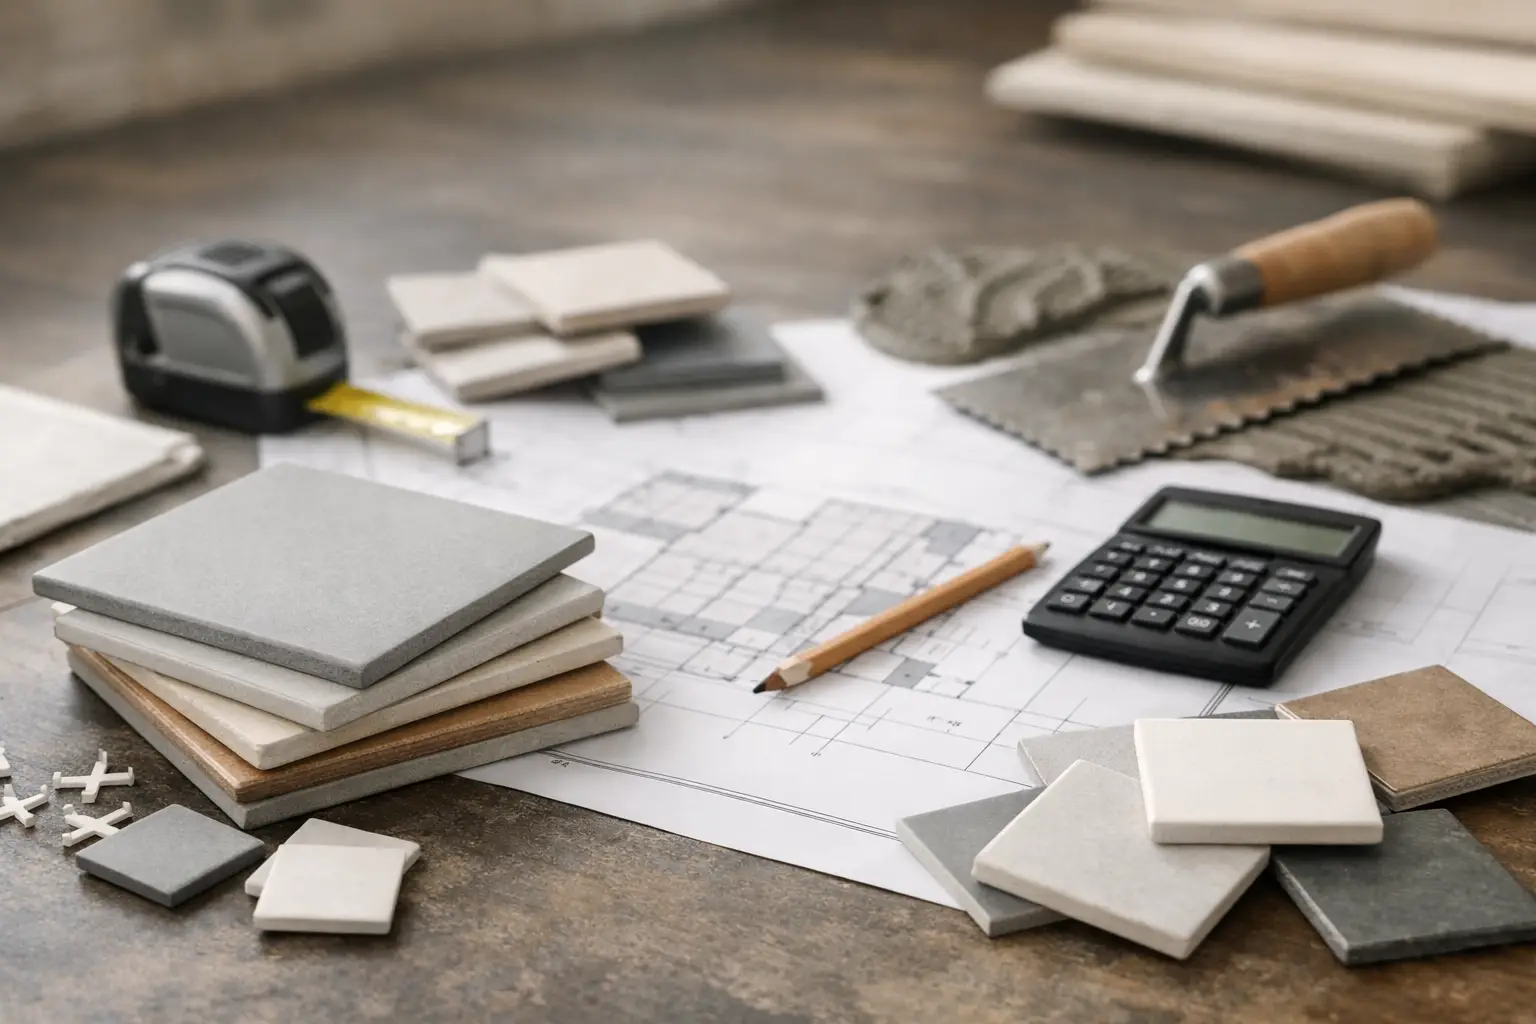
How to Estimate Tile Quantities Accurately
Ordering tiles should feel like a controlled decision, not a gamble. Yet one of the most common causes of project delays, mismatched batches and avoidable cost overruns is getting quantities wrong at the start. If you want to know how to estimate tile quantities accurately, the real goal is not simply to cover a measured area. It is to allow for layout, cuts, breakage, pattern direction and the realities of installation.
A precise estimate protects the finish as much as the budget. Order too little and you risk delays or shade variation when a second batch arrives. Order too much and premium materials sit unused after handover. On design-led bathrooms, kitchens, alfresco spaces and multi-unit projects alike, quantity planning is part of quality control.
How to estimate tile quantities accurately from the outset
The first step is to measure the exact tiled area, not the room size quoted on a plan. That distinction matters. A bathroom may be three square metres on paper, but vanities, niches, islands, cabinetry, windows and door openings all affect what is actually being tiled.
For floors, measure the length and width of each section in metres, then multiply them to get square metre coverage. If the space is not a perfect rectangle, break it into smaller shapes and total them. For walls, measure the height and width of each wall area individually. Then deduct significant openings such as doors and large windows, but be careful with small deductions. In many cases, the cuts around those areas consume material anyway, so deducting every tiny detail can produce a false economy.
On a straightforward floor, this may be enough to reach a base figure. On a premium installation, it rarely tells the full story. The estimate becomes more accurate when you calculate with the tile size, laying pattern and set-out in mind.
Measure the real tiled surface, not the room broadly
This is where many estimates lose accuracy. If you are tiling a kitchen floor beneath fixed joinery, you may not need full coverage under every cabinet. If you are tiling a shower wall to full height but the rest of the bathroom only to 1.2 metres, each wall must be measured as a separate zone.
The cleaner approach is to sketch the area and mark each tiled section clearly. This matters even more on commercial fit-outs and larger developments, where repeated unit types can create the illusion that every room is identical. Minor dimensional changes between units often compound into major ordering errors when multiplied across dozens of spaces.
Convert area into tile quantities properly
Once you know the total square metres, divide that figure by the coverage per tile or, more commonly, use the box coverage supplied by the manufacturer. If one box covers 1.44 square metres and your measured area is 18 square metres, you need 12.5 boxes before wastage. In practice, that means rounding up to 13 boxes at a minimum.
But box coverage is only the starting line. Tiles are not installed in perfect mathematical conditions. Edge cuts, movement joints, off-square walls and pattern matching all reduce usable yield. That is why experienced contractors do not rely on square metre totals alone.
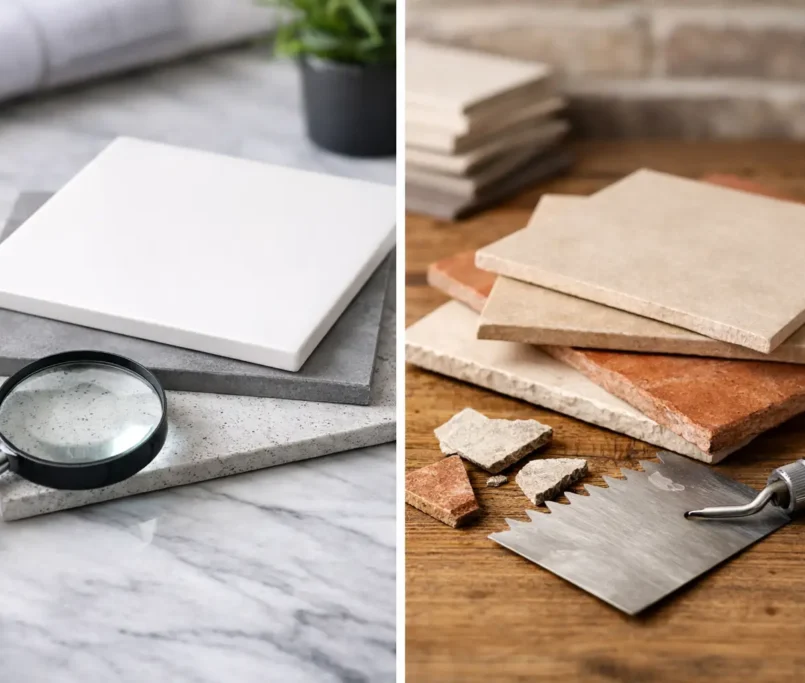
Large-format tiles often create fewer grout lines and a cleaner visual finish, but they can increase waste in compact or irregular rooms because cuts are larger and less reusable. Smaller tiles may appear more forgiving, yet patterns such as herringbone or basketweave can generate substantial offcuts.
Count by layout, not just by coverage
If the tile has a directional vein, a printed pattern or a feature face that needs visual balance, layout becomes part of the estimate. The same is true with centred floor set-outs, mitred corners, wrapped feature walls and tiled niches. A quantity that works on paper can still fall short once the installation is planned to look right.
For example, a stacked lay in a square room usually creates less waste than a diagonal pattern in the same space. A herringbone splashback may require noticeably more overage than a standard brick bond because many cuts cannot be reused elsewhere. Stone-look porcelain with strong veining may also need extra allowance if the installer is selecting pieces carefully to maintain flow.
Wastage is not a guess – it is part of the calculation
If you are serious about how to estimate tile quantities accurately, you need a sensible wastage allowance. This is not a buffer added because someone is being cautious. It accounts for cutting losses, accidental breakage, future repairs and the practical limits of each box.
As a general guide, a simple straight lay in a regular room may need around 10 per cent extra. Diagonal layouts, herringbone, feature walls, rooms with many corners, or projects using brittle or expensive finishes may need 12 to 15 per cent, and occasionally more. The right figure depends on the tile format and complexity of the installation.
There is also a difference between waste and contingency stock. Waste covers what is likely to be consumed during the works. Contingency stock is the extra material retained after completion in case a tile is damaged later. On high-end residential and commercial projects, keeping a small quantity from the same batch is often worth the cost. Manufacturers discontinue lines, and replacement batches do not always match perfectly.
When you may need more than standard wastage
Some jobs deserve a wider margin. Handmade tiles can vary in size and edge profile. Natural stone may require selection and rejection to maintain a refined finish. Outdoor tiling can involve more cuts around drains, falls and perimeter detailing. In older properties, walls and floors are often less square than expected, which increases trimming and loss.
In those cases, chasing a tight material order can be a false saving. Precision installation benefits from having enough tile on site to solve problems properly rather than compromising the layout to avoid running short.
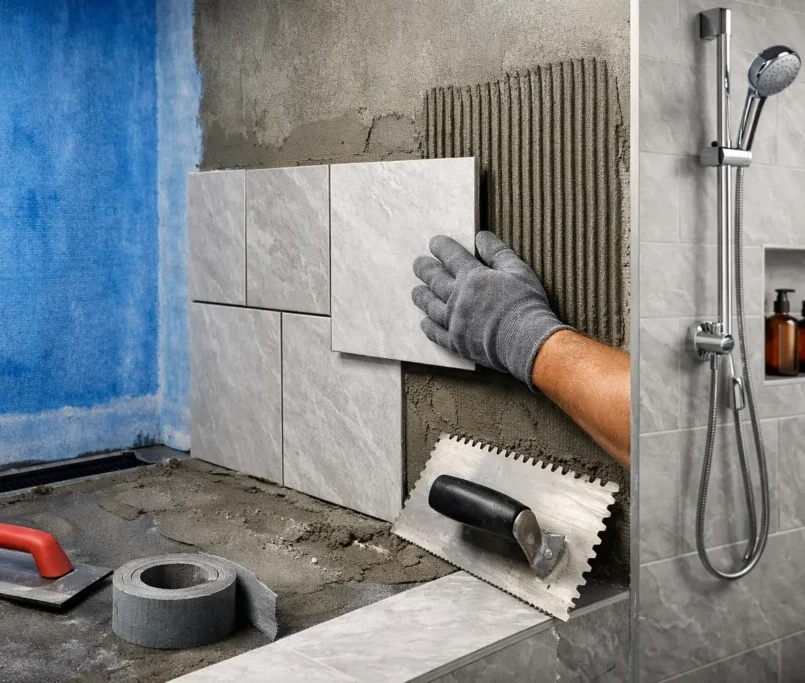
Don’t ignore trims, edges and special pieces
Tile quantities are only one part of the material schedule. Many projects also need skirtings, capping pieces, stair nosings, mitre allowances, movement joints, trims and niche pieces. These are easy to miss because they are not always shown clearly on early drawings.
Wall tiling may require tile returns around reveals. Shower niches consume more cuts than many clients expect. Feature borders and contrasting inlays also affect yield because full tiles are being broken into smaller modules. If the tile selection includes décor tiles or feature pieces sold individually, those must be counted separately rather than estimated by square metre.
This is especially relevant when the finish standard is high. A polished result is achieved in the details, and the material order needs to support those details from the outset.
Site conditions can change the final number
Even the best estimate should be tested against the actual site. Screeding, re-levelling and substrate correction can all influence the final set-out. If walls are out of plumb or floors fall unexpectedly, the tile layout may need to shift to preserve symmetry and minimise awkward cuts in visible areas.
That is one reason professional estimating is tied closely to installation experience. Measuring a room is one task. Understanding how that room will receive tile is another. At Perfectly Laid, that distinction matters because the quantity take-off is considered alongside preparation, waterproofing, finishing details and the visual outcome the client expects.
For builders and developers, this becomes even more important at scale. Repeated room types still need verification. Lift access, storage conditions and phased delivery can influence how much stock should be held on site and how much should be reserved.
A practical method that keeps estimates reliable
The most reliable process is straightforward. Measure each tiled area separately. Calculate the base square metre total. Check the manufacturer’s box coverage. Review the tile size and laying pattern. Add wastage based on the complexity of the job, not a generic rule. Then round up sensibly so you are ordering full boxes and preserving a small margin for the unexpected.
If the project involves feature layouts, premium materials or multiple wet areas, it is worth setting the estimate against a tile-by-tile layout drawing. That extra step can prevent expensive ordering errors and protect the finish.
There is no glamour in quantity estimation, but there is real craftsmanship in getting it right. A well-planned tile order supports clean lines, consistent batches and a smoother programme from first fix to final caulking. And when the installation is meant to feel precise, considered and built to last, that kind of preparation is never incidental. It is part of the standard.