Bathroom Wall Tile Height Recommendations
A bathroom can look beautifully specified on a plan and still feel unfinished once the tile line is set too low, too high or without regard for the room’s proportions. The right bathroom wall tile height recommendations are not a single measurement to copy from one project to another. They are a design and performance decision shaped by water exposure, fixture placement, ceiling height, tile format and the finish you want to live with.
For a compact family bathroom, tiling only the wet areas may be the smartest investment. In a principal en-suite or design-led development, full-height tiling can create the calm, architectural effect that makes the space feel considered from every angle. Precision lies in knowing which approach serves the room – and executing every transition, junction and tile cut with care.
Bathroom wall tile height recommendations by area
The most practical starting point is to divide the bathroom into wet and dry zones. Water does not respect arbitrary tile lines, particularly around showers and baths, so the wall finish needs to protect the surfaces most exposed to splashes, steam and routine cleaning.
Shower walls: tile to the ceiling
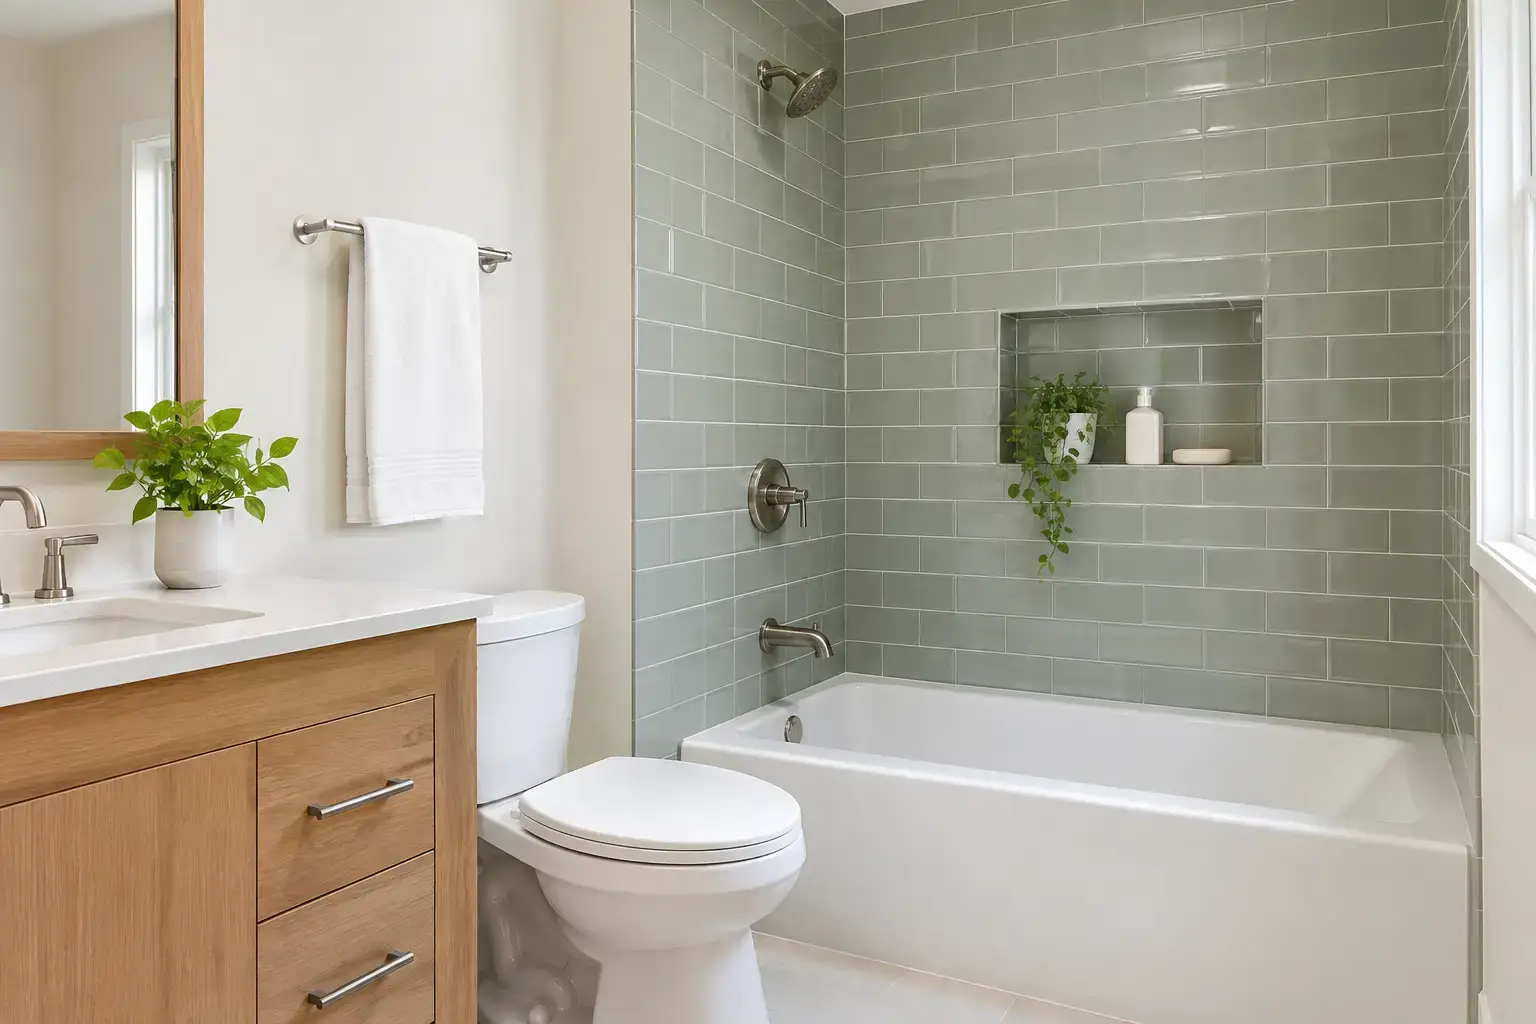
Within a shower enclosure, full-height wall tiling is generally the strongest recommendation. Taking tiles to the ceiling provides a complete, intentional finish and reduces the amount of painted surface exposed to persistent moisture and condensation. It is especially effective with frameless screens, walk-in showers and large-format porcelain, where uninterrupted vertical lines make the room feel taller and more spacious.
A tiled shower ceiling is not always necessary. It may suit a steam shower, a room with a rainfall shower head close to the ceiling, or a highly detailed luxury scheme. In most bathrooms, however, tiling the walls to the ceiling and using a quality bathroom-grade ceiling finish is the balanced approach.
The visible tile is only one part of this decision. Behind it, the substrate must be stable, correctly prepared and waterproofed as a system. A striking full-height tile installation cannot compensate for poor wall preparation, inadequate falls or rushed waterproofing around penetrations and corners.
Bath surrounds: at least above the splash zone
For a bath set against one or more walls, tile should extend well above the point where water can splash. A common practical height is around 1,200mm from the finished floor, but this is a baseline rather than a rule. If the bath has a wall-mounted shower, the tiled area should continue to the ceiling on the shower wall and across any wall receiving regular spray.
A freestanding bath creates a different opportunity. When it is positioned away from the wall, a tiled feature wall behind it can run to 1,200mm, 1,500mm or full height depending on the desired composition. The key is to avoid a line that appears to stop randomly behind the bath rim. Align it with a window sill, niche, vanity splashback, architectural reveal or a deliberate horizontal grout joint.
Vanity walls: 1,200mm to 1,500mm works well
A vanity splashback does not need to be full height to feel premium. Tiling to approximately 1,200mm is often sufficient for a standard vanity, while 1,400mm to 1,500mm can give the wall more presence in larger bathrooms. This height also works neatly where a mirror is positioned above the tile line, leaving a calm painted field near the ceiling.
Full-height vanity tiling is a strong choice when the basin wall is the room’s focal point. It can frame a floating vanity, add depth behind a round mirror and give smaller spaces a more enveloping feel. It is particularly successful with natural stone-look porcelain, vertically stacked tiles or restrained tonal finishes. The trade-off is cost and visual density: a busy patterned tile on every wall can make a compact room feel crowded.
Toilet walls: match the room’s design logic
Behind a WC, a half-height tiled wall is easy to clean and can conceal a concealed cistern or create a neat ledge. Heights of 1,200mm to 1,500mm are common, particularly where the line continues around the bathroom from the vanity. In a full-height scheme, carrying the same tile behind the WC delivers a more cohesive result.
Consistency matters more than convention. If a horizontal tile line runs around the room, it should relate cleanly to fittings, joinery and openings rather than cutting through the middle of a flush plate or stopping just below a window.
Choose a height that suits the room, not a trend
Full-height bathroom tiles are popular because they minimise visual breaks and give walls a monolithic, hotel-inspired quality. They also offer practical benefits: fewer painted surfaces to maintain, easier cleaning and greater protection from moisture in rooms with limited ventilation.
Yet full height is not automatically the best answer. In a bathroom with a very high ceiling, the upper portion of the wall may add substantial tile quantity without adding proportion or impact. A carefully designed 1,500mm dado line, paired with quality paint above, can introduce warmth and save budget for a more distinctive tile, premium tapware or a bespoke vanity.
Ceiling height should guide the decision. In a lower room, full-height tiling can make the space feel more generous, especially when grout lines are minimal and tiles are laid vertically. In a taller room, a partial-height installation can make the bathroom feel grounded if the tile line is deliberately positioned. Aim for a height that looks resolved from the doorway, not merely adequate when standing beside the basin.
Let tile size and layout set the line
Tile height should rarely be decided before tile dimensions and layout are resolved. A 600mm-high tile naturally supports a 1,200mm or 1,800mm installation with full tiles, while a 300mm tile offers more flexibility around fixtures. With large-format porcelain, an arbitrary 1,350mm line can leave a narrow, awkward cut at the top that weakens an otherwise refined installation.
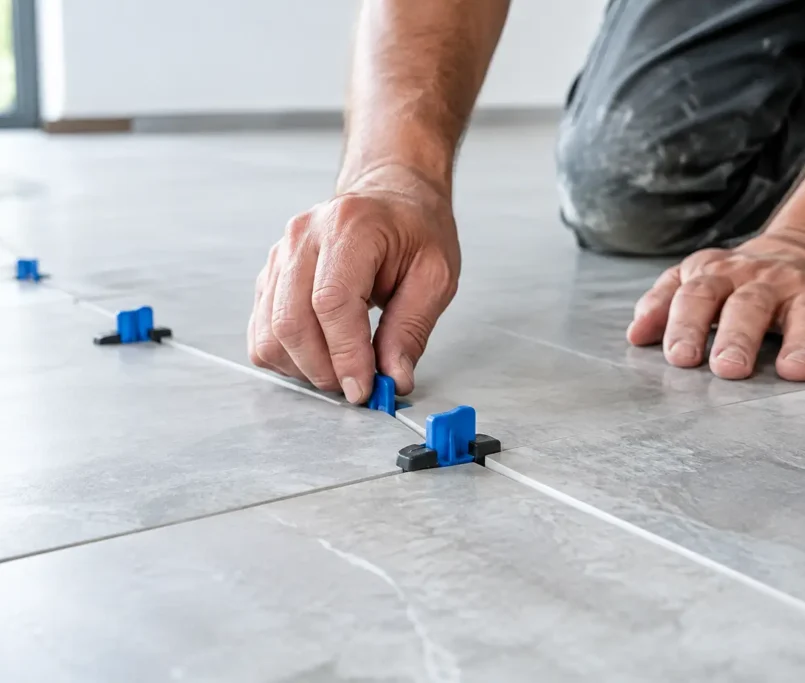
The best layouts begin from the most visible sightlines. Consider the wall seen from the door, the centreline of the vanity, the shower niche and the tile return at external corners. A precise set-out can keep cuts balanced, align grout joints across adjacent walls and position the tile line where it looks intentional.
This is also where premium execution becomes visible. Fine mitres, crisp niche returns, aligned fixtures and neat silicone joints are not minor details. They are what separates a bathroom that simply has tiles from one that feels expertly finished.
Do not confuse tiling height with waterproofing extent
The height of the visible tile does not define where waterproofing should stop. Waterproofing requirements depend on the wet area, substrate, shower configuration and applicable building requirements. A professional installer will assess the entire system before tiles are fixed, including floor-to-wall junctions, internal corners, hob details, penetrations, drainage and substrate movement.
This distinction matters when homeowners choose a 1,200mm tiled vanity wall or a feature tile behind a bath. The room may still require waterproofing beyond the decorative tile line in specific areas. Conversely, taking tiles to the ceiling does not remove the need for correctly formed waterproofing below them.
For renovations, the existing walls also need honest assessment. Uneven masonry, damaged plaster, old adhesives and out-of-plumb corners can all affect the final lines. Proper demolition, re-levelling and preparation protect the finish before the first tile is laid.
A considered approach for developments and multi-bathroom projects
For builders and developers, standardising tile heights across multiple units can improve programme certainty and material planning, but only when the design is properly coordinated. Repeating a 1,200mm wall tile line may be efficient, yet it must work with every vanity model, mirror size, window position and shower arrangement in the schedule.
A sample bathroom or detailed set-out is worth the time. It allows the team to confirm cuts, trim selections, niche locations and finishing transitions before work is repeated across dozens of bathrooms. This protects consistency without sacrificing the level of finish expected in a high-end project.
At Perfectly Laid, the focus is not simply on choosing a tile height. It is on carrying that decision through surface preparation, waterproofing, set-out and finishing so the completed bathroom looks as considered as the original vision.
Before committing to a height, stand back from the drawings and ask what the tile line is meant to do: protect a wet zone, frame a feature, simplify maintenance or elevate the entire room. When it answers that question clearly and aligns with the room’s proportions, it will feel right for years rather than merely current on handover day.