How to Plan a Full Bathroom Tiling Layout
A bathroom can have the most beautiful tile selection in the room, yet still feel second-rate once installed. The usual culprit is not the tile itself. It is the layout. Uneven cuts at eye level, a niche that lands half on a grout line, or floor tiles that fight the room rather than anchor it will quietly undermine the whole result. If you want to know how to plan a full bathroom tiling layout, the real job starts well before the first tile is fixed.
A well-planned layout protects both the visual finish and the technical performance of the bathroom. It helps the room feel balanced, keeps detailing intentional, and reduces awkward compromises around fixtures, corners and drainage. For homeowners, that means a more refined renovation. For builders and project managers, it means fewer site decisions, cleaner delivery and a result that holds its standard from one bathroom to the next.
Why bathroom tile layout should be planned before installation
Tiling is one of the last finishes people see, but it should never be one of the last things considered. Layout decisions need to sit alongside waterproofing, set-downs, screed falls, plumbing positions, vanity heights and shower detailing. When those elements are coordinated early, the finished bathroom reads as one resolved design rather than a sequence of trade allowances.
This is especially true in full bathrooms, where floor tile, wall tile, niches, tapware, mirrors and joinery all interact. A layout that looks acceptable on a quick sketch can break down once real dimensions, tile sizes and movement joints are taken into account. Precision is what gives the room its calm, high-end appearance.
How to plan a full bathroom tiling layout from the ground up
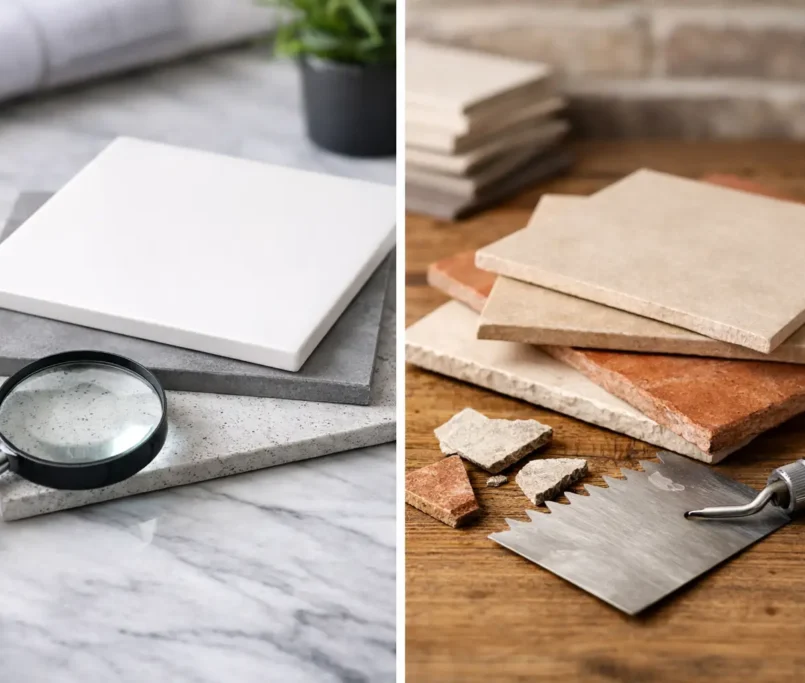
The first step is to measure the room accurately, and not just wall to wall. You need the true finished dimensions after substrate preparation, sheeting, screeding and any correction work. Bathrooms are rarely perfectly square, and a few millimetres out at one end can become a visibly tapered cut by the time you reach the other.
At this stage, mark every fixed element. That includes the doorway, shower screen, bath, vanity, toilet pan, windows, niches, floor waste, tapware penetrations and any feature wall. These are not minor details. They determine where cuts will sit and which lines the eye will notice first.
Once the room is measured, establish your focal points. In most bathrooms, the main sightlines are the wall you face on entry, the shower back wall, and the floor area visible beyond the vanity. These are the places where symmetry and tile balance matter most. Less prominent zones, such as behind a door swing or beside a concealed cistern, can tolerate smaller cuts if required.
That is where planning becomes a matter of judgement rather than rigid formula. Perfect symmetry in one area can force poor outcomes elsewhere. The goal is not mathematical purity at all costs. The goal is a bathroom that feels deliberate from every important angle.
Start with the floor, but plan walls at the same time
Many people treat floor and wall layouts separately. On a premium bathroom, that approach usually creates conflict. The floor establishes the room’s rhythm, but the walls carry most of the visual weight, so both need to be resolved together.
For the floor, start from the most visible field rather than blindly centring off the room’s structural dimensions. If the doorway opens onto the floor, you may want full or near-full tiles in that immediate view. In a walk-in shower, the layout often needs to respect the drain position and the required fall. Large-format tiles can look exceptional, but they may need careful set-out around a linear waste or more considered cutting around a central floor waste.
On the walls, decide whether you want full tiles at the base, at the top, or centred through the wall height. There is no single correct answer. It depends on the ceiling line, vanity splashback, niche position and whether the bathroom includes a feature tile. In many cases, keeping cut tiles out of the primary eye line matters more than achieving equal cuts top and bottom.
If you are running the same tile through floor and walls, check the scale carefully. A tile size that feels generous on the floor may create difficult cuts around windows, ledges or in narrow returns. This does not mean the tile is wrong. It means the layout needs to be tested before installation begins.
Plan around the features that expose poor workmanship
Some bathroom details instantly reveal whether a tiling layout was properly resolved. Niches are one of them. A niche should never feel dropped into the wall as an afterthought. Ideally, its width and height should relate cleanly to the tile module, so grout joints align through or around it in a deliberate way.
The same principle applies to tapware and mixers. If a mixer plate lands awkwardly across multiple grout lines, or a spout is noticeably off-centre to the tile pattern, the whole wall can feel unsettled. This is why plumbing rough-in and tile set-out need to speak to each other early.
Vanities, mirrors and shower screens also need attention. If a vertical grout line can be centred to a mirror or vanity basin, the result feels composed. If the screen channel lands on a sliver cut, it can cheapen an otherwise excellent bathroom. High-end tiling is often defined by these small alignments that most people do not consciously name, but immediately recognise.
Tile size, grout joints and pattern direction all change the layout
When clients ask how to plan a full bathroom tiling layout, they often focus on tile size first. That matters, but so do grout joint width and tile orientation. A nominal 600 x 600 tile with a 3 mm joint behaves differently from the same tile with a 2 mm joint across the width of a room. Over several rows, those small increments add up.
Direction matters too. A stacked vertical wall layout will make height and alignment more prominent. A brick bond can disguise minor variation, but on rectified large-format tiles it may require an offset limit to avoid lippage. Stone-look porcelain with directional veining often needs blending across boxes so the finished wall looks balanced rather than repetitive.
This is where a dry set-out or scaled drawing becomes invaluable. It lets you test where grout joints will actually fall at corners, edges and fixtures before adhesive enters the conversation.
Corners, edges and cuts are where good layouts are won
No bathroom is judged by its full tiles alone. It is judged by how the cuts and terminations are handled. Internal corners should feel clean and consistent, not as though one wall was simply allowed to dominate the other. External edges, hob details and nib walls need a considered finish, whether that is a mitred edge, a trim, or a material transition.
Very small cuts are usually the first sign of a rushed set-out. As a rule, avoid slivers where possible, particularly at the end of a visible wall or along the floor at the doorway. Shifting the whole layout by a small amount can often transform the final balance.
That said, every room involves compromise. In older homes, walls may be out, floors may require correction, and structural constraints may override the neatest visual option. The difference with a well-managed project is that these compromises are made intentionally, not discovered halfway through installation.
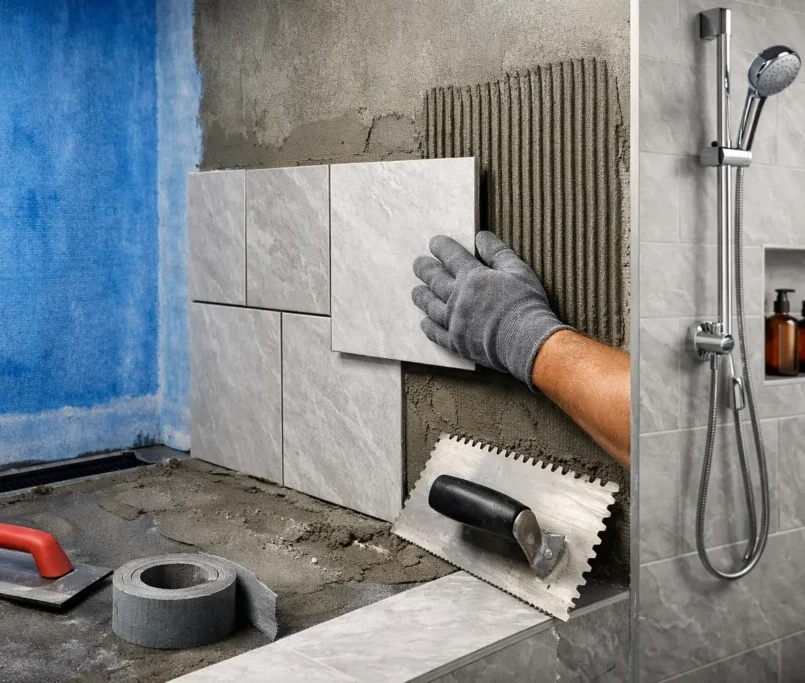
Waterproofing and substrate preparation affect the final layout
A bathroom layout is only as precise as the surface beneath it. If walls are out of plumb or floors are not properly prepared, tile lines will start to drift. Large-format tiles are particularly unforgiving here. They amplify unevenness and can introduce lippage, poor drainage or inconsistent joint widths.
That is why layout planning must account for the full tiling scope, including demolition, re-levelling, screeding and waterproofing. These are not separate background trades in a quality bathroom. They are part of the same chain of control that protects the final finish.
For builders and developers, this matters even more across multi-unit work. A repeatable layout standard only works when the underlying preparation is equally disciplined. Precision on paper means very little if the substrate changes from room to room.
When to involve a professional tiling contractor
If the bathroom includes niches, feature tiles, natural stone, large-format porcelain, linear wastes or multiple wet zones, layout should be reviewed by an experienced tiling contractor before materials are ordered. The right installer will not simply ask what tile you want. They will ask how the room is built, where the fixtures land, what tolerances exist, and which lines matter most to the final look.
That early input saves money more often than it adds cost. It can prevent tile waste, avoid repositioning issues and reduce the kind of site improvisation that leads to average finishes. On higher-end bathrooms, that is where the real value sits. At Perfectly Laid, this is treated as part of protecting the outcome, not an optional extra.
A bathroom should feel resolved the moment you step into it. Not loud, not overworked, just quietly precise. Plan the layout with that standard in mind, and every tile afterwards has a far better chance of looking exactly where it belongs.