How to Prep a Subfloor for Tile
A tiled floor rarely fails because of the tile itself. More often, the problem starts underneath – a slight dip, a patch of moisture, a flexible sheet of timber, or a rushed repair that looked acceptable until the grout began to crack.
If you want a tiled finish that looks refined and stays that way, subfloor preparation is where the standard is set. This is true in a family bathroom, an alfresco upgrade, a retail fit-out, or a multi-unit development. The visible finish may get the attention, but the substrate decides whether that finish performs.
Why subfloor preparation matters so much
Tile is a rigid finish. It does not tolerate movement, contamination, moisture issues, or unevenness particularly well. Carpet and vinyl can disguise imperfections. Tile does the opposite – it reveals them.
That is why knowing how to prepare subfloor for tile is less about one quick checklist and more about making sound technical decisions before installation begins. The right preparation protects the adhesive bond, keeps the finished floor level and stable, and helps prevent drummy tiles, cracked grout, lipping, and premature failure.
The exact method depends on what is already in place. A concrete slab needs a different approach from a timber floor. Internal wet areas call for a different level of moisture management from a dry living area. Large-format porcelain places tighter demands on flatness than a small mosaic. Good preparation is never generic.
Start by identifying the existing subfloor
Before any grinding, priming or levelling starts, you need to know what you are working with. In most projects, the subfloor will be either concrete or timber, though the condition of that base matters as much as the material itself.
A concrete subfloor may be structurally sound but covered in paint, old adhesive, curing compounds, dust, or hairline cracking. A timber floor might appear solid underfoot yet still flex beyond what a tile installation can tolerate. Older properties can also reveal layers of previous renovation work – patch repairs, mixed materials, or uneven transitions between rooms.
This first assessment should look at five things: structural integrity, flatness, cleanliness, dryness, and movement. If one of those is wrong, the rest of the installation is already compromised.
How to prepare subfloor for tile on concrete
Concrete is often assumed to be tile-ready. It rarely is.
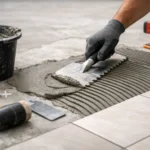
The first step is to remove anything that could interfere with adhesion. That usually means old floor coverings, glue residue, paint, grease, plaster droppings, dust, and loose material. Mechanical preparation is often the right choice here, especially where the slab has contamination or a weak surface layer. Simply sweeping and hoping for the best is not preparation.
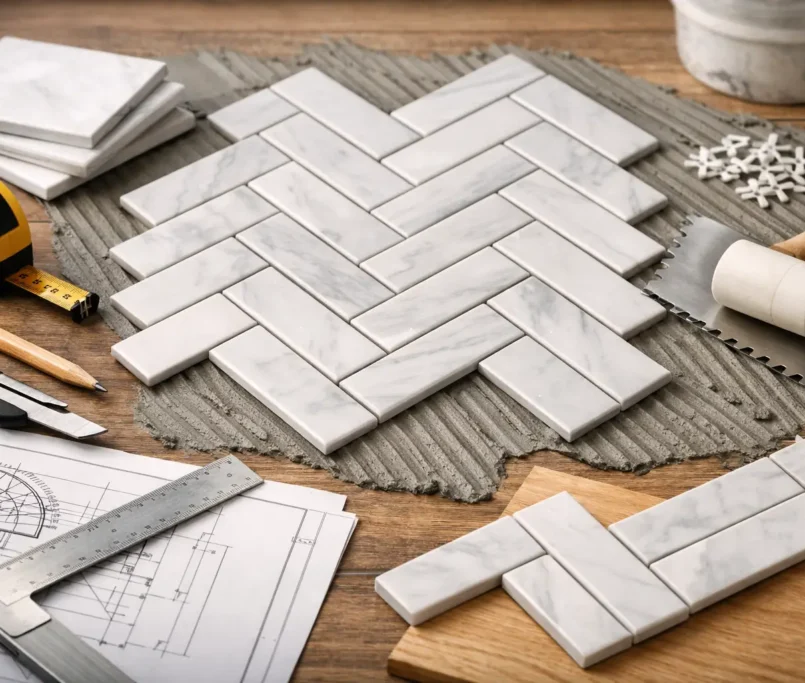
Once clean, the slab should be checked for level and flatness. This matters particularly with rectified porcelain and large-format tile, where minor undulations can create visible lipping. It is worth noting that level and flat are not the same thing. A floor can slope slightly and still be suitable if the surface is consistently flat. What tile cannot accommodate well is sudden variation.
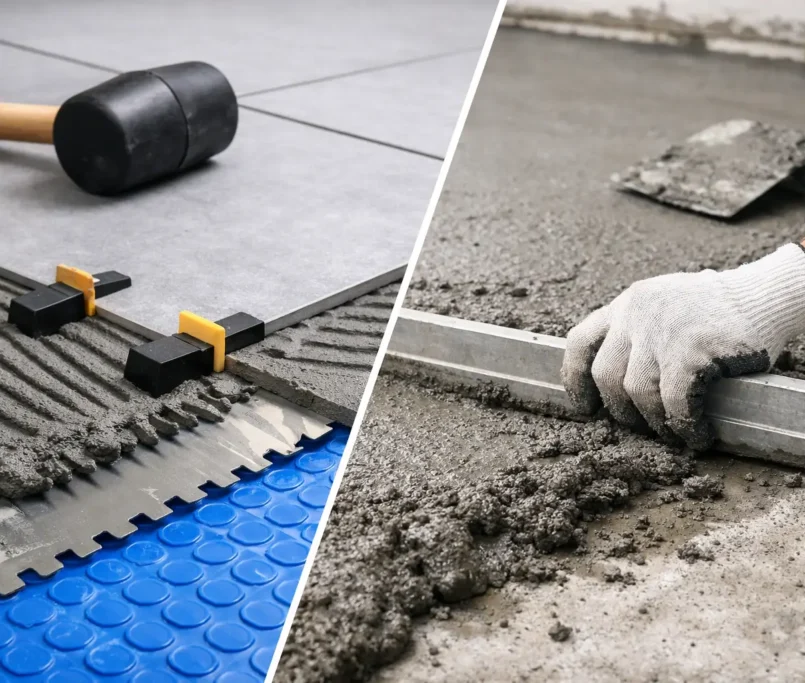
Low spots can be corrected with a suitable floor levelling compound, while localised high spots may need grinding. The product choice matters. Some compounds are designed for feathering, others for deeper build-up, and not all are appropriate for wet areas or external applications.
Cracks also need judgement. A superficial shrinkage crack may not be a structural issue, but active movement is another matter. Tiling directly over a moving crack without treatment is asking the finish to absorb stress it was never meant to handle. Depending on the situation, this may require crack isolation, a decoupling approach, or more substantial remedial work.
Moisture is another checkpoint that should never be rushed. A slab can look dry and still hold too much residual moisture for the adhesive system or floor finish. In ground-level areas, external zones, laundries and bathrooms, moisture management becomes even more critical.
Preparing a timber subfloor for tile
Timber needs a more cautious approach because movement is built into the material. It expands, contracts and flexes more than concrete, and tile has limited tolerance for that movement.
Preparation begins with checking the framing and sheet flooring. Any loose boards, squeaks, damaged sections, water-affected material or excessive deflection should be dealt with before the tile build-up is considered. If the floor moves under normal foot traffic, the problem is structural first, not tiling-related.
Sheet material also matters. Not every timber substrate is suitable as a direct base for tile. In many cases, a tile underlay or cement-based sheet is installed to create a more stable, compatible surface. The fixing pattern, joint treatment, and product selection all influence performance. This is not an area where improvised shortcuts tend to age well.
Flatness still matters here, but with timber floors there is an added focus on stiffness. A floor can look reasonably even yet still deflect enough to cause grout cracking or bond loss over time. In premium projects, especially with larger tiles or natural stone, that distinction is crucial.
Cleaning, priming and levelling are not interchangeable
One of the most common errors in subfloor prep is treating products as though they can solve every issue at once. They cannot.
Cleaning removes contamination. Priming regulates porosity, improves bond, and helps compatible compounds cure correctly. Levelling products correct surface irregularities. Each step has its own purpose, and missing one usually weakens the next.
For example, pouring a levelling compound over a dusty slab is unlikely to deliver a reliable result. Applying adhesive over an overly porous or unprimed surface can affect open time and bond strength. Using the wrong primer for the substrate can create problems that do not show until later.
This is why disciplined preparation tends to look methodical rather than fast. Good tiling contractors do not just ask what tile is being laid. They ask what is underneath, what condition it is in, and what system will suit the full assembly.
Wet areas and external spaces need extra care
Bathrooms, laundries, balconies, patios and alfresco zones all place greater demands on the subfloor because water exposure changes the risk profile.
In wet areas, preparation usually needs to account for falls, drainage, waterproofing compatibility, and movement at junctions. If the subfloor is not correctly formed before waterproofing begins, the finished space may hold water where it should shed it. That becomes a visual issue, a maintenance issue, and eventually a durability issue.
External spaces add another layer again. Temperature shifts, weather exposure and drainage all affect the tile build-up. Products used internally are not automatically suitable outside, and a surface that feels adequately prepared in dry conditions may behave very differently through seasonal change.
Where the project calls for a premium result, these areas reward patience. Clean lines and sharp tile layout only look impressive when the water management beneath them is equally precise.
Movement joints and transitions matter more than most clients expect
A beautifully tiled floor can still fail if movement has nowhere to go.
Subfloors expand and contract. Buildings settle. Different materials meet at doorways and thresholds. Good preparation includes planning for movement joints, perimeter gaps, and transitions between adjoining finishes. Skipping them may look neater on day one, but it often transfers stress into the tile field.
This is particularly relevant across larger areas, sun-exposed rooms, and commercial environments where traffic loads are higher. It also matters in developments where consistency across multiple units is expected. Precision is not just about straight grout lines. It is about allowing the installation to perform properly over time.
When DIY preparation stops being cost-effective
There is a point where do-it-yourself preparation becomes expensive, even if the labour appears free.
Minor cleaning and basic inspection are one thing. But once the floor needs grinding, moisture assessment, crack treatment, sheet underlay installation, screeding, waterproofing coordination, or correction of significant unevenness, the margin for error narrows quickly. The cost of replacing failed tilework is usually far higher than the cost of preparing the base correctly in the first place.
For homeowners, that often means delays, rework and a finish that never quite feels right. For builders, developers and commercial operators, it can also mean programme disruption, defect exposure, and inconsistent presentation across the project.
That is why subfloor preparation is best viewed as part of the finished result, not a preliminary inconvenience. At Perfectly Laid, preparation is treated as a precision trade in its own right because the floor only looks exceptional when the structure beneath it has been properly resolved.
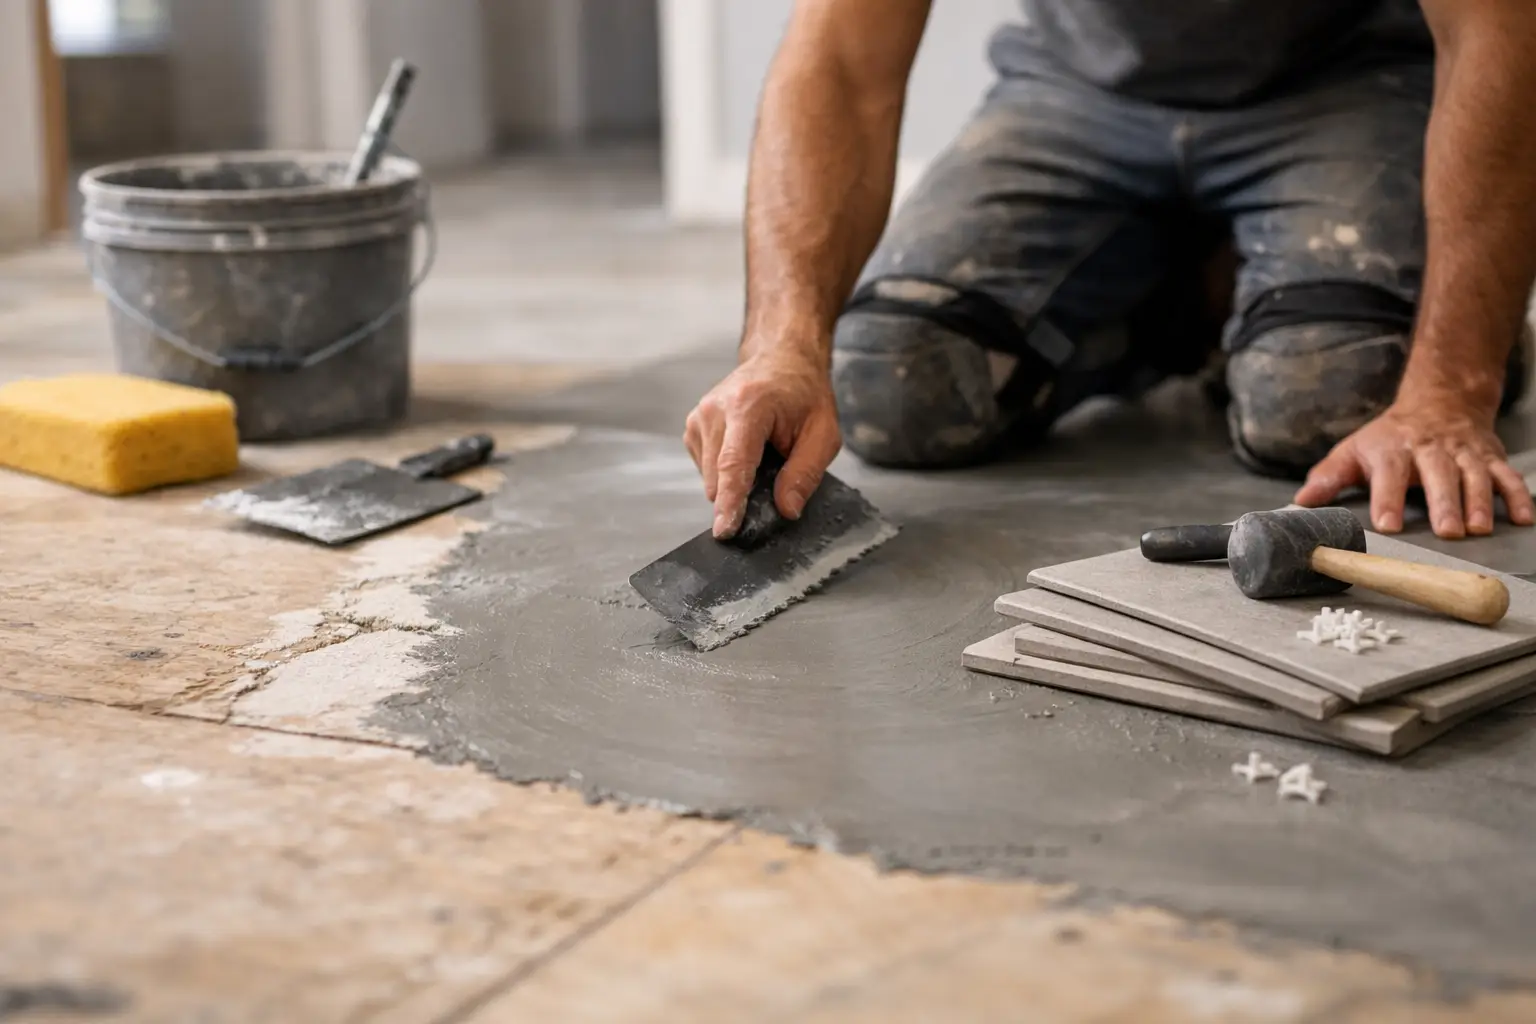
What a tile-ready subfloor should actually feel like
A subfloor ready for tile should feel stable, sound, clean and intentional. There should be no powdery residue underfoot, no unexplained bounce, no hidden soft spots, and no guesswork about moisture or compatibility. Flatness should be checked, not assumed. Product layers should work together, not compete.
That standard may sound exacting, but it is what protects the final finish. When the groundwork is right, tile installation becomes more accurate, the visual lines stay cleaner, and the floor is far more likely to perform as it should for years.
If you are deciding how far to take your preparation, the safest test is simple: if a flaw underneath would frustrate you after the room is complete, it is worth fixing before the first tile is laid. That is where quality starts.