Large Format Tile Installation Done Right
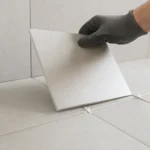
A 600×600 tile looks calm and effortless on a showroom wall. The reality on site is less forgiving: one slightly proud corner catches the light, a line drifts by a few millimetres, or a hollow spot telegraphs underfoot. With large tiles, the finish either reads as architectural and luxurious – or it exposes every shortcut.
Large format tile installation is not “the same job, just bigger tiles”. The scale changes the rules. Tolerances tighten, substrate preparation becomes non-negotiable, and your layout decisions are suddenly on display across whole sightlines. If you are a homeowner chasing a clean, high-end bathroom or a project manager delivering multi-unit consistency, the goal is the same: precision you can rely on.
Why large format tiles are so demanding
Large tiles are prized for the quietness they bring to a space. Fewer grout lines make rooms feel larger, calmer and more considered. They also work beautifully across wet areas, commercial floors and open-plan living where visual continuity matters.
The trade-off is that fewer grout joints means fewer “forgiveness points”. Small tiles can absorb minor substrate variation because the joints break up the plane. Large tiles bridge high and low spots – and when a tile bridges a dip, it can leave voids under the body. When a tile spans a high spot, lippage becomes hard to hide, especially with directional lighting.
Tile size also amplifies warpage. Many porcelain large format tiles have a slight bow from firing. That bow may be within manufacturer tolerance, but it affects pattern choice and levelling approach on site.
Flatness first: the substrate sets the standard
If you only remember one thing, make it this: the substrate dictates the finish.
For large format tile installation, “flat” is not a vague aspiration. It is a measurable requirement. Floors and walls need to be assessed properly, not guessed at with a quick glance. High spots should be ground down, low spots brought up with the right levelling compound, and weak or contaminated surfaces treated before any adhesive comes out.
In renovations, this often starts with disciplined demolition. Old adhesive, patchy renders, cracked screeds and poorly bonded paint can all compromise the bond. If the tile is large and expensive, the surface beneath it should be treated with the same seriousness as the tile itself.
Wet areas add another layer. The substrate must be appropriate for waterproofing, and junctions, penetrations and falls need to be formed cleanly. A beautiful tile finish is meaningless if water has an easier path than it should.
Layout: where craftsmanship shows up first
Large tiles don’t just cover more area – they control the geometry of the room.
A professional layout starts with establishing reference lines and deciding what the eye will notice first. In a bathroom, that might be the back wall of the shower, the vanity run, or the line you see from the doorway. In an open commercial space, it could be the main circulation path or a feature wall behind a reception desk.
From there, good planning considers the realities that cause amateur finishes: out-of-square rooms, uneven corners, door thresholds that are not perfectly centred, and fixtures that do not land neatly on a module.
Cuts are where the quality reads. Large format tile installation should avoid awkward slivers at edges and mitred returns that look thin and fragile. Sometimes the right decision is to shift the set-out so both sides receive balanced cuts. Sometimes it is to centre the layout on a feature. It depends on the room, the tile, and the client’s priorities.
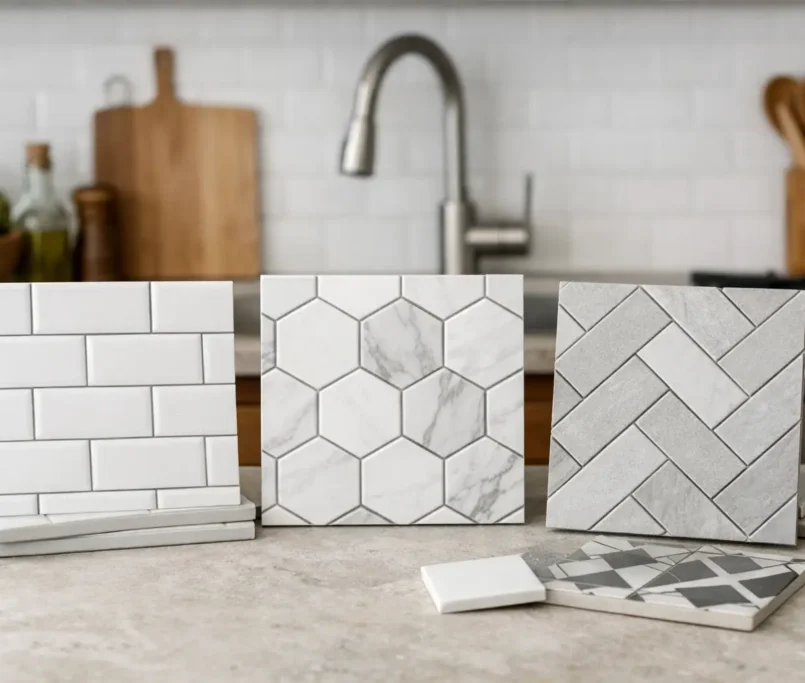
Choosing the right pattern (and knowing the risks)
The classic temptation with large rectangular tiles is a 50% brick bond. It looks familiar and relaxed. The issue is that many large tiles have a gentle bow, and a 50% offset places the highest point of one tile against the lowest point of the next. That increases the chance of lippage.
A 30-33% offset is often safer, and in many cases it is recommended by manufacturers. Straight lay (stack bond) can look strikingly contemporary, but it demands a very flat substrate and clean alignment. Herringbone and other patterns can be done with large formats too, but they multiply cut complexity and require more time on setting-out and edge finishing.
There is no universally “best” pattern. The right choice balances the tile’s characteristics, lighting conditions, substrate quality and the level of perfection you expect.
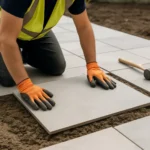
Adhesives, trowels and coverage: the hidden performance layer
Large tiles need the correct adhesive and the correct application method. The aim is straightforward: full, consistent support so the tile sits solidly, performs over time, and doesn’t sound hollow.
Coverage becomes especially important on floors and in wet areas. A larger tile face can trap air if the bed isn’t combed properly or if the trowel size is too small. Back-buttering (keying adhesive into the tile back) is often necessary, particularly with porcelain, textured backs, or tiles above a certain size.
The trowel selection, notch direction and open time management matter more than most people realise. Comb direction should allow air to escape as the tile is pressed and moved into place. Adhesive should not be allowed to skin over. And any dust on the tile back or substrate will reduce bond.
This is where a quality-first contractor earns their keep: not through dramatic gestures, but through repeatable, disciplined process.
Levelling systems and lippage control
Levelling clips and wedges are useful tools, not magic. They help tiles sit in plane while the adhesive cures, reducing lippage and improving consistency across broad areas.
They do not correct a poor substrate, and they will not make a warped tile perfectly flat. Used well, they support craftsmanship. Used to “force” tiles into position, they can create tension, compromise coverage, or mask problems until they become visible under light.
Lippage tolerance also depends on tile edge type and grout joint width. Rectified tiles with tight joints demand more precision. Slightly wider joints can provide visual relief and accommodate minor variation – a sensible decision in many real-world rooms.
Joints, movement, and the details that stop future call-backs
Large format tile installation is often chosen for a clean, minimal look. That makes it tempting to minimise joints and treat sealants as an afterthought. That is where projects can fail months later.
Movement joints are not optional. They manage expansion and structural movement so the tiled surface doesn’t crack or tent. Perimeter joints, junctions between different materials, and changes of plane (like wall-to-floor or internal corners) should be treated correctly, often with colour-matched sanitary grade silicone or specified movement profiles.
Grout selection matters too. In high-traffic commercial spaces, a more robust grout may be appropriate. In showers, stain resistance and proper curing are key. Colour choice should be made with lighting in mind: large areas of grout can read warmer or cooler than expected.
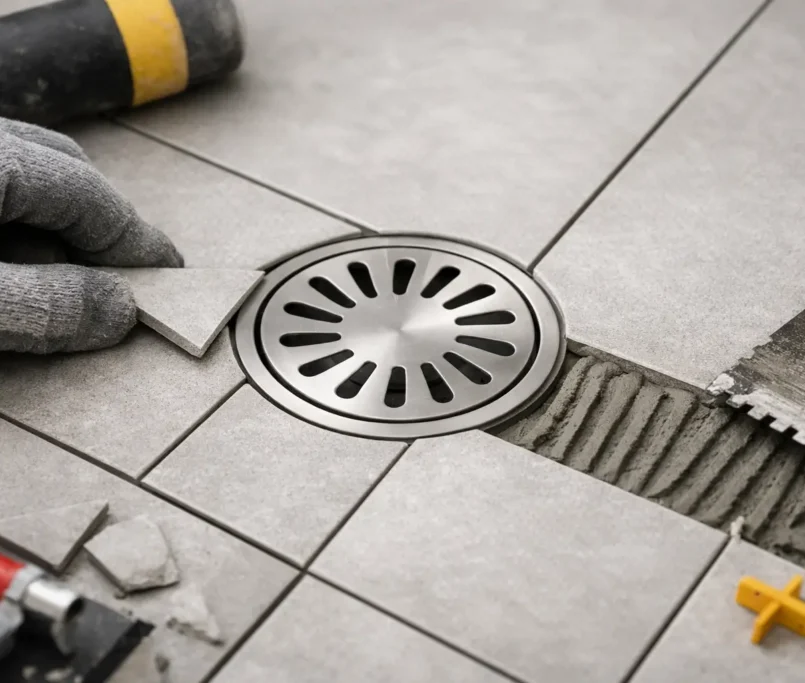
Wet areas and outdoor spaces: where “beautiful” must also be precise
Bathrooms, laundries and commercial wash areas demand waterproofing that is executed to standard, with correct detailing at puddle flanges, penetrations and junctions. Falls to waste need to be formed accurately so water moves as intended without creating uncomfortable slopes underfoot.
Outdoor areas bring different pressures: temperature swings, UV exposure, and moisture movement through the substrate. Tile choice, adhesive selection and movement joint placement become even more important. Some natural stones and certain porcelains also require slip rating considerations depending on the area and expected use.
If your project includes an alfresco, patio or external stair, it is worth treating the build-up as a system rather than a surface finish.
What to ask your tiler before work begins
If you are comparing quotes, the cheapest number rarely includes the invisible work that protects the outcome. Ask what preparation is allowed for, how flatness will be checked, and whether levelling and waterproofing are included as defined scope items.
You can also ask how the layout will be confirmed before setting, especially around focal points and thresholds, and what approach will be taken to movement joints and silicone finishing. The answers should sound methodical, not improvised.
For builders and developers, consistency is the priority. Confirm the process for setting-out across units, how variations in substrate will be managed, and how the team maintains finish standards at scale.
If you want an installation partner that treats large format work as a craft and a process – not just a labour task – Perfectly Laid is built around end-to-end execution, from preparation and waterproofing through to precision setting and finishing.
The real cost of getting it wrong
A poor large format installation is expensive in the ways people don’t budget for: delays while floors are re-levelled, replacement tiles that are suddenly hard to source, disruption to other trades, and the frustration of living with a finish that never looks quite right.
Even when the surface doesn’t fail outright, small errors are magnified by large tiles. That is why the best projects feel almost quiet when you walk into them. Lines are true, corners are crisp, and reflections sit cleanly across the plane.
If you are investing in large format tile installation, choose the path that protects both the aesthetic and the performance. When the preparation is disciplined and the setting is precise, the tile doesn’t just cover a surface – it elevates the entire space, and it stays that way.