Tile Lippage Tolerance in the UK Explained
You spot it when the light rakes across the floor at dusk – that tiny step between tiles that catches your eye (and sometimes your toe). On a high-end bathroom wall it can look like a shadow line. In a retail foyer it can read as poor workmanship, even when the rest of the job is immaculate. That step is lippage, and in the UK it isn’t judged by feelings or photos – it’s judged by tolerance.
What lippage actually is (and what it isn’t)
Lippage is the difference in height between adjacent tiles at the edge. It’s not the same as a floor being out of level, and it’s not the same as a tile being bowed. Those issues can create lippage, but lippage itself is the measurable edge-to-edge step.
That distinction matters because the fix depends on the cause. A slab can be perfectly level and still produce lippage if the tiles are warped, the adhesive bed is inconsistent, or the installer has chased speed over control. Equally, a tile can be installed beautifully and still show lippage if the substrate is wavy and the specification never required it to be brought within a tighter flatness tolerance.
Tile lippage tolerance UK: what “acceptable” usually means
When clients ask for “zero lippage”, what they’re usually asking for is a floor or wall that reads as calm and continuous under real lighting. The reality is that every standard works with allowable deviation, because tiles vary and buildings move.
In the UK, lippage is commonly assessed against the relevant British and European standards used across the trade. The practical takeaway is this: tolerance is not just an installation number. It’s a combination of tile dimensional consistency, allowable surface variation, grout joint width, and the finished edge alignment that results.
Most disputes happen because one side is thinking in aesthetics and the other is thinking in thresholds. If your project is design-led (large-format porcelain, mitred edges, minimal joints, feature lighting), relying on a generic “within tolerance” expectation is rarely enough. You want the tolerance discussion before a single tile is set – ideally at specification stage.
Why lippage shows up even on “good” tiling
Lippage tends to be blamed on the installer, and sometimes that is fair. But there are honest scenarios where lippage appears even with disciplined workmanship.
Tile warpage and calibre variation
Porcelain and ceramic tiles can be slightly bowed from the manufacturing and firing process. Large-format tiles are particularly prone. If you place two bowed tiles edge-to-edge, their highest points can land at the joint and exaggerate lippage.
Calibre variation is a quieter culprit. Tiles from different batches, or even within the same batch, can have minute thickness differences. When the project mixes boxes without checking, the floor can develop a subtle “stepped” rhythm.
Substrate flatness, not level
Substrates are often checked for level, when flatness is what the tile cares about. A bathroom floor can be level and still have localised dips and crowns. On a 600 x 600 tile, a small hump telegraphs straight into edge lift.
This is where premium outcomes are protected or lost. If the slab or screed isn’t brought to a suitable flatness, the installer is forced to “correct” with adhesive. That can work within limits, but it increases the risk of voids, uneven coverage, and long-term debonding – particularly in wet areas or commercial settings.
Installation pattern choices
Certain patterns raise the risk profile. A 50% brick bond with large-format tiles often aligns the highest point of one tile with the lowest point of its neighbour, because the bow tends to peak at the centre. That can create lippage even when the bed is consistent.
A tighter offset (commonly around one-third) can be a better compromise, but it’s a design decision that needs to be made with tile behaviour in mind, not just style.
Grout joint width and lighting reality
Narrow joints look refined, but they also reduce the visual forgiveness at the edge. If the design calls for minimal joints, the rest of the system has to step up: substrate prep, tile selection, and laying discipline.
Then there’s lighting. Downlights and windows that throw light across a surface make even tiny deviations look bigger. The floor hasn’t changed – the scrutiny has.
The hidden trade-off: tighter tolerance costs more (and should)
If a project demands a tighter lippage outcome, it requires more time and often more scope. That isn’t a sales pitch – it’s physics and process.
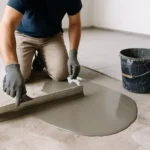
Achieving a flatter finish typically means more substrate correction (screeding or levelling compounds), more checking and sorting of tiles, slower placement with constant straightedge control, and often the use of levelling systems to manage edges while adhesives cure.
On high-rise and multi-unit projects, this becomes even more critical. Consistency across 50, 100, or 200 units is not just about having enough tilers. It’s about repeatable prep standards, clear tolerances, and inspections that happen early enough to prevent rework cascading through the programme.
How to specify lippage tolerance without creating a fight on site
If you’re a homeowner, builder, or project manager, the easiest way to avoid disappointment is to move the conversation from “I don’t want lippage” to “Here’s the finish standard and how we’ll verify it”.
Start by aligning four things: tile type and size, joint width, layout pattern, and substrate preparation standard. Once those are locked, tolerance becomes a managed outcome rather than a gamble.
If the design includes large-format porcelain, polished finishes, rectified edges, or critical lighting, ask for a method statement that explains how flatness will be achieved and checked before tiling begins. This is where a quality-first tiling contractor earns their keep – not with promises, but with process.
When Perfectly Laid takes on premium installations, the protection is always in the fundamentals: disciplined preparation, waterproofing where required, and precision placement that respects how the surface will be seen and used. That’s the difference between a surface that photographs well and one that feels flawless in daily life. (https://perfectlylaid.com.au)
Practical ways to reduce lippage on real UK projects
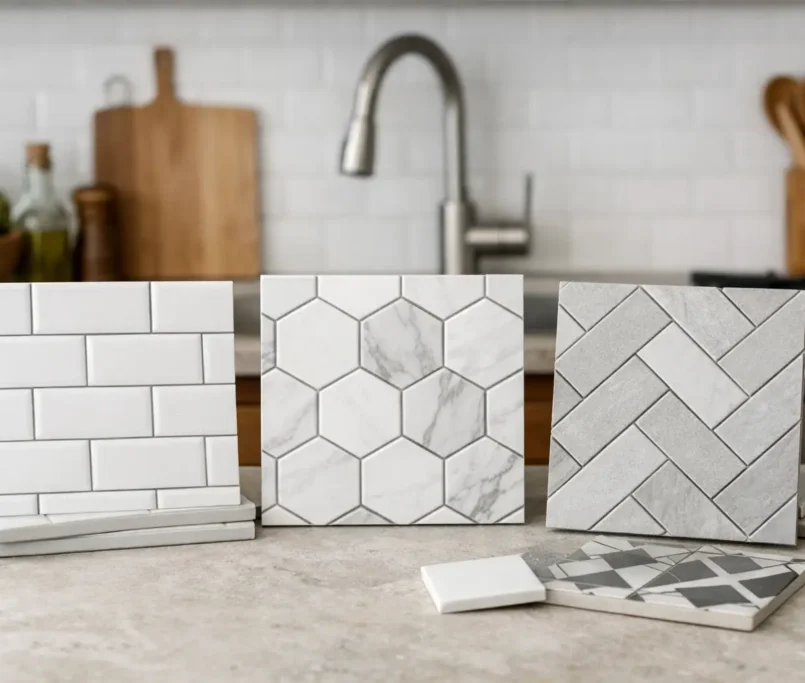
Choose tiles with performance in mind
If the project’s priority is an ultra-flat, minimal-joint aesthetic, select tiles known for tight dimensional control and low warpage. It’s not just about colour and texture. Ask what the tile is like to install at scale and whether it tends to bow.
Treat substrate preparation as part of the finish
A premium tile needs a premium base. That can involve localised grinding of high points, patch repairs, crack isolation where appropriate, and levelling or screeding to achieve a flatter plane. In wet rooms, prep must also integrate properly with waterproofing so the floor performs, not just looks good.
Match pattern to tile behaviour
If the tile is large and prone to bowing, avoid a 50% offset unless the manufacturer specifically supports it. A different offset or a stacked layout can reduce edge conflict and deliver a calmer surface.
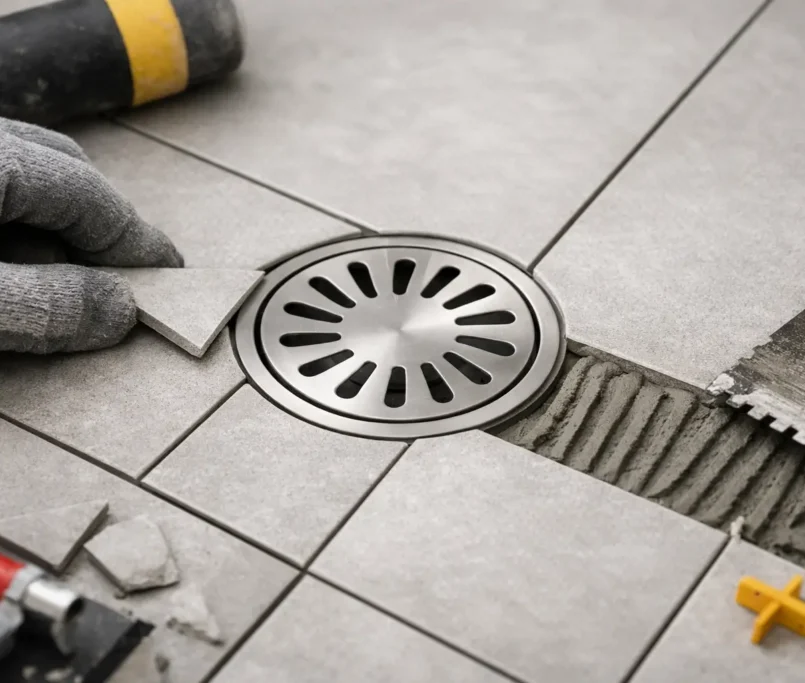
Use the right adhesive bed and coverage discipline
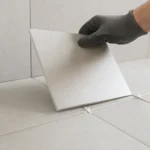
Back-buttering and correct trowel selection are not optional on large format. Uneven adhesive ridges can create micro-steps that become visible once the tile is tapped in. Coverage also ties directly to durability – voids under tiles can lead to hollow spots and eventual cracking.
Control the environment and curing
Temperature swings, rapid drying, and movement in the substrate can all affect how tiles settle. On commercial fit-outs, the pressure to open on time can lead to early trafficking that disturbs curing adhesives and contributes to unevenness.
When lippage becomes more than a cosmetic issue
Most lippage complaints start as aesthetics, but some become safety and maintenance issues. In public-facing commercial spaces, a raised edge can increase trip risk. In wet areas, it can create cleaning frustration, because edges collect residue and catch cloths and mop heads.
Polished stone and glossy porcelain also amplify the problem. They reflect light cleanly, so any edge deviation becomes a visual line. If the project is a high-end development where buyers judge quality in seconds, that line can be expensive.
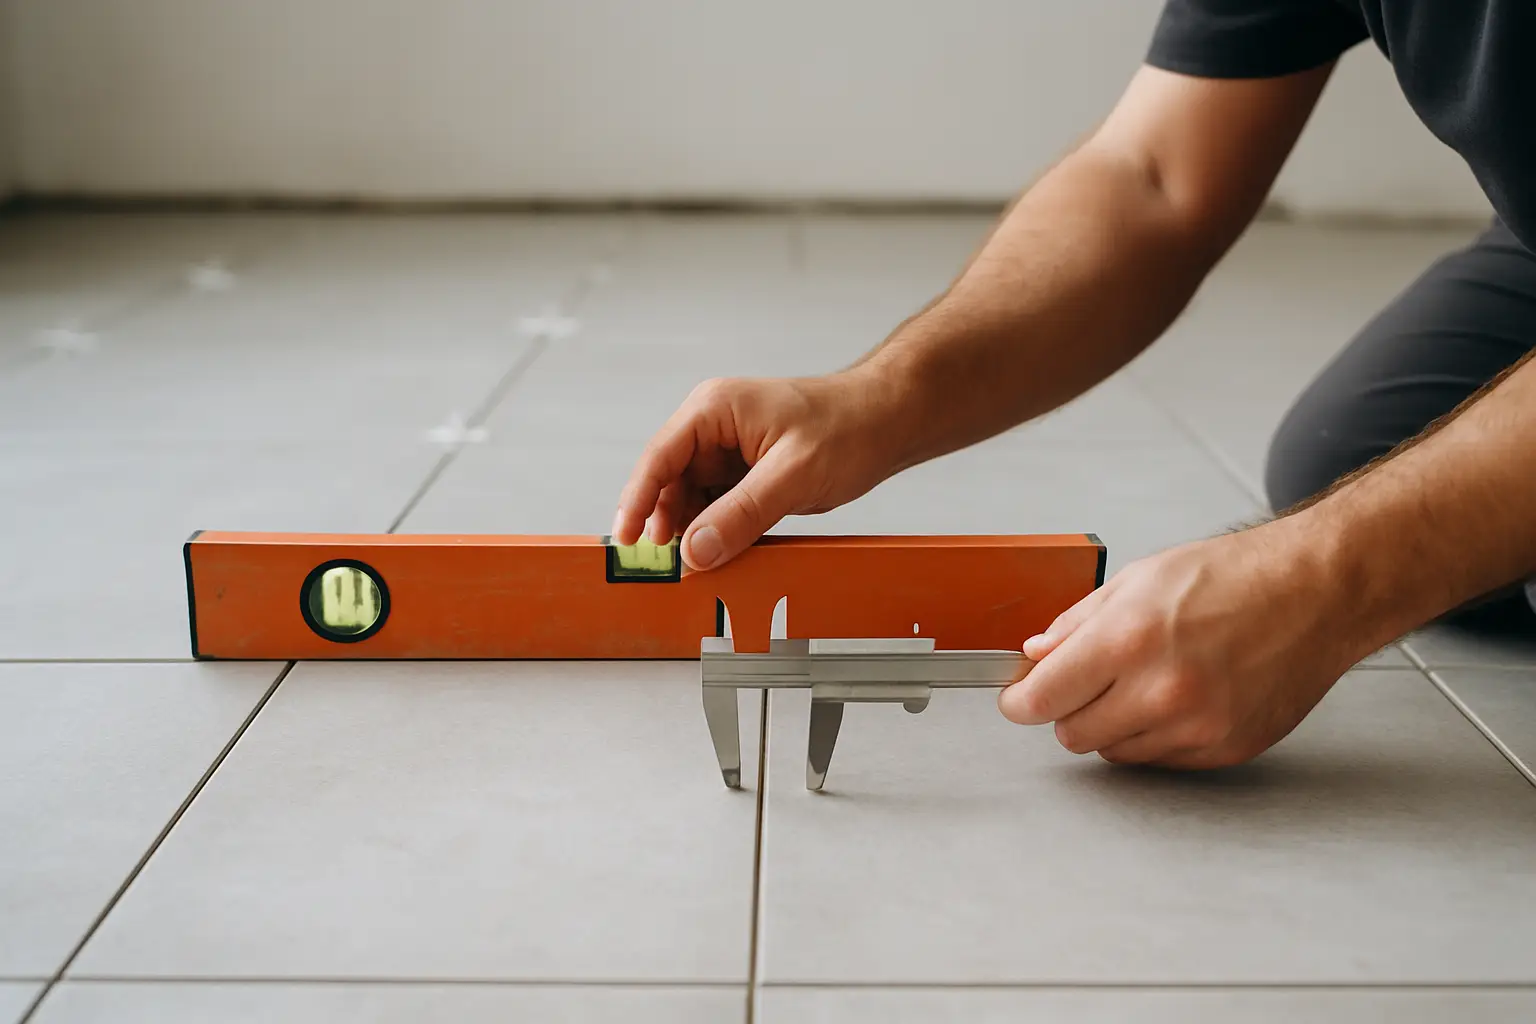
How lippage should be assessed on handover
If you’re checking workmanship, do it in the lighting the space will actually use. Raking light is revealing, but it’s also real life in many homes.
Assessment should be calm and methodical. A straightedge placed across joints and measured with feeler gauges is more reliable than a phone photo. More importantly, check in multiple locations. One isolated joint may be a local issue; a repeating pattern may indicate substrate or tile variation that should have been addressed earlier.
If the result is close to the agreed tolerance but still visually bothersome, that’s a sign the specification didn’t match the design intent. The lesson isn’t “tilers are sloppy”. The lesson is that premium finishes need premium definitions.
The standard you really want: a surface that reads intentional
The best projects don’t chase perfection through wishful thinking. They design for it. That means selecting tiles that behave well, setting joints that suit the material, investing in preparation so the base is worthy of the finish, and engaging installers who measure their work rather than guessing.
If you want your next bathroom, kitchen, lobby, or alfresco area to feel genuinely high-end, treat lippage tolerance as an early decision, not a late complaint. A calm surface is rarely an accident – it’s the result of controlled steps, taken in the right order, with no shortcuts hiding underneath.