Tile Substrate Prep Done Properly
The tile finish everyone notices is only as good as the surface beneath it. Crisp joints, flat lines and clean edges do not come from adhesive alone. They come from disciplined preparation – the quieter part of the job that protects the visual result, the lifespan of the installation and the programme around it.
For homeowners, that can mean the difference between a bathroom that still looks refined years later and one that starts showing lipping, cracked grout or hollow spots far too soon. For builders and project managers, poor substrate preparation is where delays, rework and avoidable defects usually begin. If the base is not sound, dry, level and suitable for the tile system being installed, the finish is already compromised.
A tile substrate preparation guide for lasting results
A proper tile substrate preparation guide starts with one principle: every substrate is different. A new concrete slab behaves differently from old timber flooring. A painted wall needs a different approach from cement sheeting in a wet area. The right method depends on the substrate condition, tile type, setting materials, traffic load and exposure to moisture.
That is why preparation should never be treated as a quick prelude to tiling. It is a technical stage in its own right. The aim is to create a stable, clean and correctly profiled surface that will accept the chosen system without movement, contamination or moisture-related failure.
In premium residential work and commercial fit-outs alike, the standard should be simple: the substrate must be fit for the finish being asked of it.
Start with assessment, not assumptions
Before any demolition, priming or levelling begins, the substrate needs to be assessed carefully. This means checking flatness, structural soundness, porosity, moisture levels, existing coatings and any signs of cracking or movement. If there are issues with the base, they need resolving before tiles enter the picture.
Flatness matters more than many clients realise, particularly with large-format porcelain. The larger the tile, the less forgiving the surface. Minor undulations in the substrate can turn into visible lipping across a finished floor or wall. On high-end projects, that is not a small cosmetic issue. It changes the entire feel of the space.
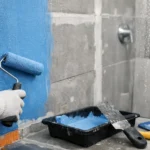
Moisture is another critical factor. Fresh screeds and concrete need appropriate curing time. Wet-area walls and floors need preparation that aligns with the waterproofing system, not works against it. If moisture is trapped or ignored, adhesives and membranes can fail, sometimes slowly and sometimes very publicly.
Clean, stable and properly bonded
One of the most overlooked parts of substrate preparation is cleanliness. Dust, laitance, grease, curing compounds, paint residue and old adhesive can all interfere with bond strength. A substrate may look acceptable at first glance, yet still be unsuitable because contaminants remain on the surface.
Mechanical preparation is often the right answer here. Grinding, scarifying or removing weak surface layers creates a more reliable base than trying to tile over questionable material. The trade-off is time, dust control and equipment, but the payoff is a substrate that performs as intended.
Stability matters just as much. Loose boards, crumbling render, drummy screeds and cracked sections of slab should not be tiled over in the hope that adhesive will compensate. It will not. Adhesive is designed to bond tile to substrate, not solve structural weakness. Where movement exists, the build-up needs to address it properly, whether that means replacement, reinforcement, crack isolation or a revised specification.
Levelling is not the same as adhesive build-up
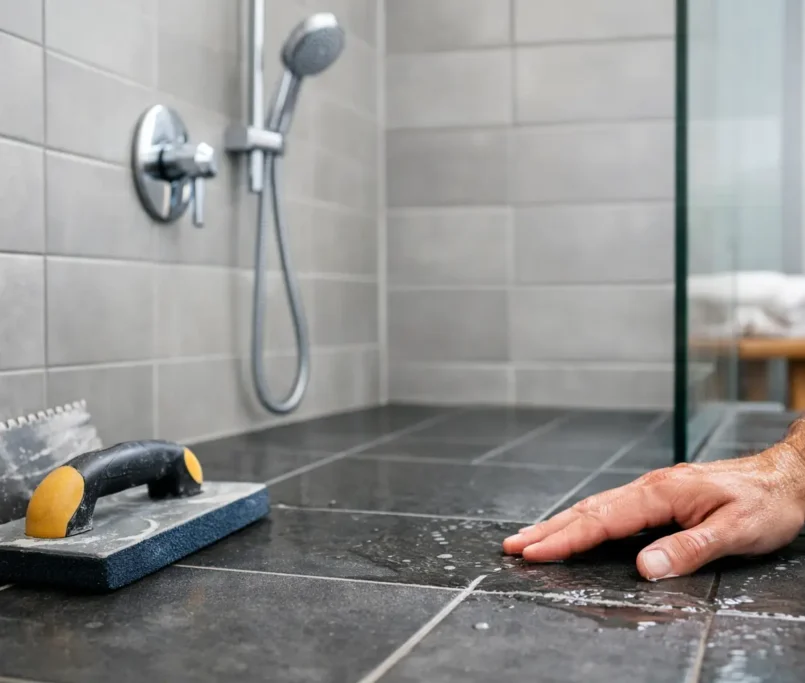
A common shortcut on rushed jobs is trying to correct uneven substrates with adhesive during installation. This is where quality begins to slip. Tile adhesive is not a substitute for proper levelling, and using it that way creates inconsistency in coverage, curing and finished plane.
If a floor is out, it should be re-levelled with the appropriate levelling compound or screed. If a wall is out of plumb or visibly uneven, it may need patching, straightening or resheeting before tiles are fixed. The right preparation method depends on the degree of variation and the final finish required.
This is particularly important in spaces where alignment is everything – bathrooms with feature walls, kitchens with long sightlines, hospitality venues where lighting exposes every imperfection, or outdoor entertaining areas where falls and drainage need to work without spoiling the visual rhythm of the paving.
The role of screeds and falls
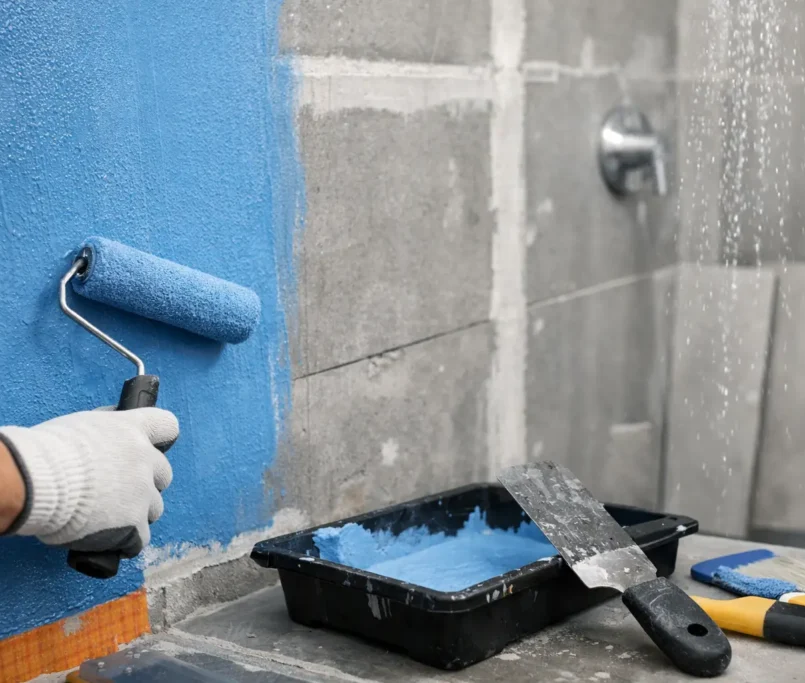
On floors, especially in wet areas and external spaces, screeding is often where the job is won or lost. A good screed creates the correct falls, improves flatness and provides a consistent base for tile installation. A poor one does the opposite, forcing compromises all the way through the fit-out.
In showers, falls must direct water efficiently to the waste without introducing awkward tile cuts or visible inconsistencies. On balconies, patios and alfresco areas, the screed needs to account for drainage, exposure and movement. This is not only about compliance. It is about preserving the finish and preventing the kinds of water issues that quickly become expensive.
There is always a balance to strike. Fast-track programmes may push for speed, but rushing a screed before it is ready can create moisture problems later. Equally, overengineering a simple internal floor can add unnecessary time and cost. The right approach is measured, not generic.
Wet areas need system thinking
No tile substrate preparation guide is complete without waterproofing. In bathrooms, laundries and other wet areas, preparation must be considered as part of the full waterproofing and tiling system. The substrate, primer, bond breakers, membrane, adhesive and tile all need to be compatible.
This is where process discipline matters. Junctions, penetrations, hobs and transitions require careful detail work. A membrane applied over an unsuitable or poorly prepared substrate will not deliver the protection the project depends on. Even beautifully laid tiles cannot compensate for a failed wet-area system behind them.
For clients investing in premium finishes, this is one of the least visible yet most valuable parts of the job. The aesthetic result may be what draws attention, but the unseen preparation is what protects it.
Different substrates, different methods
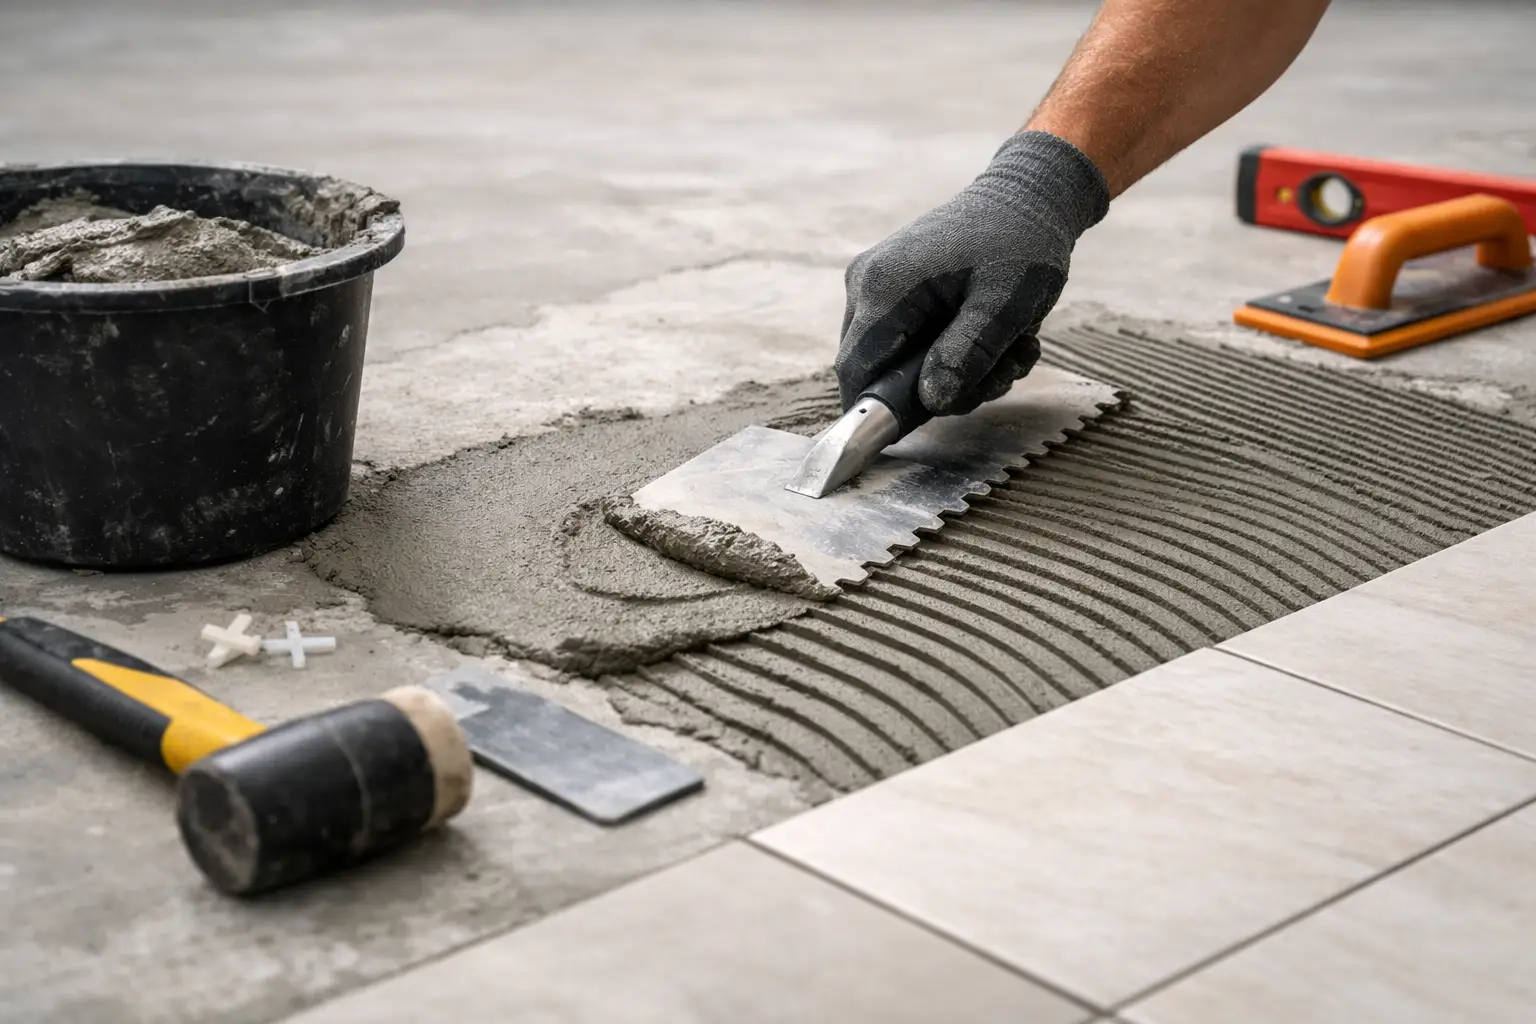
Concrete, compressed fibre cement, plasterboard, cement render and timber-based flooring systems all call for different preparation methods. There is no single approach that suits every project.
Concrete can present shrinkage cracks, surface dusting or moisture concerns. Timber substrates may need sheeting, decoupling or stiffening to reduce movement. Existing tiled surfaces can sometimes be overlaid, but only where adhesion, height build-up and long-term performance have been assessed properly. Painted surfaces may need full removal or mechanical keying rather than a hopeful prime-and-go approach.
This is where experience sharpens outcomes. Knowing when a substrate can be rehabilitated and when it should be replaced saves both time and future trouble. It also protects the finish quality that clients expect in design-led homes, retail environments and multi-unit developments.
Preparation protects programme as much as finish
For builders and developers, substrate preparation is not just a technical matter. It is a programme issue. Late discovery of uneven slabs, incomplete wet-area readiness or unserviceable wall surfaces can affect multiple trades and compress installation windows.
A tiling contractor who treats preparation seriously helps remove that risk early. Clear scope definition, early substrate review and realistic sequencing allow the project to move with fewer surprises. That matters on a bespoke renovation, and it matters even more on scaled delivery where consistency across dozens or hundreds of units becomes the benchmark.
This is also where accountability counts. Precision tiling is not only about laying straight. It is about identifying what the surface needs, addressing it properly and standing behind the process from preparation through to finishing. That is the standard we believe in at Perfectly Laid.
Why the best tile installations often start slower
Clients sometimes wonder why premium tiling teams spend so much time before the first tile goes down. The answer is simple. A controlled start creates a cleaner finish, stronger performance and fewer compromises later.
Good preparation can look slower in the first phase of a job, but it usually saves time overall because it reduces adjustment, rework and defects. More importantly, it preserves the design intent. When lines are true, falls work, corners finish cleanly and surfaces feel calm and precise, the room carries a different level of quality.
That result is never accidental. It is built from the substrate up.
If you are planning a renovation, fit-out or larger-scale development, treat the base with the same seriousness as the tile selection. The finished space will only ever be as refined as what sits beneath it.