Tile Expansion Joints: Where to Put Them
A tiled floor can look flawless on handover day and still fail six months later if it has nowhere to move. The give is tiny – millimetres across an entire room – but the forces are not. Tiles and substrates expand and contract with heat, moisture and building movement. When that movement is trapped, the system relieves pressure in the least attractive ways: tenting tiles, cracked grout lines, debonding at edges, or a hairline fracture that slowly telegraphs across a feature wall.
Expansion joints are the quiet insurance policy. Done well, you barely notice them. Done poorly, you notice them only when it is expensive.
What expansion joints actually do
Think of a tiled surface as a rigid skin laid over a living structure. The structure moves. A screed dries and shrinks. Timber deflects with load. A suspended slab breathes with seasonal temperature swings. Even in a stable building, underfloor heating cycles create predictable expansion and contraction.
An expansion joint is simply an intentional, flexible break in that rigid skin. It absorbs movement so the tile field does not have to. The joint is usually formed with a compressible or flexible material – commonly a movement profile or an elastomeric sealant – and it continues through the tile and adhesive layer. If the joint is only in the grout and not through the bed, it is cosmetic, not functional.
The trade-off is aesthetic: you are introducing a line. The craft is placing that line where it performs best and reads as part of the design.
Tile expansion joints placement: the non-negotiables
There are a few locations where movement joints are not optional if you want durability.
1) Around the full perimeter
Every tiled floor should be free to move at the edges. That means a perimeter movement gap where the tiles meet walls, skirting, columns, kitchen islands, shower hobs, bath panels and any fixed vertical element.
On a premium job, this gap is planned from the start. It is either hidden behind skirting/trim or finished as a neat silicone joint where the tile meets another surface. Hard grouting the perimeter is a classic failure point because the tile field has nowhere to relieve compression.
2) At changes in plane
Where a wall meets a wall, or a wall meets a floor, the planes move differently. Corners are natural stress concentrators. A flexible joint here is about preventing the corner line from cracking and keeping waterproofed areas stable.
In showers and wet rooms, this is also a detailing issue. A clean, colour-matched silicone joint at internal corners supports the waterproofing strategy and keeps the finish looking intentional rather than patched.
3) Over structural and control joints
If your substrate has a joint, the tilework must respect it. Cutting across a structural joint with continuous tile is asking the tile to bridge movement it cannot handle.
Correct placement means the movement joint in the tile finish is aligned directly above the substrate joint and carried through the full depth of the tiling system. Profiles make this detail crisp and reliable, particularly in commercial corridors and large-format floor installations.
4) At thresholds and transitions
Doorways, sliders to patios, and transitions between rooms are natural places to “break” a tile field. Different rooms often run on different heating patterns, sunlight exposure and load, and sometimes on different substrates altogether.
Placing a movement joint at a threshold lets each tiled zone perform independently. It can be integrated with a transition strip, a profile, or a change in tile direction to make it feel designed rather than imposed.
Where to place joints within the tile field
Perimeters and transitions are only part of the story. Larger uninterrupted areas need intermediate joints. The exact spacing depends on exposure and conditions, which is why a one-size answer is risky.
In broad terms, the more movement you expect, the more often you need to introduce a joint. Expect higher movement in:
- Areas with direct sunlight through large glazing or in conservatories
- External terraces, balconies and steps
- Floors with underfloor heating
- Long, narrow corridors (movement accumulates over distance)
- Commercial spaces with heavier traffic and cleaning regimes
A well-planned layout hides intermediate joints in the geometry: aligned with grout lines, centred to features, or set to fall under furniture lines. With rectified porcelain and tight joints, a profile-based movement joint often looks sharper than a wide silicone joint, especially on high-end floors.
Floors vs walls: placement priorities change
Floors are the main concern because they are large, continuous fields and often sit on substrates that move. Walls can still need movement joints, particularly on tall runs, in wet zones, and where different wall constructions meet.
On walls, focus your placement at:
- Internal corners and wall-to-floor junctions
- Around large openings and niches
- Where a tiled wall meets a different lining (for example, tile to painted plaster)
- Long feature walls that may experience differential movement between studs and boards
With feature walls, the design expectation is often “one perfect surface”. The reality is that hiding movement joints is part of that perfection. A narrow profile aligned to a grout line is usually less visually disruptive than a crack that splits a hero tile.
Wet areas: movement joints and waterproofing must agree
Bathrooms and showers are not just about movement – they are about controlling moisture. If water gets behind the tile assembly, it can exacerbate movement and degrade adhesives, especially at edges and corners.
The sequence matters. Waterproofing should be continuous and correctly detailed at junctions. Movement joints should be located so they do not compromise the waterproofing layer, and the finishing sealant should be compatible with the system.
A common “looks fine” failure is rigid grout in corners, then silicone applied over the top as a cosmetic fix. When the corner line moves, the grout cracks underneath and the silicone skin can peel or split. Proper detailing uses a flexible joint as the finish, not as an afterthought.
Exterior tiling: the harshest conditions
Outdoor installations punish weak joint planning. Sun hits the tile surface, the substrate lags behind, and the whole assembly cycles hard. Add rain, freeze-thaw in some regions, and the occasional shift in the slab, and the need for movement accommodation becomes obvious.
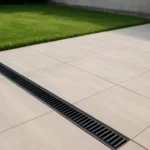
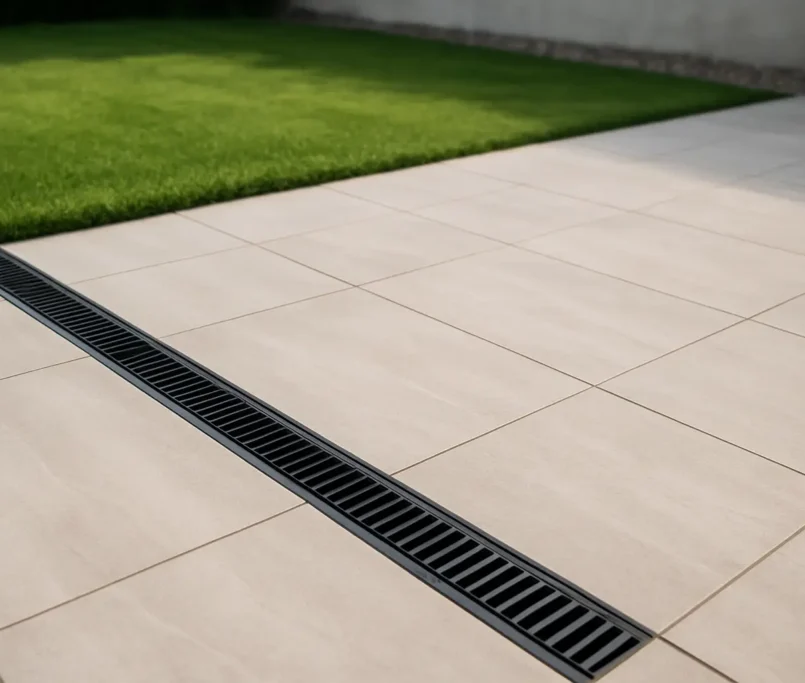
Tile expansion joints placement outside should be more generous and more disciplined. Perimeter gaps are critical. Intermediate joints should be planned early, and drainage falls must be respected so water is not trapped at profiles or sealant lines.
On patios and alfresco areas, joints can be integrated with the architecture: aligned to door lines, pergola posts, step edges, or changes in paving direction. This is where craftsmanship shows – movement detailing that looks like part of the design language.
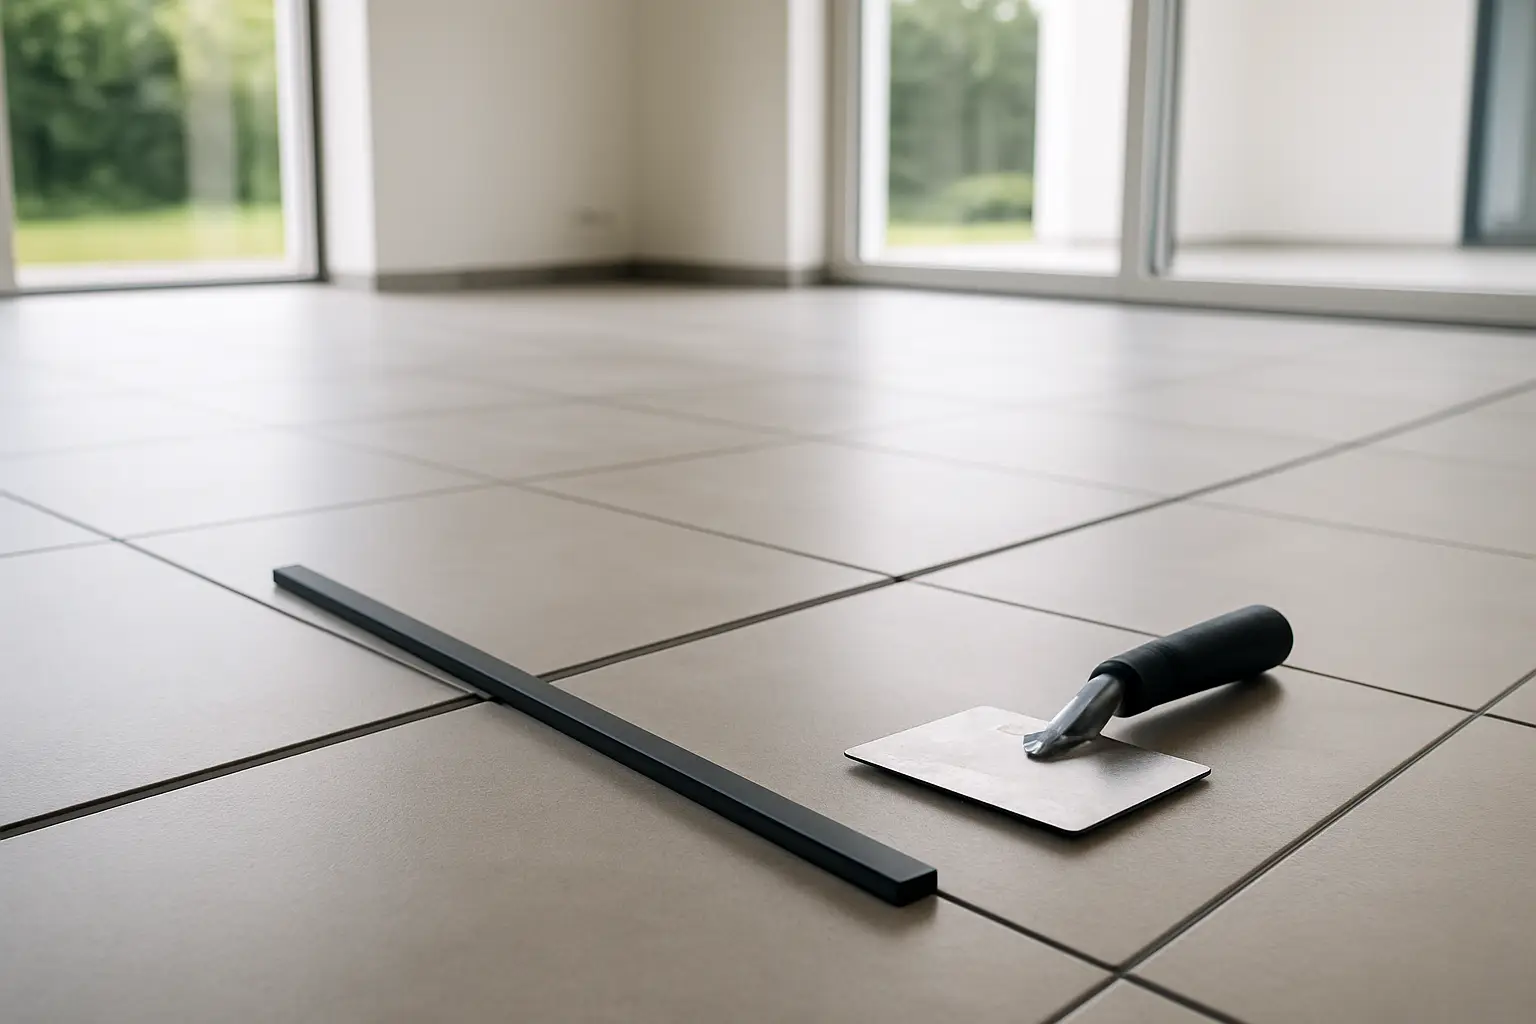
Choosing the joint type: profile or sealant?
Both can be correct. The right choice depends on the aesthetic brief, the movement expected, and the environment.
A profile movement joint gives a crisp, consistent line and protects tile edges. It is often the premium option in commercial fit-outs and in large-format porcelain floors where straightness is non-negotiable.
A sealant joint can be nearly invisible when colour-matched and tooled cleanly, and it is commonly used at perimeters and internal corners. The trade-off is that sealant is a finished element that needs proper prep: clean edges, correct backing where required, and neat tooling. If it is rushed, it looks rushed.
The biggest mistake is mixing intentions: placing a joint where movement is required, then filling it with grout because it “matches”. That is not a movement joint, it is a crack waiting for a date.
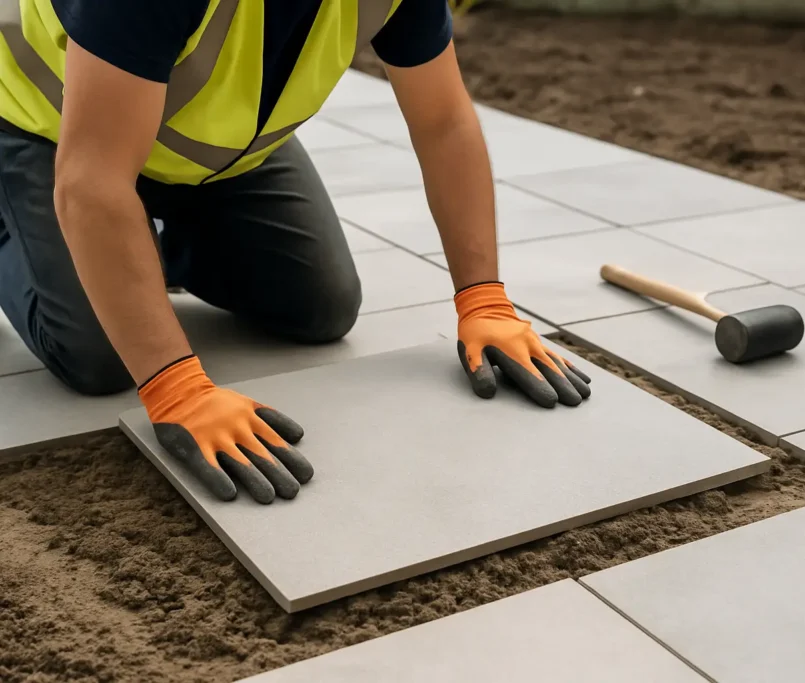
Planning joints starts before the first tile is cut
Movement joints are easiest when they are part of the set-out. That means looking at room proportions, tile size, grout joint alignment, and natural break points like doorways and cabinetry.
If you are coordinating a build or renovation, the best time to talk about joints is during surface preparation and screeding, not at the end. Substrate condition, curing times, and heating commissioning all influence how much movement will occur and when.
This is also where a quality-first tiling contractor earns their keep. Precision installation is not only about straight lines and tight mitres. It is about disciplined process: substrate assessment, correct primers and membranes, and movement detailing that keeps the finish intact. At Perfectly Laid (https://perfectlylaid.com.au), that philosophy is treated as standard – the parts you do not see are what protect the parts you do.
The “it depends” moments worth respecting
Not every project needs the same joint pattern. A small cloakroom floor on a stable substrate may only need perimeter and change-of-plane joints. A large open-plan living space with glazing and underfloor heating will likely need intermediate joints, even if the client would rather not see them.
Large-format tiles also change the conversation. Fewer grout lines mean fewer natural places to hide a joint, so joint placement becomes a deliberate design choice. Sometimes the best answer is a subtle profile aligned with the grid, rather than trying to pretend movement does not exist.
If you want a tiled finish that stays exquisite, treat movement joints as part of the design – the same way you treat tile selection, grout colour and lighting. Give the floor and walls permission to move, and they will reward you by staying exactly where you placed them.