Porcelain Paving: How to Install It Properly
You can spot a poor porcelain patio from the gate. It is not the tile itself – porcelain is remarkably consistent – it is the tell-tales: corners that drum when you tap them, a low spot that holds water after a shower, joints that look washed out or patchy, and cuts that feel rushed. Porcelain rewards precision. It also punishes shortcuts.
This porcelain paving installation guide is written for homeowners, builders and project teams who want the finish to look intentional and stay that way. The principles are straightforward, but the tolerances are tighter than many people expect, especially with large-format slabs and modern, minimal joint lines.
Why porcelain paving fails (and what “done properly” looks like)
Porcelain is dense, very low-porosity, and dimensionally stable. Those are the exact qualities that make it a premium outdoor surface – and also why it needs a disciplined installation method.
Most failures come down to three things: a base that is not stable or not draining, inadequate bond (often from spot-bedding or dry patches in the mortar), and jointing that is incompatible with movement or weathering. A successful installation looks boring in the best way: consistent falls, full mortar contact under every slab, clean edges, neat joint lines, and finishing details that control water rather than chasing it later.
Choosing the right build-up: it depends on the site
Before anyone opens a bag of mortar, the project needs a decision on the build-up. There is no single “best” method – it depends on levels, ground conditions, and what sits around the paving.
A typical domestic patio might be installed on a well-compacted sub-base with a full mortar bed. A roof terrace may require a pedestal system or a fully tanked build-up with specialist drainage. A renovation where you cannot raise finished levels may call for a thinner screed solution, but only if the substrate can carry it and the falls are properly formed.
If you are matching internal floor levels, planning thresholds, or tying into existing drainage, get the levels resolved early. It is far easier to adjust before excavation than after porcelain is down.
Sub-base and falls: the part you never see, but always feel
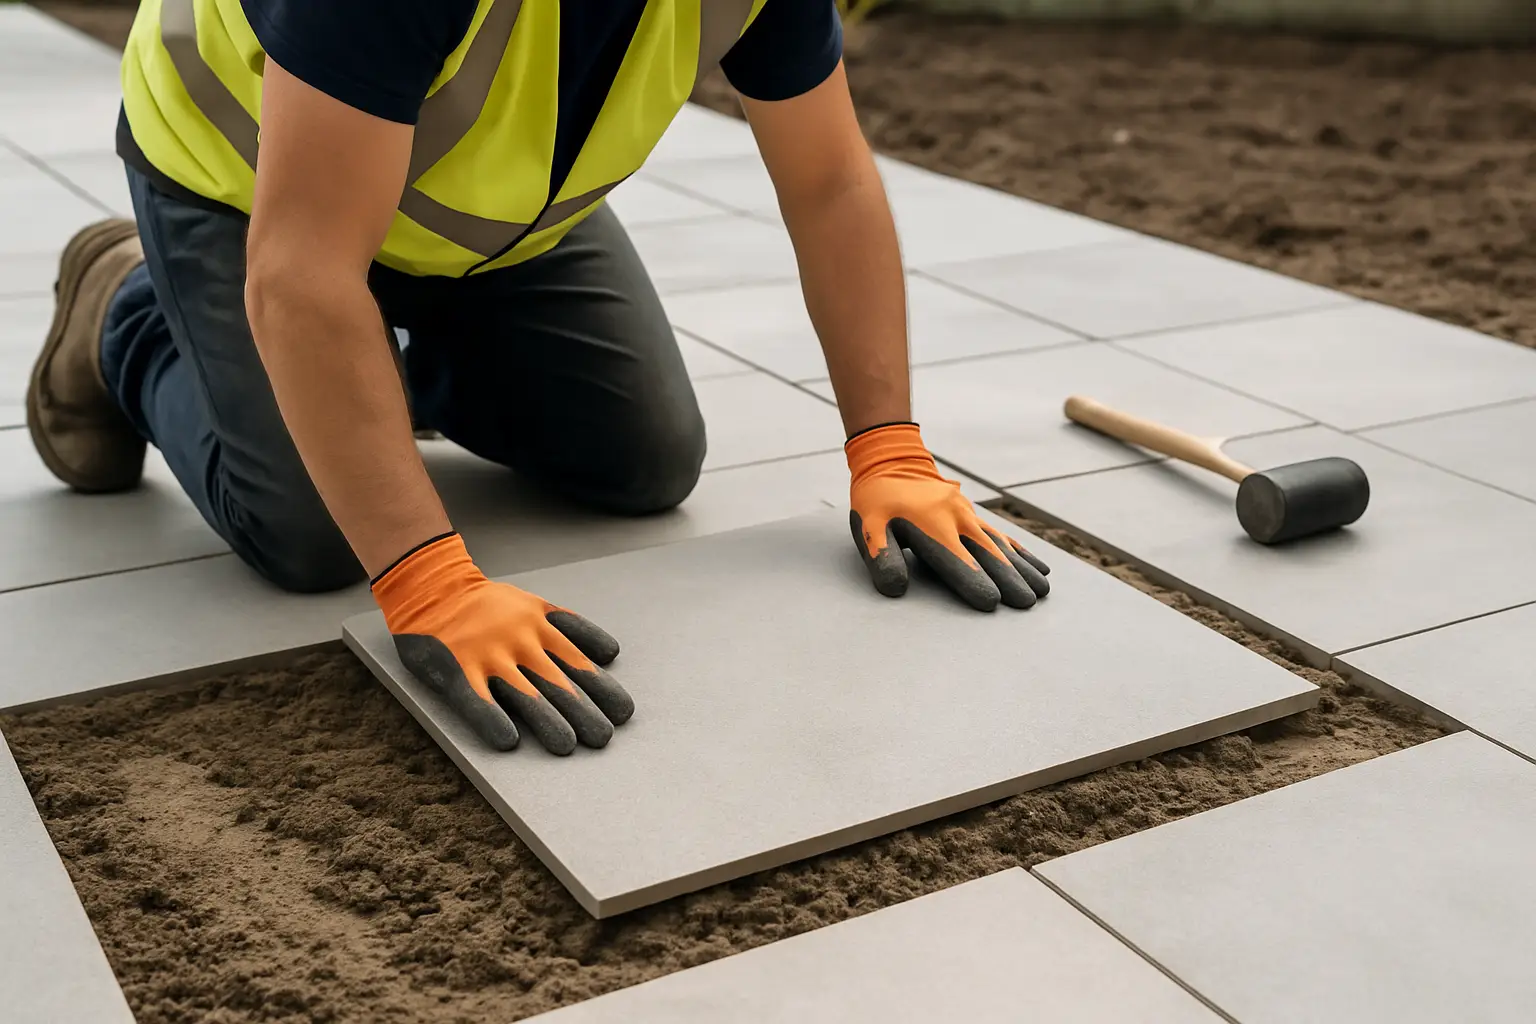
For ground-level external paving, the sub-base is your insurance policy. It should be excavated to allow for the full build-up thickness, not “made to work” by thinning the bedding layer. Soft spots must be removed, and the sub-base compacted in layers to avoid later settlement.
Falls matter just as much as compaction. Even with porcelain’s low water absorption, standing water is still a problem: it highlights lipping, marks the surface, and will exploit any weakness in the jointing. As a rule, aim for a consistent fall away from the building and towards drainage points. The exact fall depends on the site, tile size, and surrounding constraints, but what matters most is consistency – the human eye catches a waver long before it measures a millimetre.
Edge restraint is another quiet hero. Without a restrained perimeter, a perfectly compacted base can still spread over time. Kerbs, soldier courses, retaining edges or structural restraints keep the field locked in place.
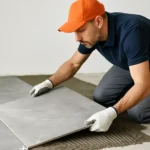
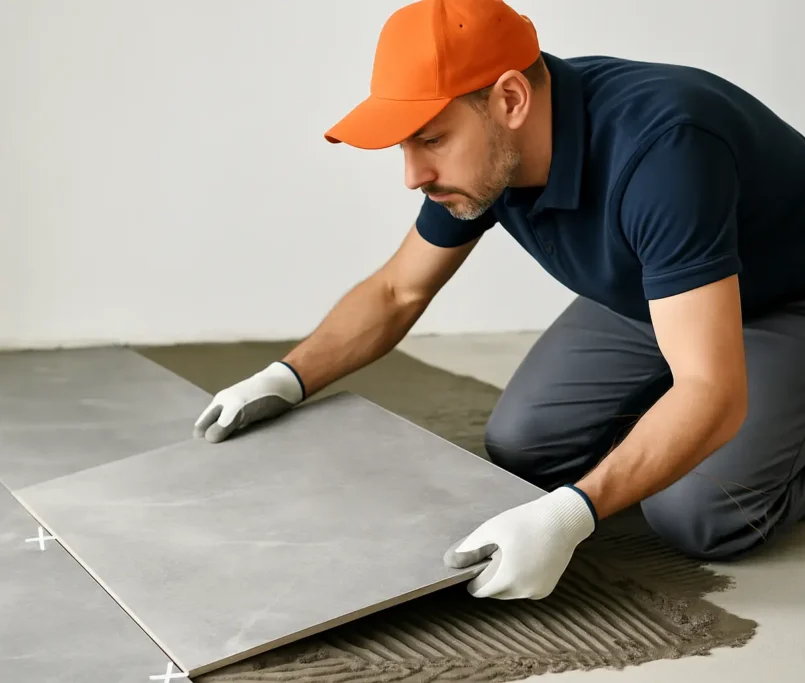
Bedding porcelain: full support, not “dabs”
Porcelain slabs must be fully supported. Spot-bedding might feel quicker, but it creates voids that lead to rocking, cracked corners, and that hollow “drummy” sound that undermines the whole space.
A full mortar bed gives continuous support and helps you fine-tune levels and falls. For external work, the mortar needs to be appropriate for the environment and mixed correctly – too wet and it weakens, too dry and it will not bed properly.
Because porcelain is so dense, bond strength also relies on correct priming. The back of each slab should be cleaned and primed with a suitable slurry or primer designed to promote adhesion between porcelain and mortar. This step is often skipped on budget installs, and it is one of the most expensive omissions to fix later.
When setting, press and slide the slab into place to collapse the ridges and remove air. Lift and check coverage early and often. You are looking for near-complete contact across the slab, not just a good-looking surface.
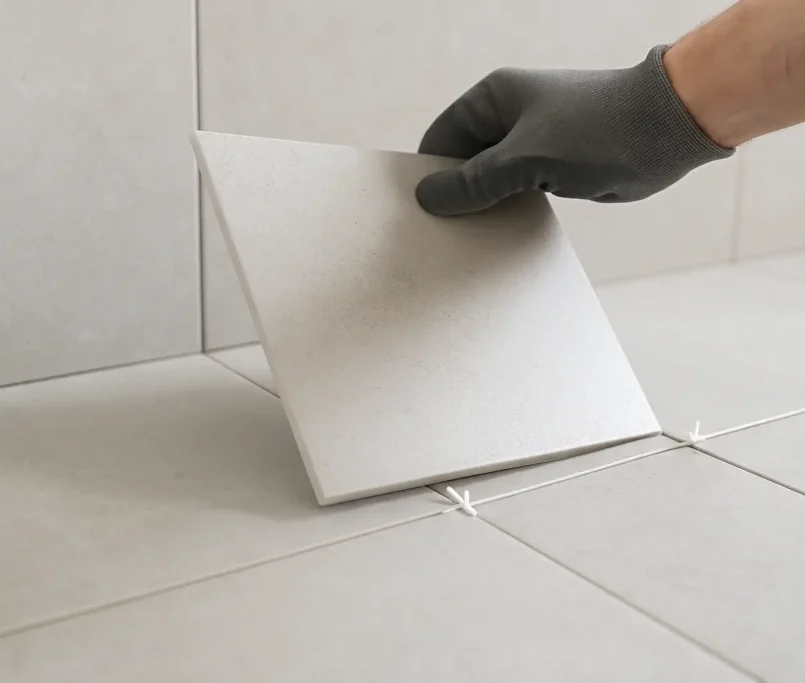
Laying lines, joint widths, and keeping everything crisp
Modern porcelain paving often aims for minimal joints and a “one plane” look. That is achievable, but only if the substrate is accurate and the installer works to a clear setting-out plan.
Start with square reference lines and set out from the most visible edge – typically the door line or the primary sightline from the house. Avoid ending up with thin slivers at borders; they read as an afterthought. It is usually better to adjust the layout so cuts are balanced.
Joint width is a design choice, but it is also a functional allowance. Tighter joints demand more accurate slabs, better substrate tolerances, and more care during laying. Wider joints can be more forgiving, but they change the aesthetic. Either way, keep them consistent. Spacers and levelling systems can help, but they do not replace good preparation.
Watch for lipping. With large formats, even slight unevenness becomes obvious in raking light. Controlling lipping is a combination of flat substrate, correct bedding consistency, and disciplined checks as you go.
Cutting and edge finishing: where craftsmanship shows
Porcelain cuts cleanly with the right blade and equipment. It also chips if rushed. Plan cuts to minimise visual disruption and consider how edges present at steps, drains, and perimeters.
Mitres can look exquisite on coping and steps, but they demand precision and suitable adhesive and reinforcement. In high-traffic commercial settings, you may choose durability-first solutions such as purpose-made trims or slightly eased edges, depending on the design brief.
Around drainage channels and gulleys, aim for symmetry and clear falls. Drain details are unforgiving: if the water does not leave the surface quickly, the entire patio feels “wrong” even if every slab is perfectly aligned.
Jointing: don’t let a beautiful patio down at the finish line
Jointing is not a cosmetic afterthought. It is the system that manages movement, weathering, and surface water.
The right product depends on joint width, exposure, and substrate. Brush-in compounds can suit certain residential situations, but they must be compatible with porcelain and the expected weathering. Resin-based or cementitious jointing systems can deliver a sharper finish and better long-term performance when installed correctly. What matters is following the manufacturer’s method and curing times, and keeping the surface clean during application.
Movement joints are another non-negotiable. External paving expands and contracts. Perimeters, changes in plane, and long runs often need movement accommodation. A perfectly tiled field with no movement consideration can crack or tent under temperature swings.
Weather, curing, and programme: the realities of outdoor work
External installation is at the mercy of weather. Cold temperatures slow cure, heat can skin mortar too quickly, and rain can compromise bedding and jointing if the work is not protected.
If you are managing a programme for a build or fit-out, allow time not just for laying, but for curing before heavy foot traffic and furniture. Porcelain may look finished on day one, but the system underneath needs time to reach strength.
For commercial sites, plan access routes and protection. Site traffic over uncured work is a common cause of micro-movement that only shows up later as cracking or loose edges.
The “premium” details: thresholds, steps, and transitions
The most impressive porcelain paving projects feel effortless because the transitions are resolved. Door thresholds should shed water, not invite it. Step risers and treads should align with the paving grid where possible, and coping should finish edges with intention.
If you are bringing porcelain out from an internal floor, be wary of creating a flat “continuation” that ignores external drainage needs. The more minimal the design, the more the falls and threshold detailing must be engineered into the build-up.
When to bring in a specialist tiling contractor
If the area is small, the levels are generous, and you have experience with full-bed external tiling, you may handle a straightforward install. But if you are dealing with tight thresholds, complex drainage, large-format slabs, rooftop conditions, or a high-end finish that has to read perfectly from every angle, specialist execution is the safer investment.
That is where a quality-first tiling partner earns their keep: disciplined preparation, accurate setting-out, correct primers and adhesives, and finishing that stays sharp through seasons of use. If you want that level of precision across residential and commercial projects, including larger programmes, speak with Perfectly Laid about a tailored scope from preparation through to the final caulked detail.
A final thought to keep you on track: porcelain paving is not hard because it is complicated – it is hard because it is unforgiving. Treat the unseen layers with the same respect as the surface, and the result will look calm, expensive, and correct for years.