How to Level a Bathroom Floor for Tiling
A bathroom floor can look only as refined as the surface beneath it. If you are asking how to level a bathroom floor for tiling, the real question is how to protect the finished result – because even the most exquisite tile will highlight a substandard base.
Level and flat are often treated as the same thing, but on site they are not. A bathroom floor may need to be brought to level, or it may simply need to be made flat enough to support clean tile lines, proper adhesion and reliable drainage where required. Knowing which condition you are correcting is what separates a polished result from a floor that fights you all the way through installation.
Why floor levelling matters before tiling
Tiles do not disguise imperfections. They expose them. Lippage between edges, hollow spots, cracked grout lines and poor falls all tend to start with inadequate preparation rather than the tile itself.
In a bathroom, the stakes are higher because the floor system has to do more than look good. It needs to support waterproofing, maintain consistent tile coverage and, in wet areas, manage water exactly as intended. A floor that is uneven in the wrong places can create ponding, awkward transitions at doorways and visible inconsistencies that undermine the entire room.
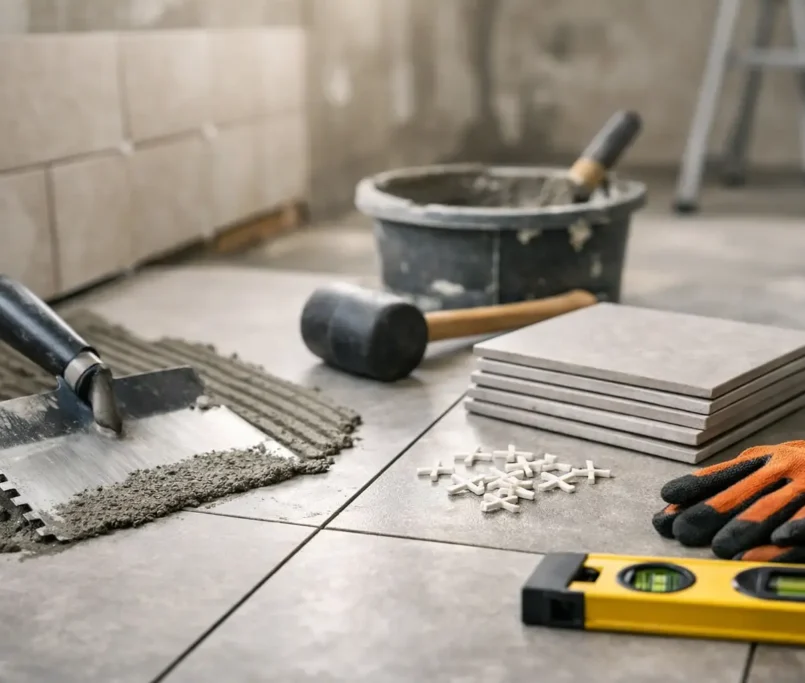
This is why professional tiling work begins well before adhesive is mixed. Surface preparation is not the hidden part of the job. It is the part that protects everything that follows.
How to assess a bathroom floor before levelling
Before choosing a product or method, assess the substrate properly. The right fix depends on whether you are dealing with concrete, sand and cement screed, fibre cement sheeting or timber flooring. Each behaves differently, and each has limits.
Start by checking for contamination, movement and structural soundness. Old adhesive residue, paint, dust, loose compounds and water-damaged sheeting will all affect bond strength. A levelling compound is not there to rescue a failing floor. It is there to refine a sound one.
Next, use a long straightedge or spirit level to identify highs and lows across the room. Do not rely on a quick glance. Bathrooms are small spaces, but even slight deviations become obvious once large-format tiles or linear drainage details are installed. Mark problem areas and measure the variation. That tells you whether a patch repair will do the job or whether the floor needs a more complete re-levelling treatment.
Also confirm the intended falls. In many bathrooms, particularly within shower zones, the floor should not be perfectly level. It should be accurately graded towards the waste. That is a critical distinction. Chasing level where a controlled fall is required can create a finish that looks neat on day one and performs poorly every day after.
How to level a bathroom floor for tiling on concrete
Concrete substrates are common, and they can be excellent bases for tile when prepared correctly. They can also carry shrinkage cracks, surface laitance, old floor coverings and uneven patches from previous renovations.
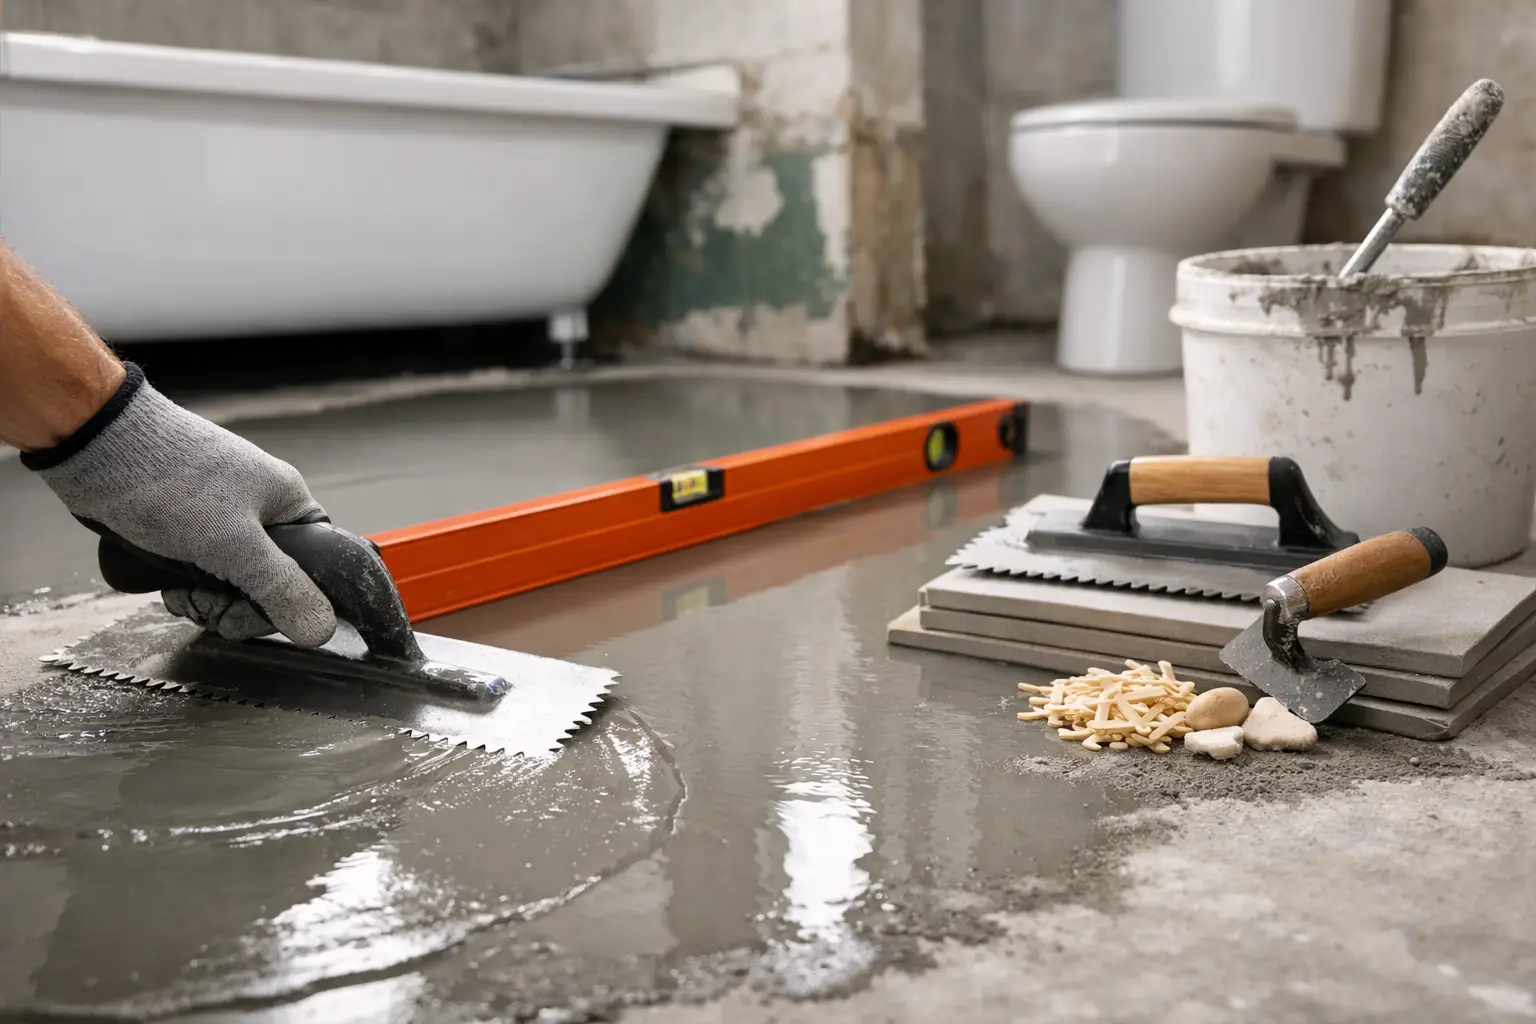
If the slab is generally sound but has minor undulations, grinding down high points may be the first step. There is no sense raising the entire floor if one ridge is doing most of the damage. Once the high areas are reduced and the slab is cleaned thoroughly, a suitable primer is usually applied before any self-levelling compound goes down. Skipping primer is one of the most common mistakes. It affects adhesion, absorption and curing consistency.
The levelling compound must match the substrate and the required depth. Some products are designed for feathering out shallow imperfections, while others can build more substantial thickness. Mix ratios matter. Too much water weakens the product and can lead to dusting or failure under tile.
Pouring and spreading need to be done quickly and with intent. Self-levelling products help, but they do not magically correct poor technique. They still need to be guided, de-aired where required and allowed to cure within the manufacturer’s parameters before waterproofing or tiling begins.
Levelling a timber bathroom floor before tiling
Timber floors need a more cautious approach. Unlike concrete, timber moves. It expands and contracts with moisture, load and seasonal change, which means the tile build-up has to manage deflection as well as flatness.
If the floorboards or sheet substrate are loose, squeaking or flexing, fix that first. Refastening, replacing damaged sections or installing an appropriate tile underlay may be necessary before any levelling product is considered. Applying compound over a moving floor is rarely a lasting solution.
In many cases, a cement-based underlay board or fibre cement sheeting is installed to create a more stable tiling surface. Joints are treated correctly, the floor is primed and only then are minor irregularities addressed. Depending on the bathroom layout, a screed or proprietary levelling system may be a better option than a free-poured self-leveller, especially where falls to wastes need to be formed with precision.
Creating falls without compromising the finish
This is where many bathroom projects go wrong. A floor can be beautifully flat and still be wrong for the space if water does not move properly.
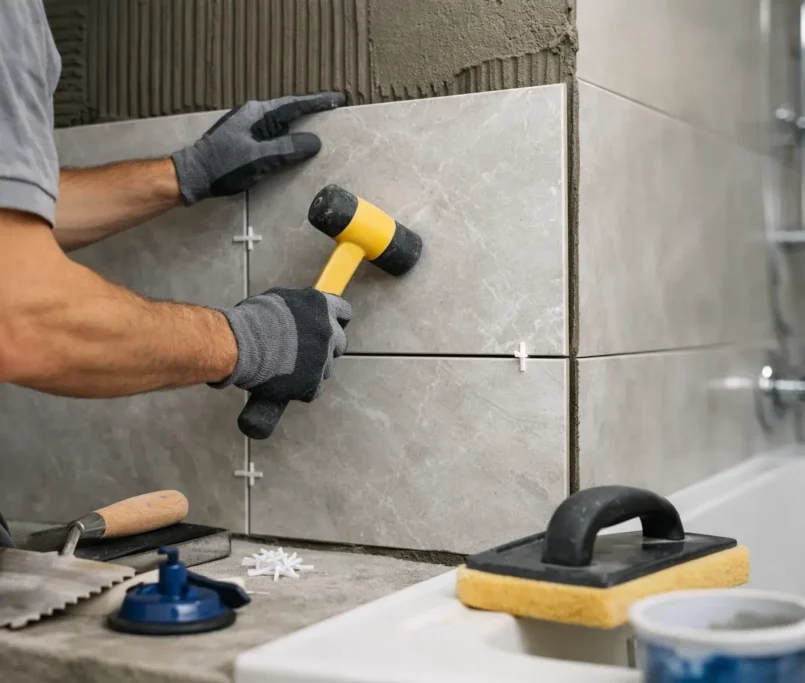
Within shower areas and other nominated wet zones, falls need to be formed deliberately. That may involve screeding by hand, shaping around a centre waste, or creating a single directional fall to a linear drain. The tile format matters here. Larger tiles generally require more thoughtful set-out to work with drainage lines cleanly, while smaller mosaics are more forgiving over compounded slopes.
What matters most is control. Too little fall and water sits on the surface. Too much and the floor feels awkward underfoot, with cut tiles becoming visually heavy at the perimeter. Precision matters because the floor is doing two jobs at once – carrying the design and managing water.
Common mistakes when levelling a bathroom floor for tiling
The most expensive problems are often created by rushing the invisible stages. One is trying to level over dirt, soap residue, old mastics or unstable material. Another is ignoring movement in timber substrates and assuming adhesive will compensate.
There is also a tendency to use one product for every condition. In reality, substrate type, thickness required, drying time, moisture exposure and compatibility with waterproofing all affect the choice. Bathrooms are not forgiving environments for guesswork.
Another issue is confusing a flat floor with a finished-ready floor. Even after levelling, the surface may still need sanding, further priming or detail correction around wastes, thresholds and wall junctions. Premium tiling outcomes come from cumulative accuracy, not a single miracle product.
When a bathroom floor needs professional re-levelling
If the floor has significant deviation, structural cracking, widespread moisture damage or poorly formed falls, it is usually worth bringing in an experienced tiling contractor. The same applies if the bathroom is part of a higher-end renovation where large-format tiles, stone finishes or exacting design lines leave no room for movement in the substrate.
Professional re-levelling is not simply about speed. It is about sequencing the work correctly – demolition if needed, substrate correction, screeding or levelling, waterproofing, tile set-out and finishing. When these steps are treated as one coordinated system, the final room feels calm, crisp and deliberate.
For builders and developers, that process control matters even more. Consistency across multiple bathrooms, programme reliability and reduced defects all begin with disciplined preparation. For homeowners, it is often simpler: you want the bathroom to feel as good in five years as it does on handover.
The finish is only ever as good as the base
If you want to know how to level a bathroom floor for tiling, start by treating the floor as part of the design, not just the groundwork. The substrate determines how the tile sits, how the grout ages, how the water behaves and how refined the whole room feels once complete.
That is why craftsmanship in tiling is never only about what you see at the end. It is in the unseen accuracy underneath it – the preparation, the judgement and the insistence on getting the floor exactly right before the first tile is laid. If you are planning a bathroom where finish quality matters, that is the stage worth taking seriously.