Bathroom Waterproofing Before Tiling Done Right
Water always finds the shortcut. It slips behind a mixer plate, runs along a screw, sits quietly at the base of a wall, and then – months later – announces itself with a musty smell, a stained ceiling, or tiles that sound hollow. By the time you can see the problem, the damage is usually well established.
That is why bathroom waterproofing before tiling is not a “nice to have”. It is the system that protects the structure, preserves the finish, and keeps your bathroom looking exquisite for years rather than just for the photos.
What waterproofing is actually doing (and what it is not)
A common misconception is that tiles and grout are waterproof. They are not. Tiles are water resistant, and grout is porous. Even when sealed, grout is not a long-term water barrier in a shower environment. Water will migrate through joints, hairline cracks and movement points.
Waterproofing is the continuous barrier beneath the tiling that manages that inevitable moisture. Done properly, it keeps water on the “wet side” of the bathroom, directing it to wastes and preventing it from soaking into plasterboard, screed, timber, insulation, or adjoining rooms.
It is also not a magic bandage for a poorly built substrate. If the falls are wrong, if the surface is unstable, or if movement has not been allowed for, a membrane cannot compensate forever. Waterproofing is a system that relies on disciplined preparation and detailing.
The real risks of getting it wrong
The obvious risk is leaking – but the more expensive issues are often indirect. Water intrusion can swell timber, degrade adhesives, corrode fixings, and soften plasterboard. You might see lifting skirting tiles, darkened grout lines that never dry, paint bubbling outside the bathroom, or silicone joints that keep splitting because the structure is moving.
There is also the aesthetic risk. A premium tile finish needs a stable, flat, correctly prepared base. If moisture compromises that base, you can end up with lipping, drummy tiles, cracked grout, or discolouration that permanently dulls the look of the space.
Bathroom zones: where waterproofing matters most
Bathrooms are not all treated the same. A shower is a continuously wet environment. A bathroom floor outside the shower is a splash zone with occasional wetting. Walls behind basins and baths experience intermittent moisture, usually concentrated around penetrations.
The practical point is this: waterproofing must be continuous and appropriately detailed wherever water can realistically travel, especially at junctions. Most failures begin at the edges – wall-to-floor joins, internal corners, around wastes, and at pipe penetrations – because these are the points that move and the points that get cut.
If you are renovating, it is also worth remembering that water does not respect the visible boundary of the shower screen. Overspray and condensation can easily reach areas you might assume are “dry”.
Surface preparation: the craftsmanship that nobody sees
The membrane is only as good as what it is applied to. Before any product comes out, the substrate has to be sound, clean, and suitable for a wet area.
That means removing residues that prevent adhesion – dust, old adhesive, paint overspray, soap scum, and any contamination from demolition. Cracks and voids need addressing properly, not simply painted over. Loose sheeting or poorly fixed boards must be corrected, because movement is the enemy of both waterproofing and tiling.
In floor areas, falls are a defining factor. If water cannot drain efficiently to the waste, it will pool. Pooling keeps the surface wet for longer, drives moisture into corners, and puts unnecessary strain on grout and silicone. Correct falls also make the bathroom feel better to use. A shower that drains cleanly reads as quality.
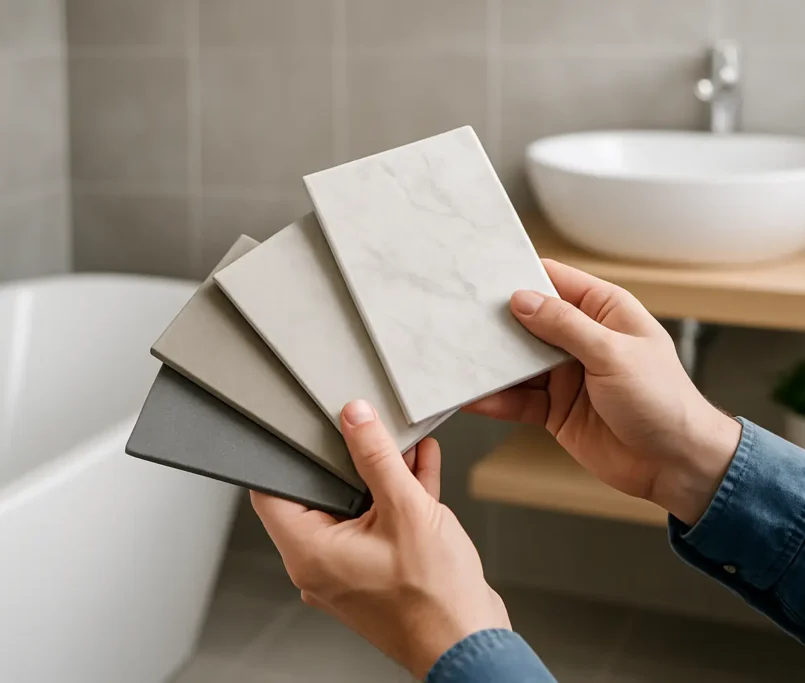
Choosing a waterproofing system: it depends
There are different approaches and product types, and the right solution depends on your build-up, your substrate, and how the bathroom will be used.
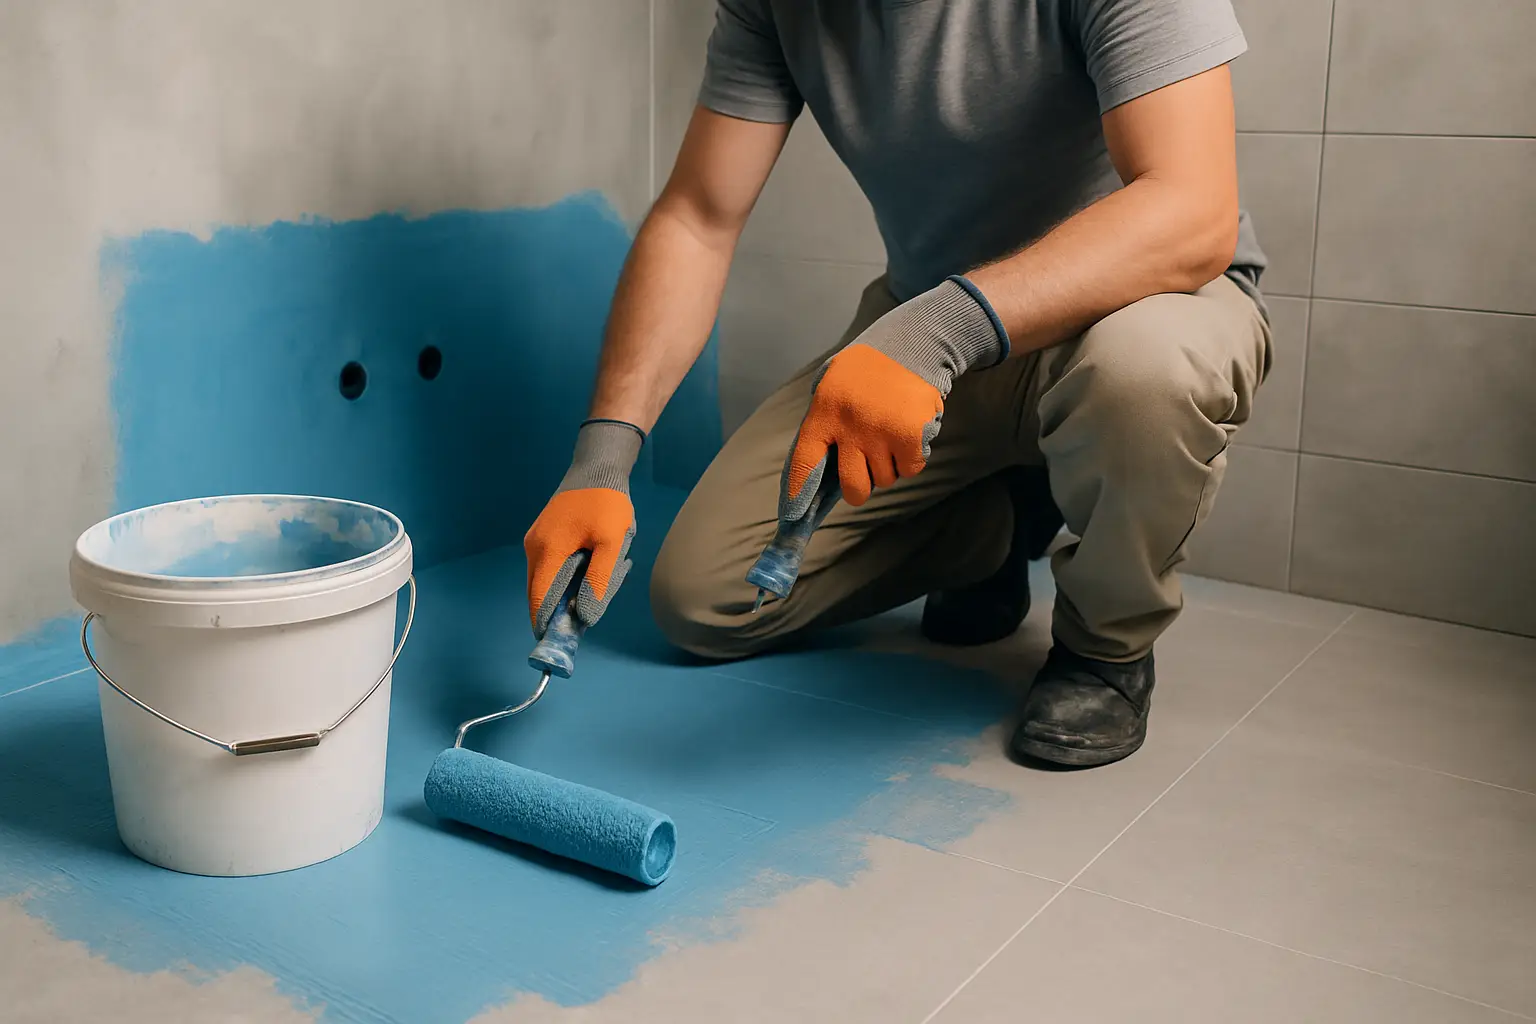
Liquid-applied membranes are common because they can create a continuous barrier across complex shapes when applied at the correct thickness. Sheet membranes can offer very controlled thickness and are often selected where the detailing benefits from factory consistency, particularly at junctions.
The trade-off is rarely “which is best” and more “which is best here”. A system must be compatible with the substrate (cement board, screed, existing tiles being overlaid), compatible with the tile adhesive, and installed exactly to specification. Even an excellent product fails if it is rushed, under-applied, or not reinforced correctly at the corners.
The details that separate a dependable bathroom from a risky one
Most waterproofing problems are not in the middle of the wall. They are in the transitions.
Corners and junctions
Internal corners and wall-to-floor junctions should be treated as movement zones. This is where reinforcement tapes or bandages matter, and where continuity is essential. A membrane that looks “painted on” but is thin at corners is a classic weak point.
Penetrations and fixtures
Pipes, mixer bodies, shower rails, niches, and any fixing that pierces the surface needs proper sealing. A neat tile cut-out does not prevent water tracking behind. The waterproofing must be dressed and sealed around penetrations so moisture cannot run into the wall cavity.
Wastes and puddle flanges
The connection between the floor membrane and the waste is critical. If this junction is not executed to the system detail, water can bypass the membrane entirely. This is one of those areas where the bathroom can look perfect on handover day and fail later.
Niches and ledges
Niches look beautiful when they are crisp and aligned, but they create extra corners and horizontal surfaces. They also tend to collect water. This area requires particularly careful reinforcement and, just as importantly, the right falls within the niche so it drains rather than holds water.
Curing times and sequencing: where schedules often go wrong
Bathrooms are often on the critical path of a renovation or fit-out. The temptation is to compress drying times. That is where preventable failures start.
Primers, membranes and adhesives all have curing requirements. Temperature, humidity, airflow and substrate moisture content affect those times. Tiling over a membrane before it has cured can trap solvents or moisture, compromise adhesion, and lead to bubbling or delamination.
The professional approach is simple: sequence the work so each layer has the time it needs, then protect it. A membrane can be damaged by foot traffic, ladders, dropped tools, or other trades. If the waterproofing is exposed while the job continues, it must be treated like a finished surface, not a construction floor.
How waterproofing and tiling work together
Waterproofing is not a standalone task that you tick off and forget. It influences layout, set-out, movement joints and finishing.
Tile size and pattern, for example, affect where joints land relative to corners, niches and penetrations. A thoughtful set-out reduces slivers, avoids awkward cuts around mixers, and helps keep grout lines balanced – but it also helps keep waterproofing penetrations to the minimum and makes sealing points more predictable.
Movement joints and silicone detailing are another part of the system. Bathrooms move: timber frames expand and contract, buildings settle, and temperature changes do their thing. Rigid grout at changes of plane is one of the fastest routes to cracking. Those cracks then become a pathway for water, even with waterproofing behind, because water can sit and migrate where it should not.
What to look for if you are hiring a contractor
If you are investing in a premium bathroom, waterproofing should feel like a controlled process, not a vague promise. You want clarity on what areas are being waterproofed, which system is being used, how corners and penetrations are detailed, and how curing time is built into the programme.
The workmanship tells you a lot. Clean transitions, careful preparation, and disciplined sequencing are the same habits that produce crisp tile lines, perfectly aligned niches, and a finish that looks intentional from every angle.
If you are working at scale – multiple bathrooms across a development or high-rise – consistency matters just as much as craft. The best outcomes come from a contractor who can repeat the same standard across every unit without cutting corners when timelines tighten. This is the space where an end-to-end tiling partner becomes valuable, because prep, waterproofing, tiling and finishing are controlled as one scope rather than handed between different trades.
At Perfectly Laid, this is exactly how we protect the end result: disciplined preparation, precise waterproofing details, and a finishing standard that treats the bathroom as a design feature, not just a wet room.
A few red flags worth taking seriously
If you hear that tiles are “basically waterproof”, treat that as a warning sign. If no-one is talking about falls, junction detailing, penetrations or curing times, you are not hearing a real plan.
Also be wary of waterproofing that is visually patchy, overly thin at corners, or applied over dusty, uneven surfaces. The membrane should look consistent and intentional, and the substrate should look properly prepared before it ever goes on.
The best bathrooms feel effortless to use. Water drains where it should, the joints stay clean, and the space keeps its calm, high-end look. That outcome is rarely won with fancy fixtures alone. It is earned in the layers you will never see – with waterproofing done patiently, properly, and with enough respect for the details that most people never notice until something goes wrong.