Tile Lippage Prevention for a Flawless Finish
A beautiful tile selection can lose its impact the moment light catches an uneven edge. Tile lippage prevention is not a last-minute adjustment made with a spacer or a grout float. It is a controlled installation process that begins before the first tile is laid, protecting the crisp, refined finish homeowners, designers and project teams expect.
Lippage can make a new bathroom feel unfinished, turn a sleek large-format floor into a trip hazard, and create avoidable disputes on commercial projects. The good news is that it is largely preventable when surface preparation, tile selection, adhesive application and setting technique are treated as one coordinated scope.
What tile lippage is and why it matters
Lippage is the difference in height between the edges of adjacent tiles. A small variation may be less noticeable in a textured tile or a softly lit room, but it becomes highly visible across polished porcelain, rectified edges, large-format tiles and low-angle natural light. It can also be felt underfoot, particularly in bare-foot spaces such as bathrooms and poolside areas.
Not every perceived edge difference is poor workmanship. Tiles themselves have permitted manufacturing tolerances, and some products are intentionally shaped, textured or irregular. A handmade-look tile, for example, should not be judged by the same visual standard as a rectified porcelain slab. The issue is whether the finished surface suits the tile, layout, lighting and intended use of the room.
For premium residential and commercial work, lippage is more than an aesthetic concern. Raised edges can collect dirt, chip under impact and compromise the clean lines that make tiled surfaces feel considered. Prevention protects both the visual result and the long-term performance of the installation.
Tile lippage prevention starts with the substrate
Tiles cannot correct an uneven floor or wall. Adhesive can accommodate minor variation within its stated working range, but using it to compensate for a badly undulating substrate is unreliable and often leads to inconsistent coverage, slow setting and uneven tile heights.
The surface should be assessed before installation begins. On floors, this means checking flatness across the room with appropriate straightedges and identifying high spots, hollows, changes in level and movement-related concerns. On walls, it means checking plumb, plane and junctions around niches, windows, cabinetry and fixtures. A room can look straight at a glance while still being unsuitable for large-format tile.
The corrective method depends on the substrate and the design brief. Demolition may be needed where existing finishes have failed. Floors may require grinding, patching, re-levelling or screeding; walls may need straightening before waterproofing and tiling proceed. In wet areas, the order of work matters. The substrate must be prepared correctly, then waterproofed as required, before tile installation begins.
This is where cutting corners becomes expensive. A fast installation over an unprepared surface may look acceptable on handover day, then reveal shadows, hollow spots or pronounced edges once the space is used and naturally lit. Proper preparation creates the plane that precision tiling depends on.
Large-format tiles demand a flatter base
The larger the tile, the less forgiving the installation. A small tile can follow modest changes in a surface without making each transition obvious. Large-format porcelain spans over those changes, making any high point or hollow visible at the joints.
Long plank tiles create an additional challenge because many are slightly bowed through the centre as part of the manufacturing process. When laid in a conventional half-offset pattern, the highest point of one tile can meet the lowest point of the next. A considered offset, selected in line with the tile manufacturer’s guidance, usually reduces the risk. Layout is not simply a design decision – it is part of technical control.
Choose the right tile, pattern and joint for the space
Rectified tiles allow tight, modern grout joints, but they also expose small inconsistencies more readily than tiles with cushioned edges. Polished finishes reflect light sharply, while matt or textured surfaces can be more forgiving. Neither is inherently better; the right choice depends on the desired look, location and level of visual scrutiny.
Grout joints should never be treated as a way to hide poor setting. They do, however, provide essential allowance for tile variation and help establish a consistent grid. Extremely narrow joints require greater precision from the substrate through to final placement. If a client is pursuing a near-jointless aesthetic, the installation tolerances need to be discussed early, before materials are ordered and patterns are signed off.
Lighting deserves the same early attention. A feature wall with a wash of downlights, a glazed shower screen or full-height windows can cast raking light across a tiled plane. This lighting reveals shadows that may not be visible during daytime installation. Reviewing the room’s lighting direction allows the installer to manage layout, set-out and expectations intelligently.
Adhesive coverage and setting technique make the difference
Once the surface is ready, lippage control becomes a matter of disciplined installation. The adhesive must be appropriate for the tile, substrate and conditions, mixed accurately and used within its working time. A tile cannot be adjusted confidently if the adhesive has begun to skin over.
For large-format tiles, adhesive is typically applied to the substrate with a correctly sized notched trowel and worked in consistent, directional ridges. Back-buttering the tile where required supports fuller contact and helps prevent voids. The tile is then pressed and moved across the ridges to collapse them, rather than simply being dropped into place.
Coverage is not just about avoiding hollow sounds. Consistent adhesive support gives the installer control over tile height. It reduces the tendency for corners to sit proud and helps the finished floor or wall perform under foot traffic, furniture loads and normal temperature movement.
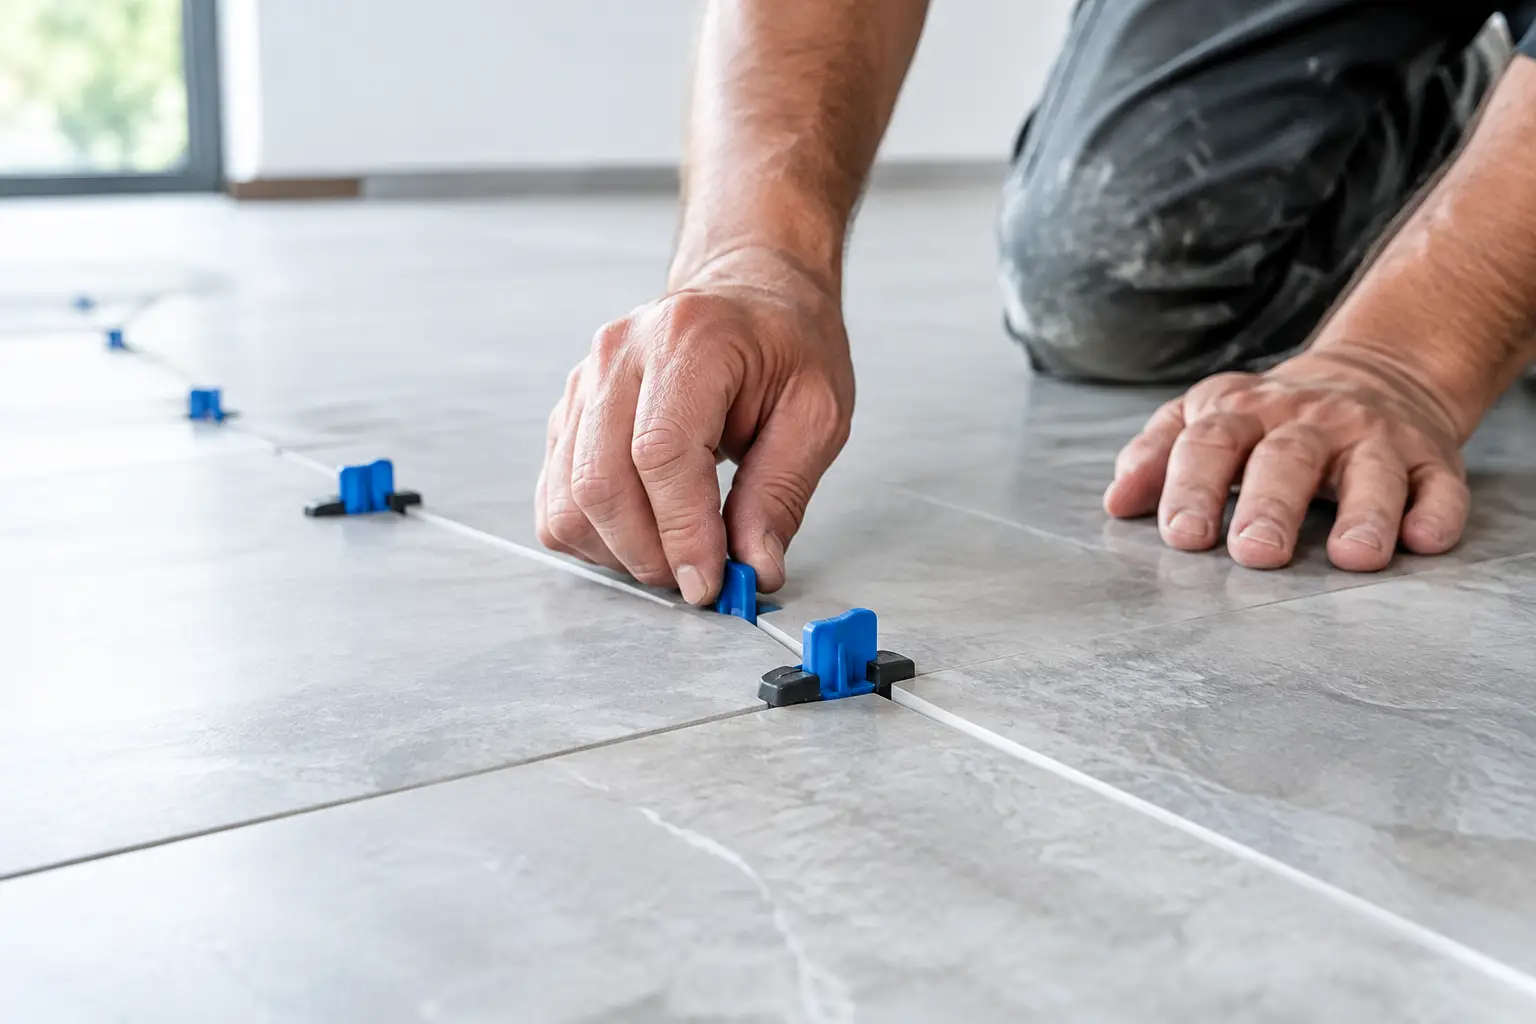
A levelling and spacing system can be valuable, particularly with large, thin or rectified tiles. These systems help hold adjacent tiles in alignment while the adhesive cures, but they are not a substitute for flat preparation or correct adhesive technique. Pulling two tiles together with clips over a hollow substrate may conceal the problem briefly while creating stress, poor contact or unevenness elsewhere.
Skilled setters work in manageable areas, repeatedly check the plane with straightedges and lift tiles when necessary to inspect coverage. This pace may appear more deliberate than rushing across a room, but it is the difference between fitting tiles and delivering a surface that looks exceptional from every angle.
Control lippage at transitions and detailed areas
The most demanding parts of a tiled space are often the details: doorways, drains, falls, external corners, steps, niches and interfaces with other finishes. These locations require planned levels and precise cuts, not improvised decisions once the adhesive is open.
In a bathroom, floor falls towards a drain must be achieved while maintaining a considered relationship with surrounding tiles. In an alfresco space, drainage and movement provisions must work alongside the desired threshold height. At a doorway, the transition to timber, carpet or polished concrete needs to feel intentional and safe.
Set-out should be established before installation, including where cuts will fall, how feature tiles align and how wall joints relate to floor joints. This is especially significant across multi-unit developments, where repeatable details are essential. A clear benchmark, consistent preparation process and regular quality checks allow the same standard to be carried from one residence to the next.
When a levelling system is not enough
Levelling clips are often marketed as a simple answer to uneven tile edges. They are useful tools, but their role is frequently misunderstood. They can assist with alignment between neighbouring tiles; they cannot flatten a floor, remove tile bowing, correct inadequate adhesive coverage or compensate for poor set-out.
If a surface requires substantial correction, that work should happen before tiling. If tiles vary beyond reasonable expectations, they should be assessed before installation progresses. If the selected pattern exaggerates the product’s natural bow, the layout should be reconsidered. Addressing these issues early is more professional and more cost-effective than forcing the installation forward.
At Perfectly Laid, this is why preparation, waterproofing, installation and finishing are approached as connected stages rather than separate trade tasks. The final tiled plane is only as accurate as the work beneath it.
A finish worth inspecting in every light
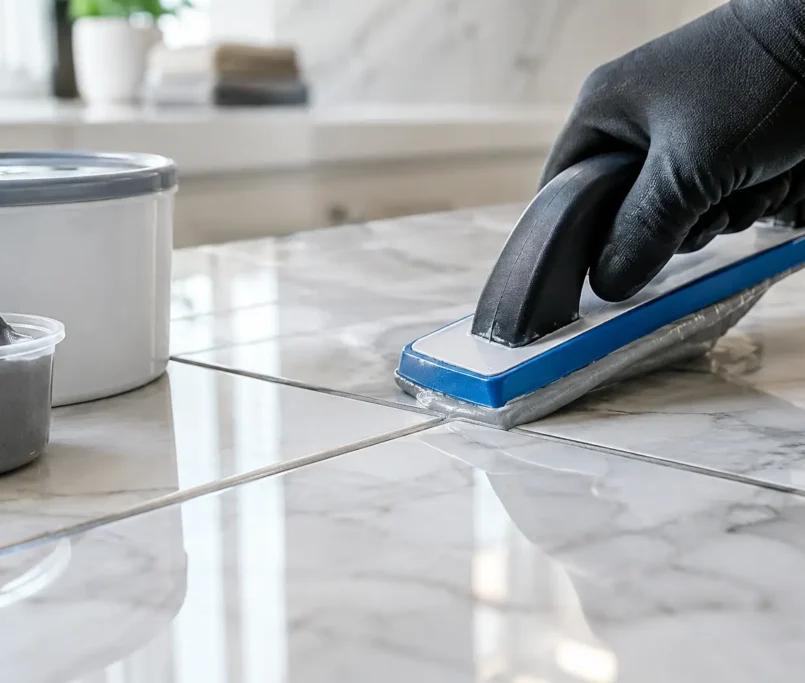
Before handover, tiles should be viewed from normal standing positions as well as along the surface in the lighting the room will actually receive. Check junctions, thresholds, corners and areas around fixtures, where minor inconsistencies are most likely to catch the eye. Grouting and silicone finishing should complement the alignment, not be relied upon to disguise it.
The best time to protect a flawless tiled surface is before installation begins: when the substrate is measured, the layout is resolved and the right method is agreed. That early care gives every tile a proper foundation – and gives the finished space the calm, precise appearance it was designed to have.