Can You Tile Over a Waterproof Membrane?
A waterproof membrane is not the part of a bathroom, balcony or laundry anyone notices first. Yet it is the layer that protects the structure when grout, silicone and tile joints eventually meet water. So, can you tile over waterproof membrane? Yes – provided the membrane has been specified for tiling, applied correctly and allowed to cure fully. Get any of those details wrong, and an otherwise exquisite tiled finish can fail from underneath.
For premium residential and commercial work, tiling over a membrane should never be treated as a shortcut. It is a controlled stage in a complete installation system: sound substrate, correct falls, compatible waterproofing, appropriate adhesive, precise tile setting and carefully finished movement joints.
Can you tile over waterproof membrane safely?
In most wet areas, the answer is not only yes but expected. Tiled floors and walls are decorative, durable finishes, but they are not waterproof on their own. Water can travel through grout lines, around penetrations, at junctions and through minor cracks over time. The membrane behind or beneath the tile is the continuous barrier that manages that risk.
The important distinction is between a tile-ready waterproofing membrane and a product that merely repels water. A proprietary liquid-applied waterproofing system, sheet membrane or uncoupling membrane may be designed to receive tile adhesive. General-purpose damp-proof coatings, roofing membranes, painted sealers and some peel-and-stick products may not be. Their surface can be too smooth, too flexible or chemically incompatible with cement-based adhesive.
A professional installer checks the manufacturer’s system requirements rather than assuming one product will bond successfully to another. The membrane, primer, adhesive, grout and sealant need to work together. This is particularly important in showers, wet rooms, balconies, podiums and external entertaining areas, where moisture exposure and movement are more demanding.
The membrane must be ready before tile goes down
Waterproofing is often hidden from view, which makes it easy to underestimate. In reality, its condition determines whether the tile finish has a secure foundation.
First, the substrate below the membrane must be stable, clean and suitably flat. A membrane follows the profile beneath it. It will not correct a hollow screed, a cracked floor, poor falls to a drain or an uneven wall. Trying to make up those defects with adhesive can leave inconsistent coverage beneath the tile and increase the chance of lipping, cracking or water ponding.
Next comes membrane application. Liquid membranes need the required number of coats, correct thickness and reinforcement at changes of plane, corners, drains, pipe penetrations and wall-to-floor junctions. Sheet systems require clean overlaps, secure seams and properly detailed terminations. These are not cosmetic details. They are the places water is most likely to find a path through the assembly.
Finally, the membrane must cure. This is where programmes can become unnecessarily risky. Tiling too soon can trap moisture, compromise adhesion or damage the waterproof layer during installation. Drying time varies with the product, temperature, humidity, ventilation and coat thickness. A surface that feels dry to the touch is not automatically ready for tiling. Follow the specified curing period and protect the area from traffic until it is ready.
What a tile-ready surface should look like
Before adhesive is mixed, the membrane should be fully cured, continuous and free from blisters, pinholes, tears, contamination and loose edges. It should also be dry, clean and protected from plaster dust, paint overspray and other site debris.
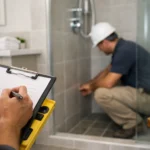
A quality check at this stage is far less disruptive than discovering a problem once the room has been tiled. On larger projects, disciplined inspection of each wet area also helps maintain consistent standards across every unit, rather than relying on a final visual check after the critical work is concealed.
Choose adhesive for the membrane, tile and location
Not every tile adhesive is suitable over every membrane. The correct choice depends on the membrane manufacturer’s guidance, the tile type and format, the substrate, and whether the installation is internal or external.
A flexible cement-based adhesive is commonly used over compatible waterproofing systems because it accommodates minor movement and provides dependable bonding for porcelain, ceramic and natural stone tiles. Large-format tiles often require an adhesive with strong non-slip and deformability characteristics, while dense porcelain may need particular attention to adhesive coverage. External spaces and balconies demand products rated for changing temperatures, moisture and movement.
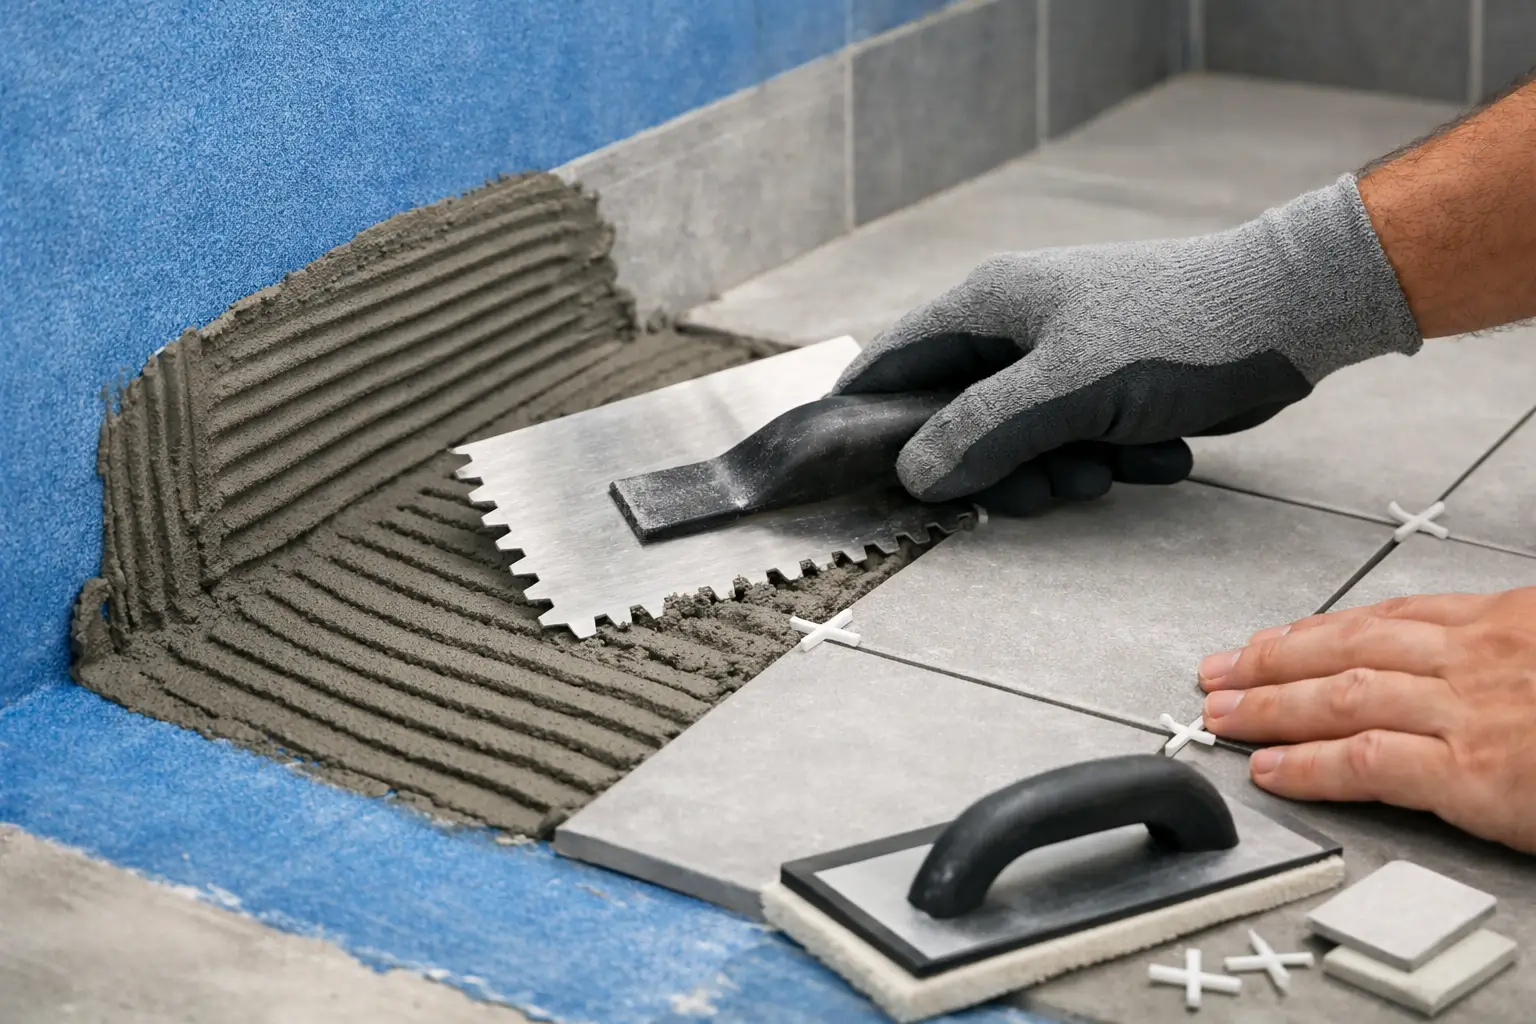
The adhesive needs to be applied with the correct notched trowel and technique. For large tiles, back-buttering is often necessary to achieve near-full support. Voids beneath floor tiles are a weak point: they can concentrate load, encourage cracking and create a route for water to sit beneath the finish. In a shower floor or balcony, poor coverage can affect drainage performance as well as durability.
Do not use a thick bed of adhesive to level the floor or change the fall. Screeding and levelling should be completed before waterproofing, with falls established before the membrane is installed. Tile adhesive is there to bond and support the tile, not to rescue an unprepared surface.
Tile over waterproof membrane without damaging it
Once the membrane has passed inspection, the installation should remain deliberate. Avoid aggressive scraping, unnecessary traffic and sharp tools that can puncture the waterproof layer. Marking out should account for drains, cuts, centre lines, movement joints and the visual balance of the space before tile adhesive begins to set.
In bathrooms, a carefully planned layout prevents narrow cuts at focal points and keeps falls working cleanly towards the waste. In high-end kitchens and commercial fit-outs, it ensures grout lines align with joinery, thresholds and architectural features. Precision starts long before the first tile is pressed into place.
Movement must also be respected. Buildings expand, settle and respond to thermal change. Tile and grout are hard finishes, so they need correctly positioned movement joints and flexible sealant at perimeters and changes of plane. Grouting a wall-to-floor junction rigidly, or tiling continuously across an existing structural joint, can lead to cracking even when the waterproofing itself is sound.
Where the approach changes
The principle remains the same, but the details vary by setting. A shower needs careful junction treatment around the hob, niche, mixer and waste, while an accessible wet room requires accurately formed falls and reliable drainage across the whole floor. In a laundry, attention should focus on the floor, wall upstands and service penetrations.
Balconies and alfresco areas need an even more cautious approach. They are exposed to rain, heat, cold and greater thermal movement. The waterproofing system, drainage design, tile adhesive, grout, movement joints and edge details all need to be specified for exterior exposure. A beautiful outdoor tile selection cannot compensate for inadequate falls or a membrane that is not designed for that environment.
Natural stone requires additional consideration because some stones can be sensitive to moisture, adhesive colour and staining. Large-format panels place higher demands on substrate flatness, handling and coverage. These are situations where system selection and workmanship should be settled before materials arrive on site, not improvised during installation.
Common mistakes that put the finish at risk
Most failures are not caused by the tile itself. They begin with rushed preparation or incompatible materials. The recurring problems are straightforward, but expensive to rectify once the room is complete:
- Tiling onto a membrane that has not fully cured.
- Using adhesive that the membrane manufacturer does not approve.
- Waterproofing over an unstable, uneven or poorly drained substrate.
- Damaging the membrane during other trades or tile preparation.
- Omitting movement joints or rigidly grouting changes of plane.
These failures can show up as loose tiles, cracked grout, hollow spots, staining, leaks or a floor that holds water where it should drain away. Rectification may require removing tile, adhesive and waterproofing to expose the original fault. That is why the most cost-effective time to protect the finished result is before the tiling starts.
A finish worth protecting
When waterproofing and tiling are treated as one coordinated scope, the result is more than a polished surface. It is a room or outdoor area designed to perform quietly for years, with clean lines, accurate falls and details that remain dependable behind the tile.
For a renovation, a bespoke home or a multi-unit development, ask who is accountable for substrate preparation, waterproofing compatibility and final tile installation. At Perfectly Laid, that joined-up attention is where precision tiling earns its name: the visible finish is exceptional because the concealed work has been executed with equal care.